- Secure order
- Easy return shipment
- Service-Hotline 01 662 20 20
Instructions No. 4051
Difficulty: Beginner
Working time: 1 hour
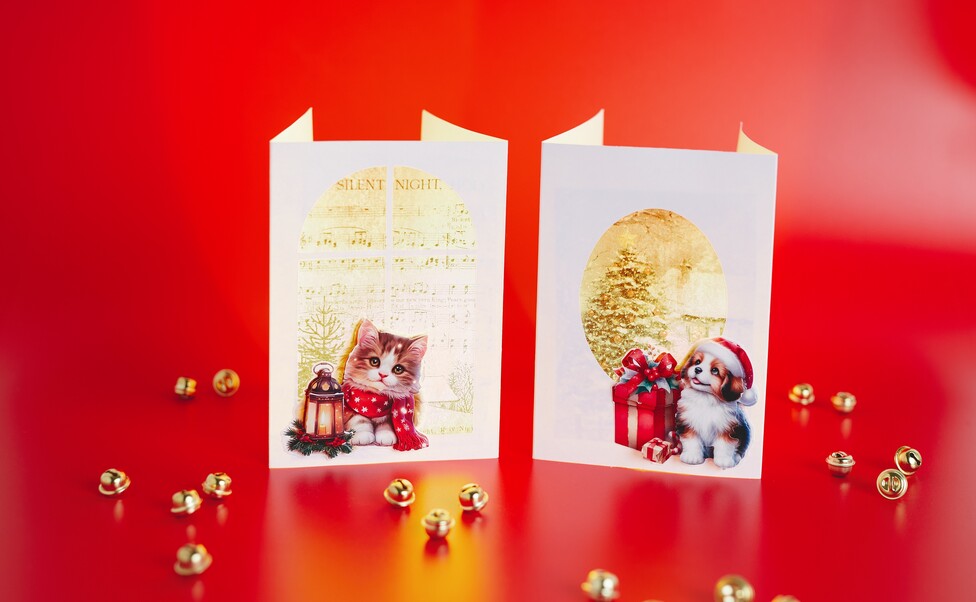
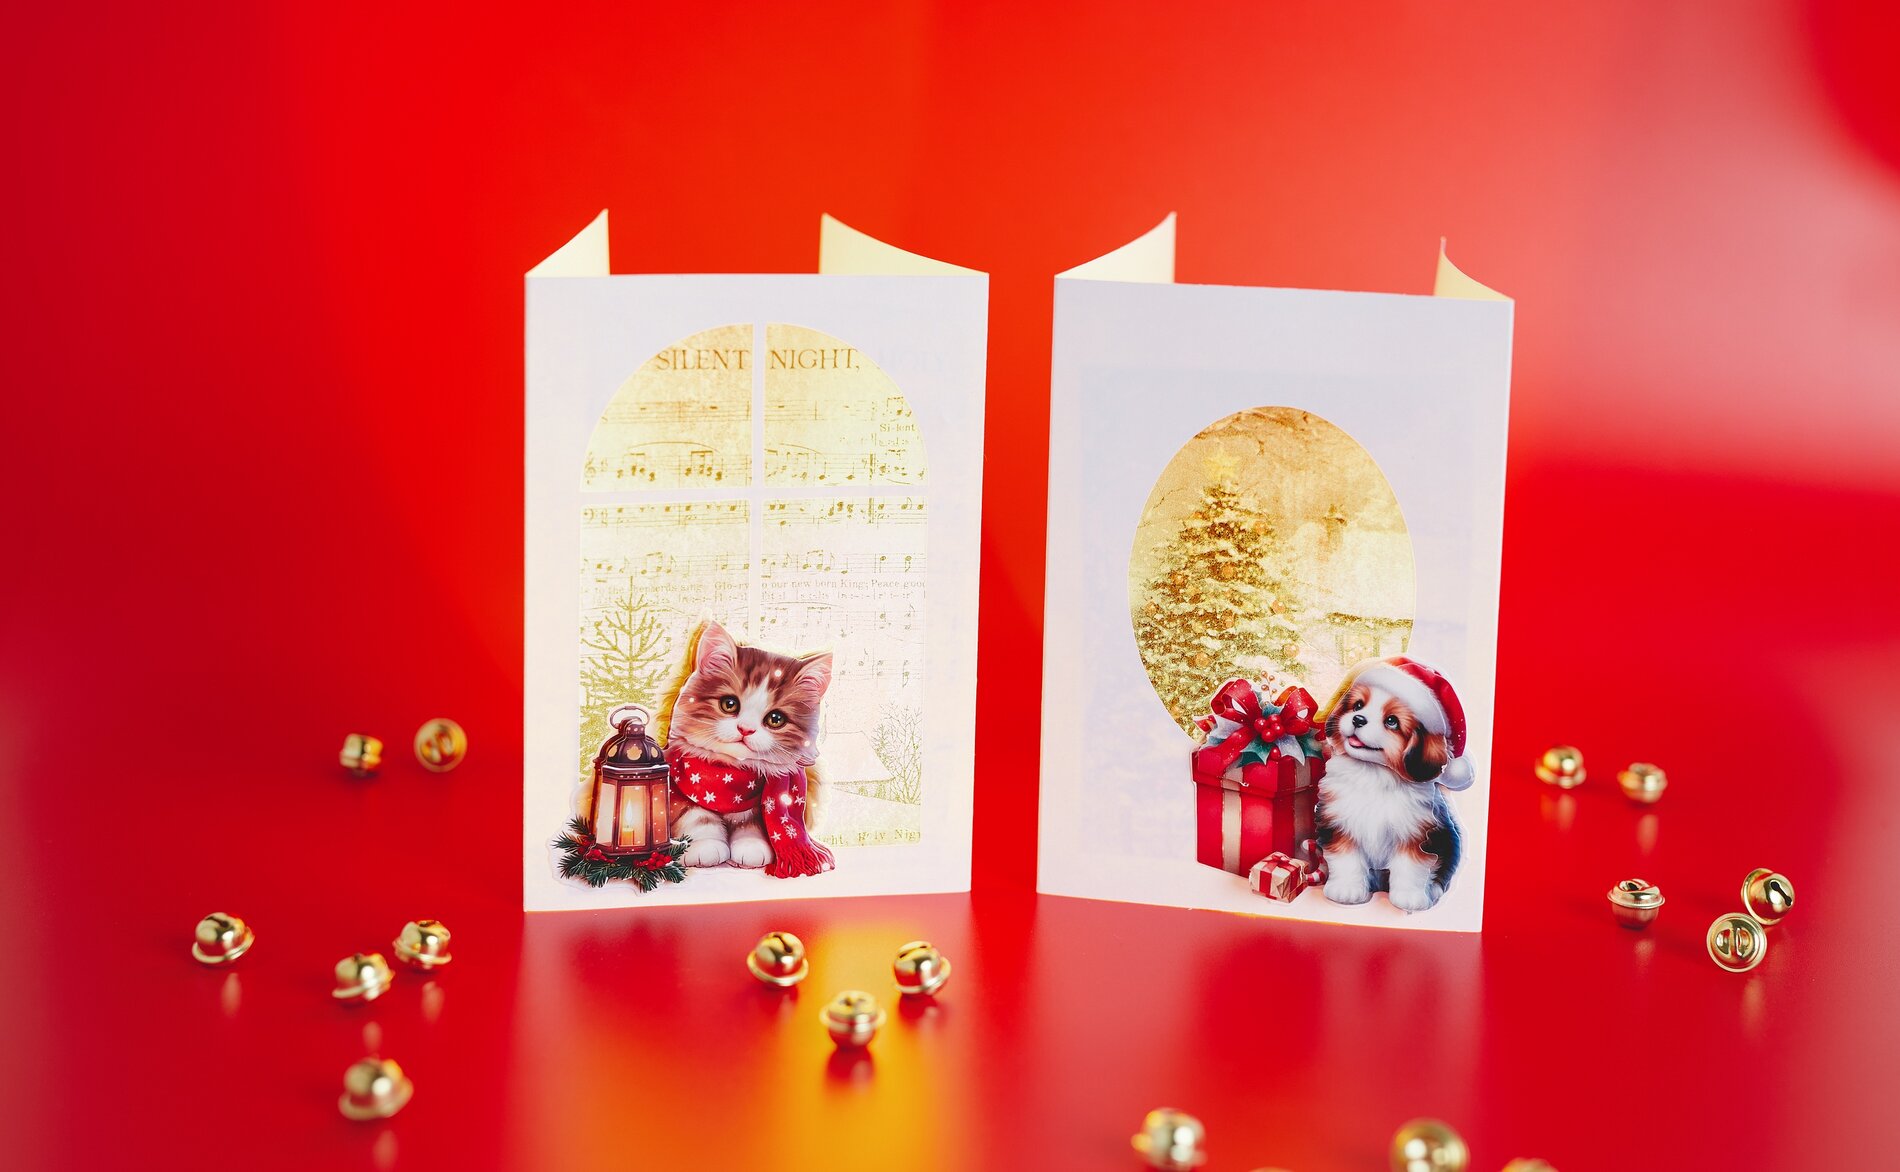
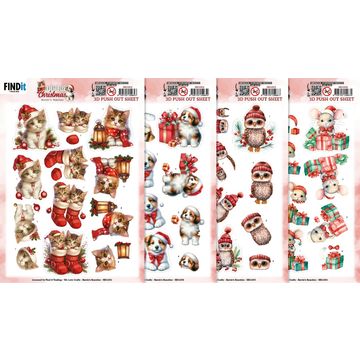
3D Christmas Card with Window Effect and LED Light First, choose a design from the 3D-punched sheet-set. The designs feature cute, wintry animals in Christmas attire and look especially beautiful when they’re later displayed in 3D on your card.
1. Select a design and separate the piecesby order Carefully separate the design from the “ Paper. ” Be sure to pay close attention to the number sequence next to each individual image element. This order ensures that your 3D design will be assembled correctly in the end and that the layers will have the right height exactly where they’re supposed to.
2. Prepare the base (number 1) as the foundation First, remove the piece labeled number 1. This is the base layer of your 3D design and determines its final shape. Place it on the front of the card to test the placement and get a feel for how it will look.
3. Build the 3D effect: Motif on top of motif Now take the piece labeled number 2. Flip it over and stick several 3D-glue pads. onto the back. These are small, double-sided spacers that give your motif a three-dimensional look. Peel off the protective film and position the piece precisely on top of number 1. Repeat this process exactly with all remaining pieces: always separate the next numbered piece, apply 3D-glue pads , and stick it on precisely. Layer by layer, this creates the signature 3D look that makes christmas cards so special.
4. Design the window background with foil and a napkin motif To create the glowing window effect, prepare the pinwheel foil. Coat the foil with “ napkin varnish ” and smooth the desired napkin motif onto it. napkin varnish acts as both an adhesive and a sealant here, ensuring the motif adheres cleanly and doesn’t fray later. Let everything dry thoroughly.
5. Trim the background and glue it into the card Trim the dried motif so that it will fit behind the card’s mat window. Then glue it into the card from the inside using “ handicraft glue .” Take your time aligning it, because the background sets the mood of your Christmas card and should look calm and harmonious in the window. Let the glue dry completely before continuing.
6. Place the 3D motif on the front of the card Once the background is secure, glue your finished 3D motif to the front of the card. Position it so that it visually complements the window area and leaves enough space for the lighting effect.
7. Make the card glow Place an LED tea light behind the card. The window and the background create a soft glow that makes your 3D Christmas card especially festive and highlights the details even better.
Now it’s your turn: Create a second version right away with a different design from the 3D “-punched sheet-” set, and discover matching card blanks, “ glue pads ,” and everything else you need to make your “ christmas cards ” look even more elegant in our online shop.