1) Preparation
Gather all your materials, print out the free template, and tape the sheets together.
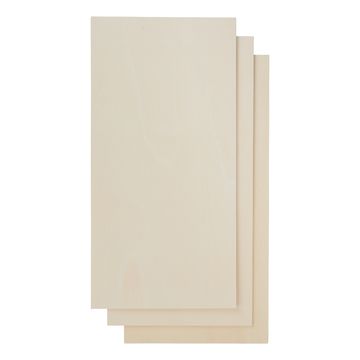
Then cut out the designs with scissors, place them on the plywood, and trace them with a pencil to transfer the design. Be sure to position the template on the wood to save space so you have enough room for all the designs.
2) Saw out the shapes
Template labels: A = penguin with sign, B = hat brim, C = hat pom-pom, D = nose, E = hands, F = feet
Clamp the fretsaw board to the edge of the table using the clamp so you can saw safely and nothing slips. Then place the plywood on the board and begin sawing out the shapes. Keep the saw perpendicular to the wood and move it up and down slowly, without applying too much pressure. To cut curves, rotate the plywood as you saw. This will help you achieve clean curves and rounded shapes.
3) Smooth the Edges and Paint the Designs
Once you’ve cut out all the designs, smooth the edges with a sandpaper or a file. As soon as all the edges and corners are nice and smooth, you can paint the designs with the VBS handicraft paint.
For the wooden sign, mix brown “ handicraft paint ” with a little water to create a glaze and brush it onto the sign. Once everything is completely dry, you can decorate the edges of the sign with brown and black “ handicraft paint .” To do this, take a sponge, dab it lightly in the paint, and apply the paint bit by bit to the edges of the sign.
4) Decorate the sign with lettering
Now transfer the lettering to the wooden sign using graphite paper and a pencil. To do this, place the graphite paper with the dark side facing down on the sign and place the printed lettering template on top of the Paper. Then trace the lettering on the template with a pencil. The pressure you apply transfers the graphite from the graphite paper onto the wooden sign.
5) Write the lettering with a pyrography pen
Wait until the pyrography pen is thoroughly heated, and wrap a paper towel around the handle in case it gets too hot to hold while burning. Be careful not to let the paper towel touch the metal of the pyrography pen to prevent it from catching fire.
Then trace the lettering onto the wooden board with the pen.
6) Glue the penguin together
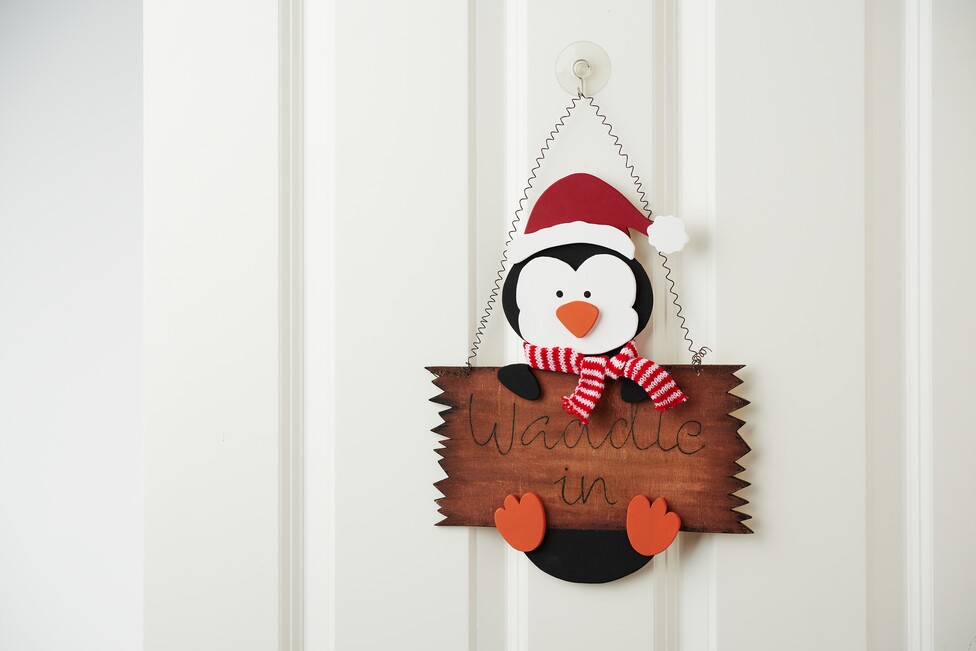
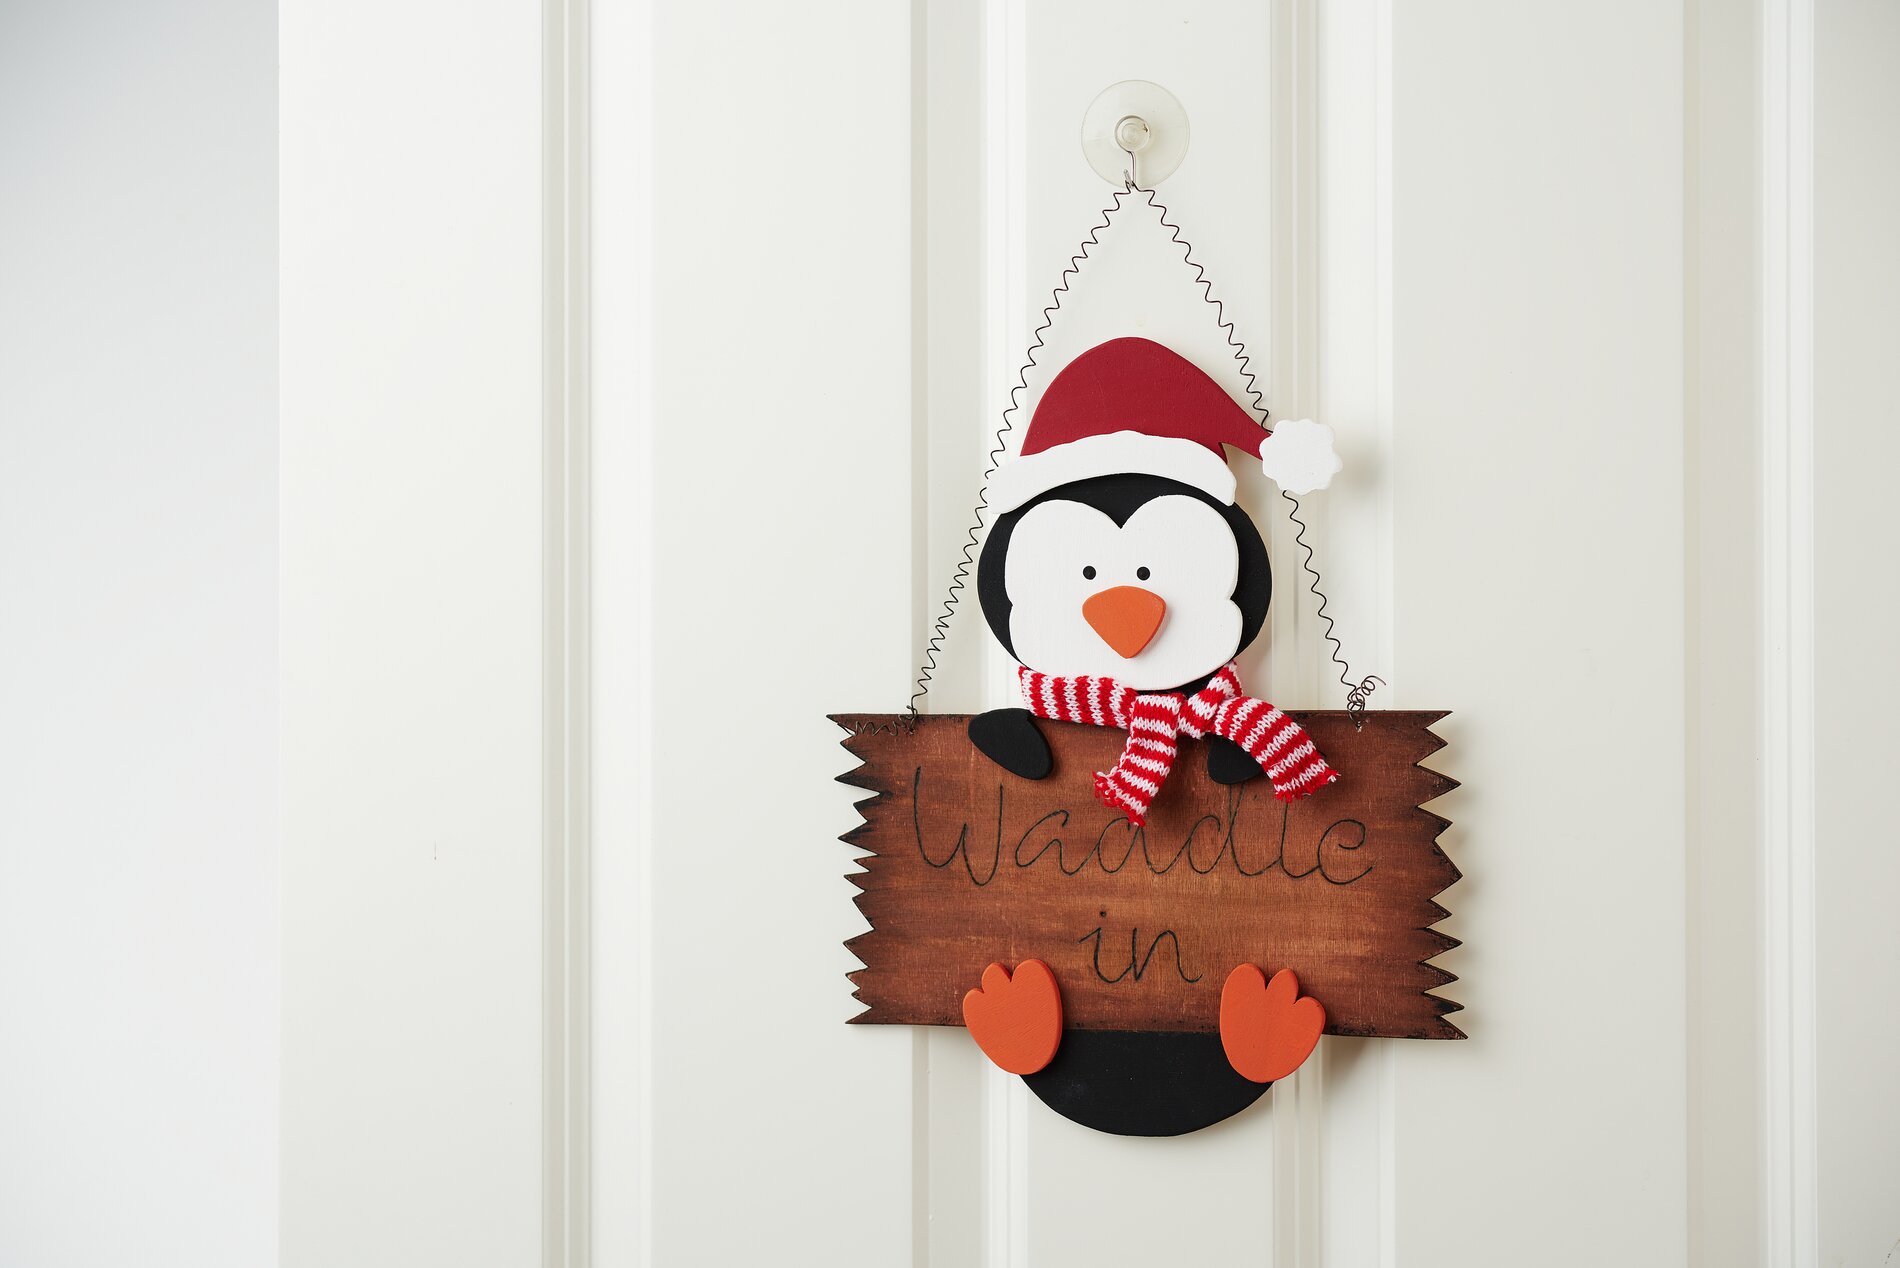
Now glue all the pieces together using the handicraft glue . Use the decorative image in the instructions as a guide to ensure all pieces are glued in the correct positions. For added protection, you can apply a coat of acrylic varnish to the painted wood.
Cut a piece of the “ knitted tube ” and tie it around the penguin’s neck as a scarf. For a little extra hold, you can also glue it in place.
7) Attach the hanging wire
Now take the drill and drill two holes in the wooden sign. Cut about 1 meter of coiled wire, wrap it around a pencil or paintbrush to form a spiral. Carefully pull the wire apart slightly, then secure the ends through the drilled holes.
Your cute penguin sign is now ready to be hung up!
Now it’s your turn! Browse our online shop to find more ideas, instructions, and materials for your next winter craft project!