- Secure order
- Easy return shipment
- Service-Hotline 01 662 20 20
Instructions No. 4038
Difficulty: Beginner
Working time: 2 Hours

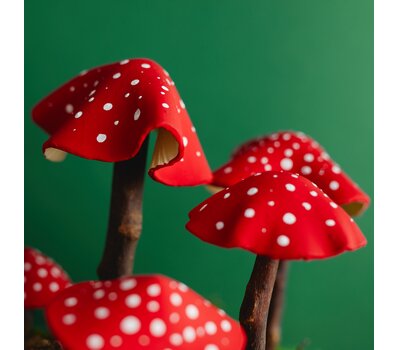
Making Toadstools from Air-Drying modelling clay
First, roll out the lightweight, air-drying modelling clay flat using an acrylic roller—similar to cookie dough. This ensures an even thickness that will dry cleanly and be easy to paint later. Then place the stencils on the clay and carefully cut out the shapes with a modeling knife.
Smooth the Edges and Add Gills
Lightly moisten your fingertip or a brush with water and use it to smooth the cut edges. The water acts as a “finishing touch” here and ensures that the mushroom cap looks professional after drying. Next, cut fine grooves into the top surface of the mixture. These incisions will form the gills on the underside of the mushroom during the “ modelling ” process and give the fly agaric its characteristic structure.
Shaping Mushroom Caps: Wavy or Straight
Place the cut-out circles over a polystyrene egg and gently press the sides down. This creates the classic cap shape with a slight curve. If you’d prefer a straight, cone-shaped mushroom cap, cut a small triangle out of the circle. Now you can overlap the edges to seal them—this prevents wavy edges and keeps the shape nice and even.
Let it dry securely
Place the polystyrene eggs on a stable surface so nothing slips. A glass is handy because the egg sits securely inside, and you can let the mushroom caps dry undisturbed. Allow plenty of time for drying so that the modelling clay remains stable later when painting and gluing.
Painting: red, ivory , and the characteristic spots
Once they’re completely dry, paint the mushroom caps in a bold shade of red —this will instantly give your autumn decorative mushroom that classic toadstool look. Paint the gills on the underside in a warm ivory shade so that the texture stands out clearly. Finally, dab on the white spots with a brush. Dabbing makes the spots look more natural than painted circles, and you can easily vary their size and density.
Attach stems made from tree branches
Wooden branches work particularly well for mushroom stems because they give the decoration a natural forest look. Cut the branches to different lengths—this will create a lively arrangement with varying heights later on. Attach each branch to the inside of the mushroom cap using hot glue. Press it firmly for a moment until the glue sets, ensuring the stem is secure.
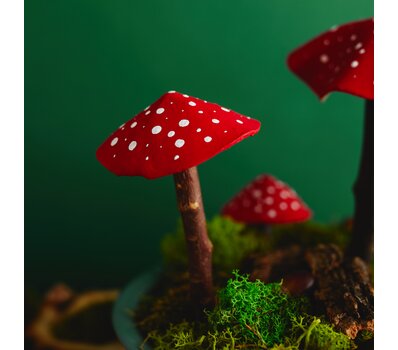
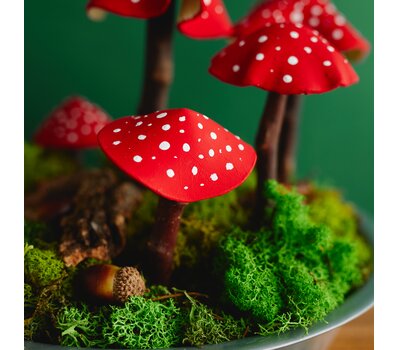
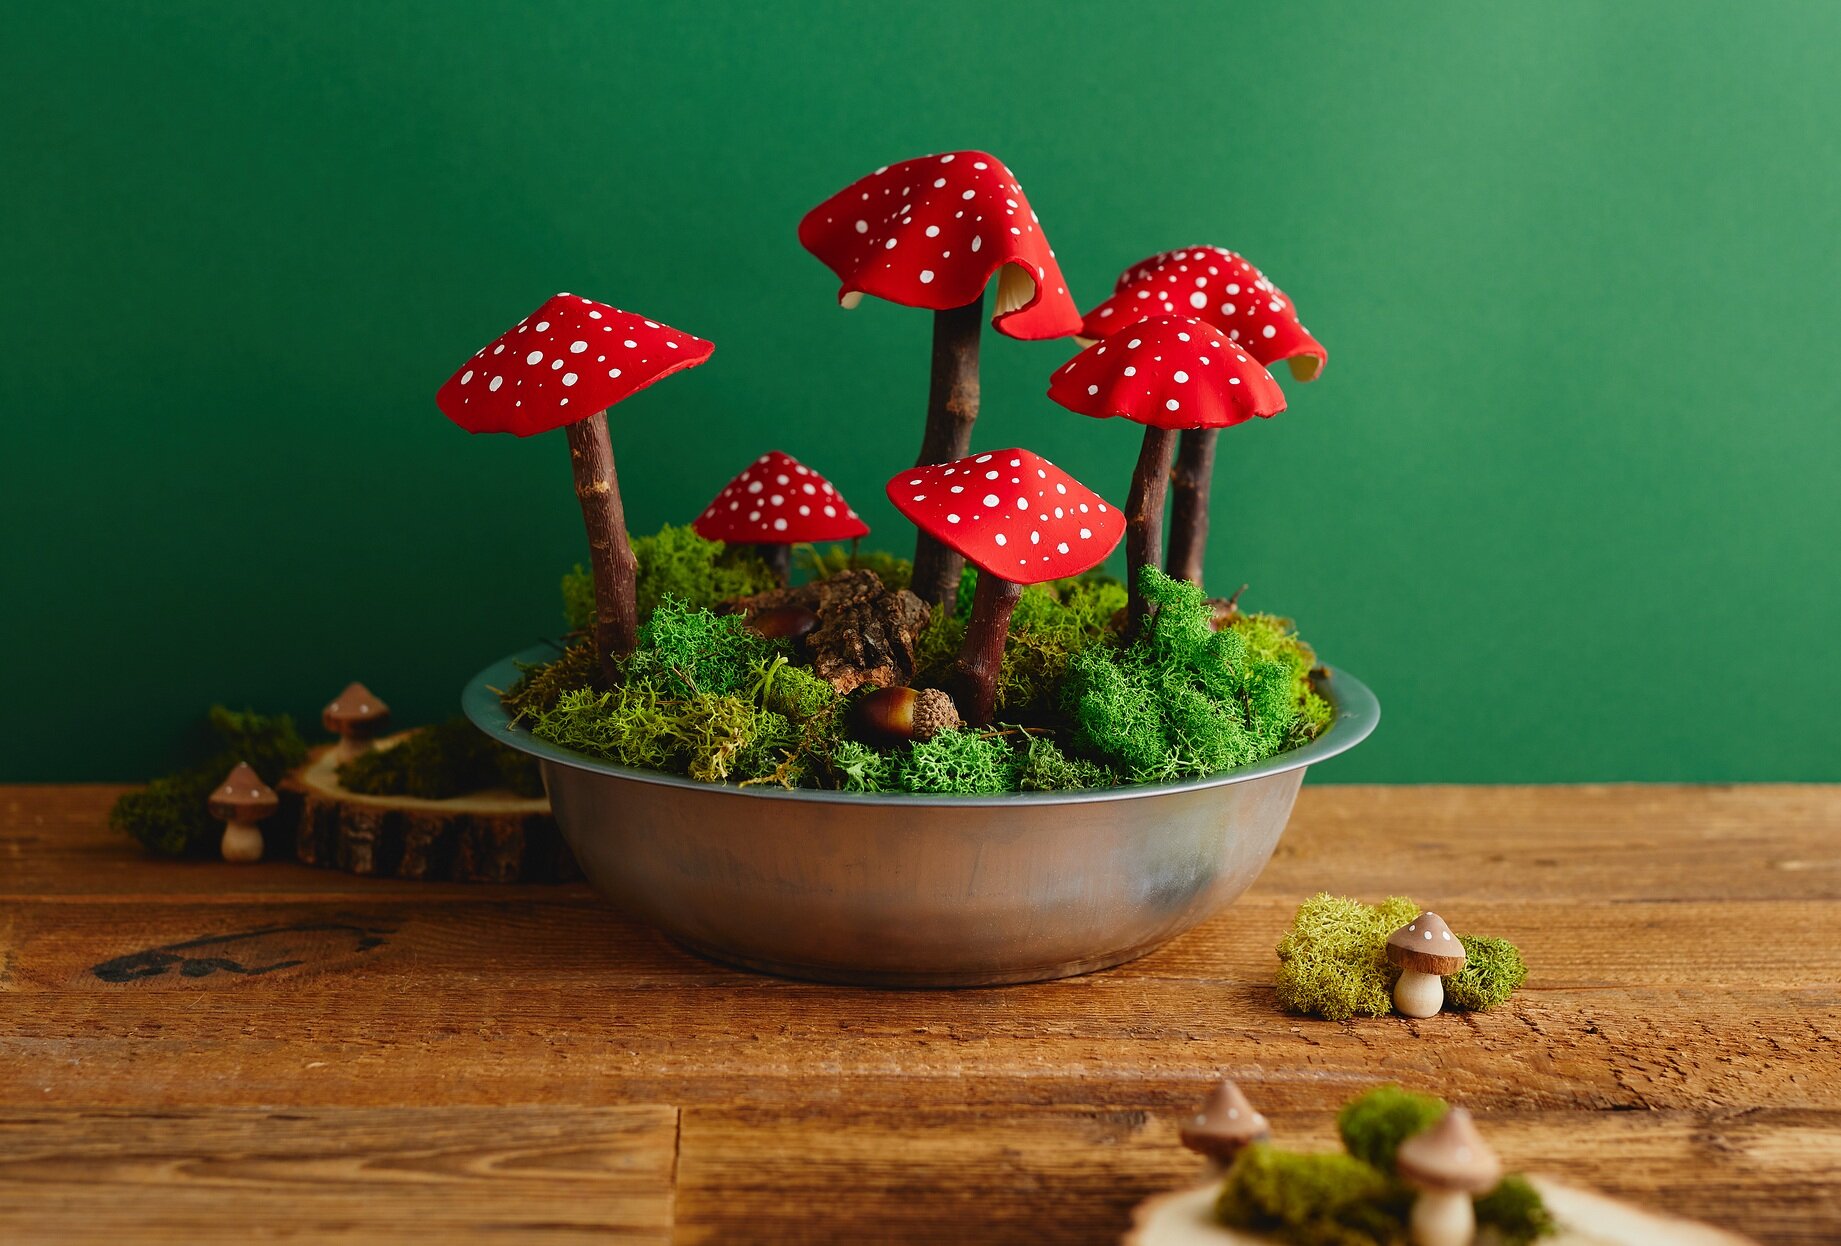
Arrange the autumnal mushroom display in a bowl
Fill a bowl with flower arrangement foam. Place the finished toadstools inside and arrange them so that the group looks harmonious. Then cover the flower arrangement foam with Iceland moss. This hides the foam underneath and creates a mossy forest scene. If desired, add autumnal natural decorations such as bark slices or acorns between the moss and glue them in place so they don’t shift when you move the arrangement.
Now it’s your turn
If you’re in the mood for even more fall decorations, modeling ideas with air-drying “ modelling clay ,” and matching craft supplies, stop by the online shop and easily put together your next project.