This is how it works:
Step 1: Mixing the casting compound
Start your project by mixing the KeraHobby casting powder with water to form a creamy, lump-free mixture. Stir the mixture thoroughly until it is uniform.
Step 2: Pouring and hardening
Carefully pour the mixture into your silicone molds. Tap the molds gently on a firm surface to release air bubbles and distribute the mixture evenly.
Leave the castings to harden for 1 to 4 hours, depending on the size of the mold.
Step 3: Demolding and drying
As soon as the castings are firm, you can carefully remove them from the molds. Then allow them to air dry completely to achieve optimum strength.
Rough edges can be easily smoothed with a little sandpaper
Step 4: Prepare your workspace
Before you start marbling, protect your workspace with old newspapers. This will prevent paint splashes and water stains.
Use an old container (e.g. a bucket or bowl) that is large enough to immerse the casts. Fill it with cold tap water. Note that it will not be possible to completely remove any paint residue later.
Step 5: Marbling
Put on disposable gloves to protect your hands. Shake the paints well and carefully pour a few drops onto the surface of the water.
You can now use a bamboo skewer to draw a pattern in the colors. Do not use too many colors so that the marble image remains clear and harmonious.
Step 6: Transfer colors
Carefully dip the pellets into the floating colors and pull them out again immediately. The paint settles on the surface and creates the typical, individual marble effects.
Then leave the objects to dry thoroughly.
Step 7: Clean the water
To remove any paint residue from the water surface, simply drag a piece of Paper over the water. This makes room for the next color pattern with new drops.
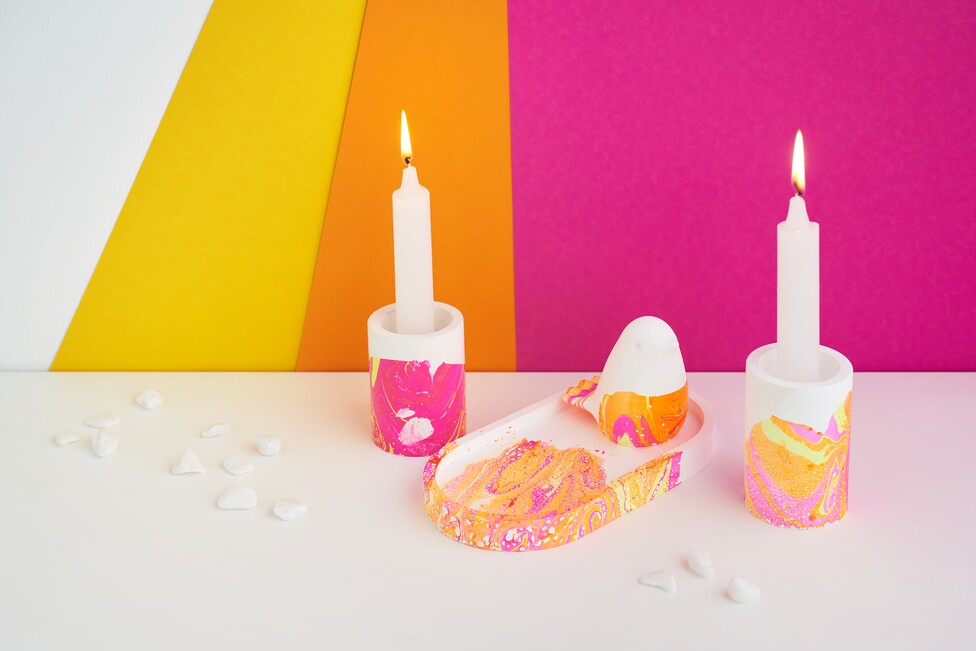
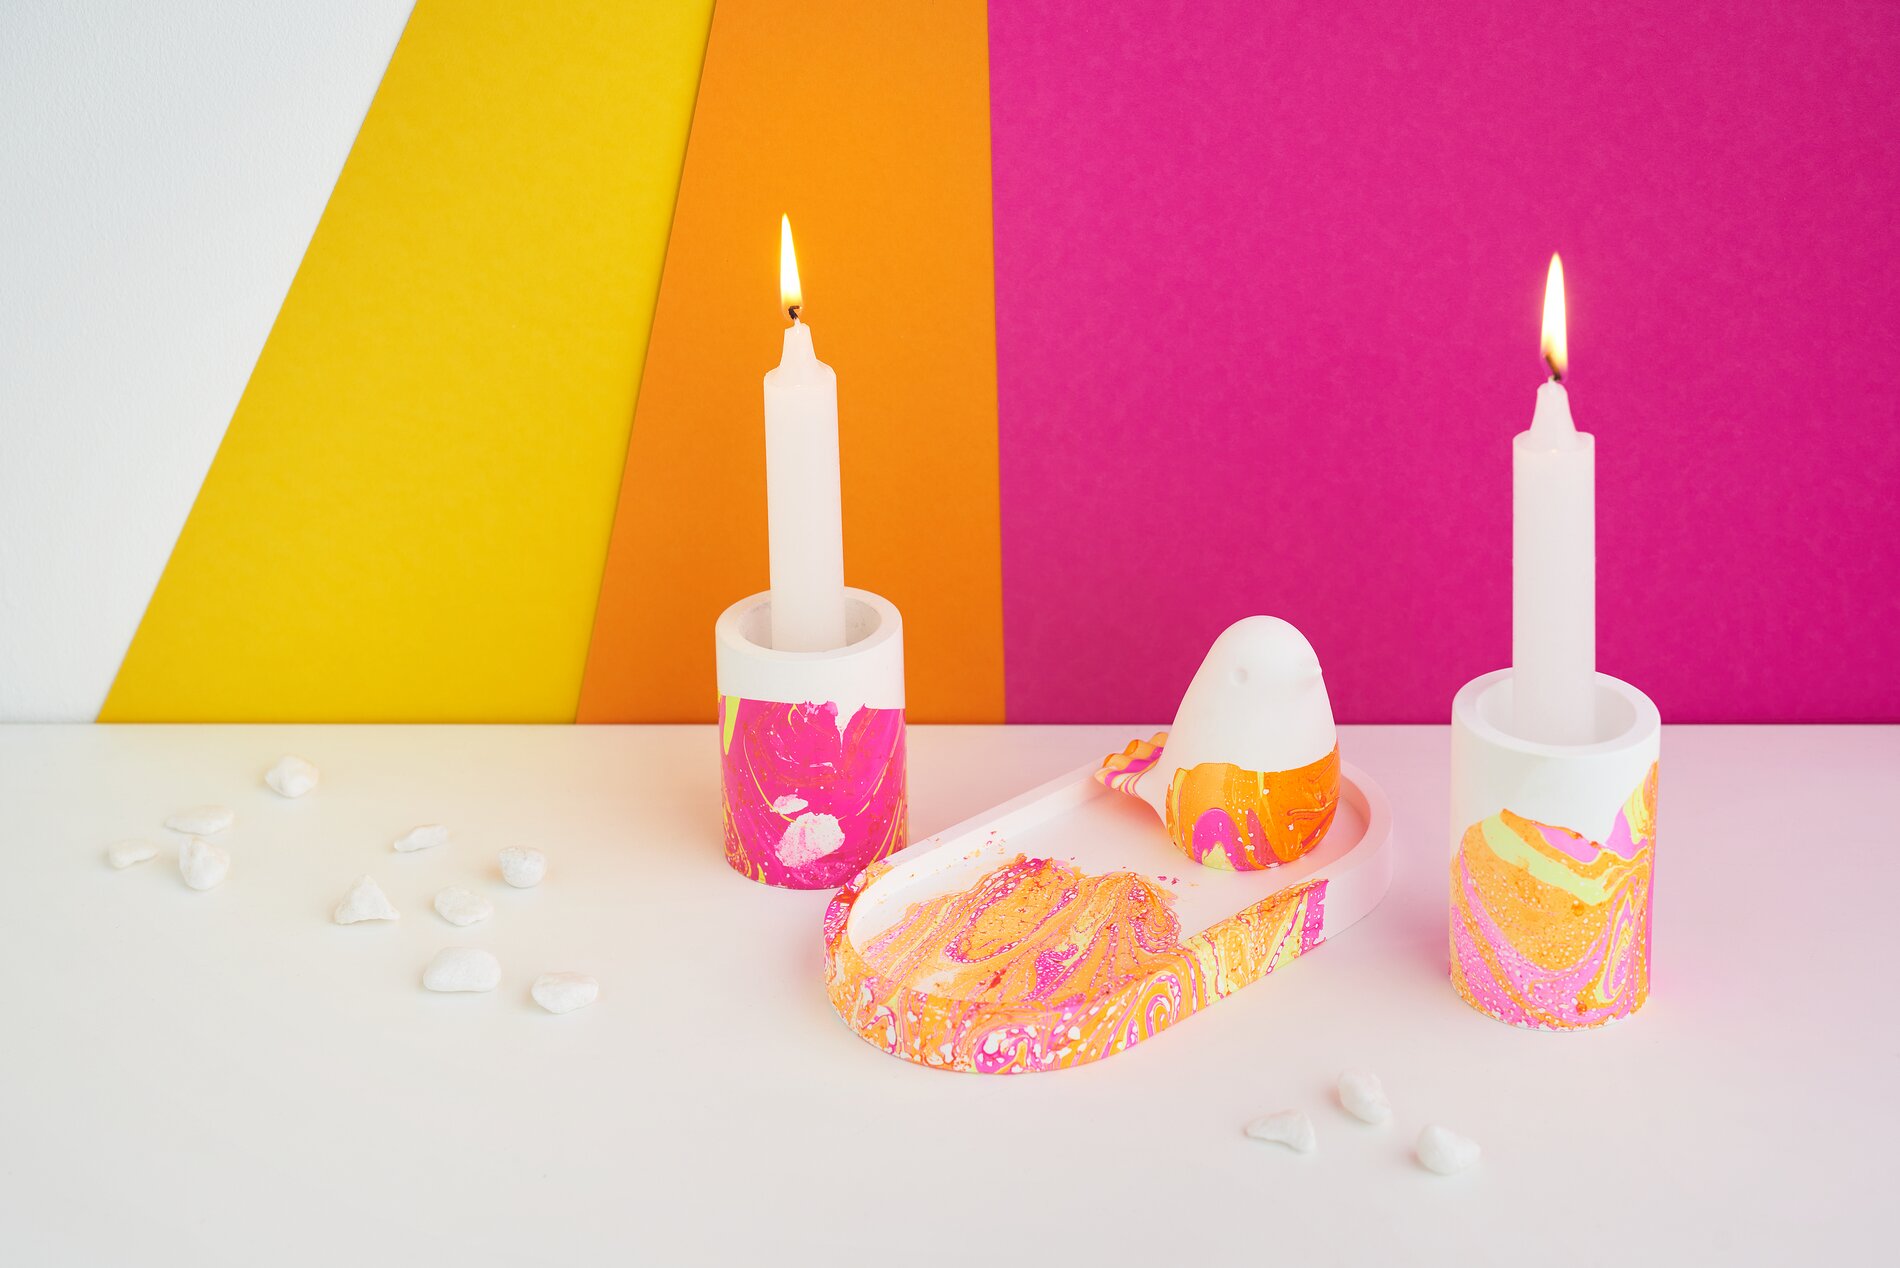
Step 8: Insert the candles
Finally, fill the candle holders with tea lights or pillar candles.
For a better hold of the pillar candles, you can place wax stickers in the kandelaar beforehand.