- Secure order
- Easy return shipment
- Service-Hotline 01 662 20 20
Instructions No. 4152
Difficulty: Beginner
Working time: 2 Hours
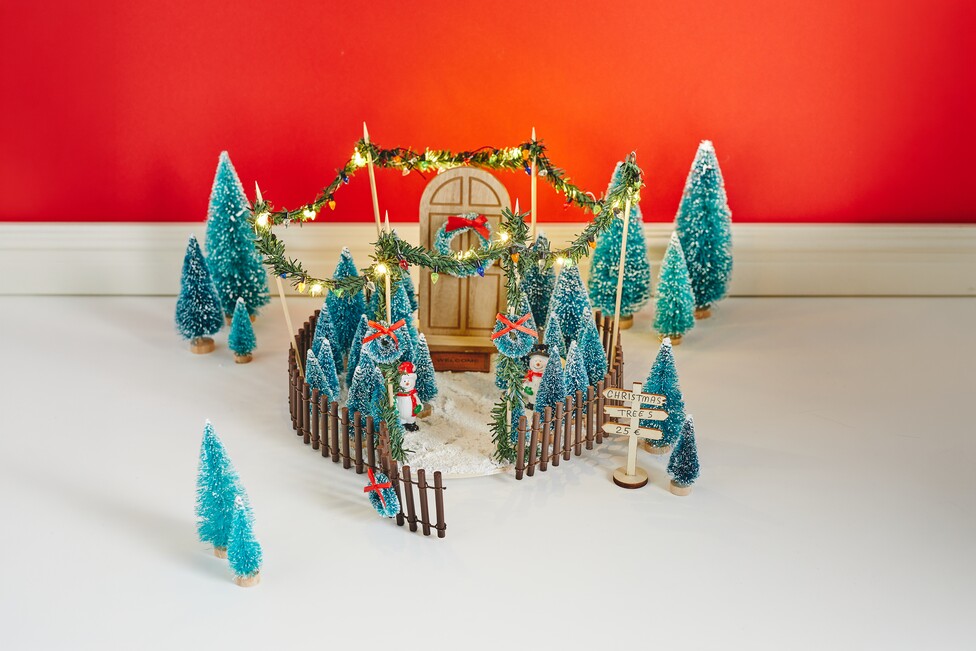
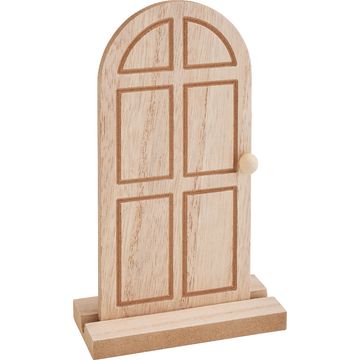
Step 1: Securely attach the miniature door. Glue the miniature door to the rattan base using “ handicraft glue .” Press it down briefly and let the glue set. This step ensures that your gnome door stays securely in place while you’re decorating and later during transport, and that the entire miniature scene looks stable.
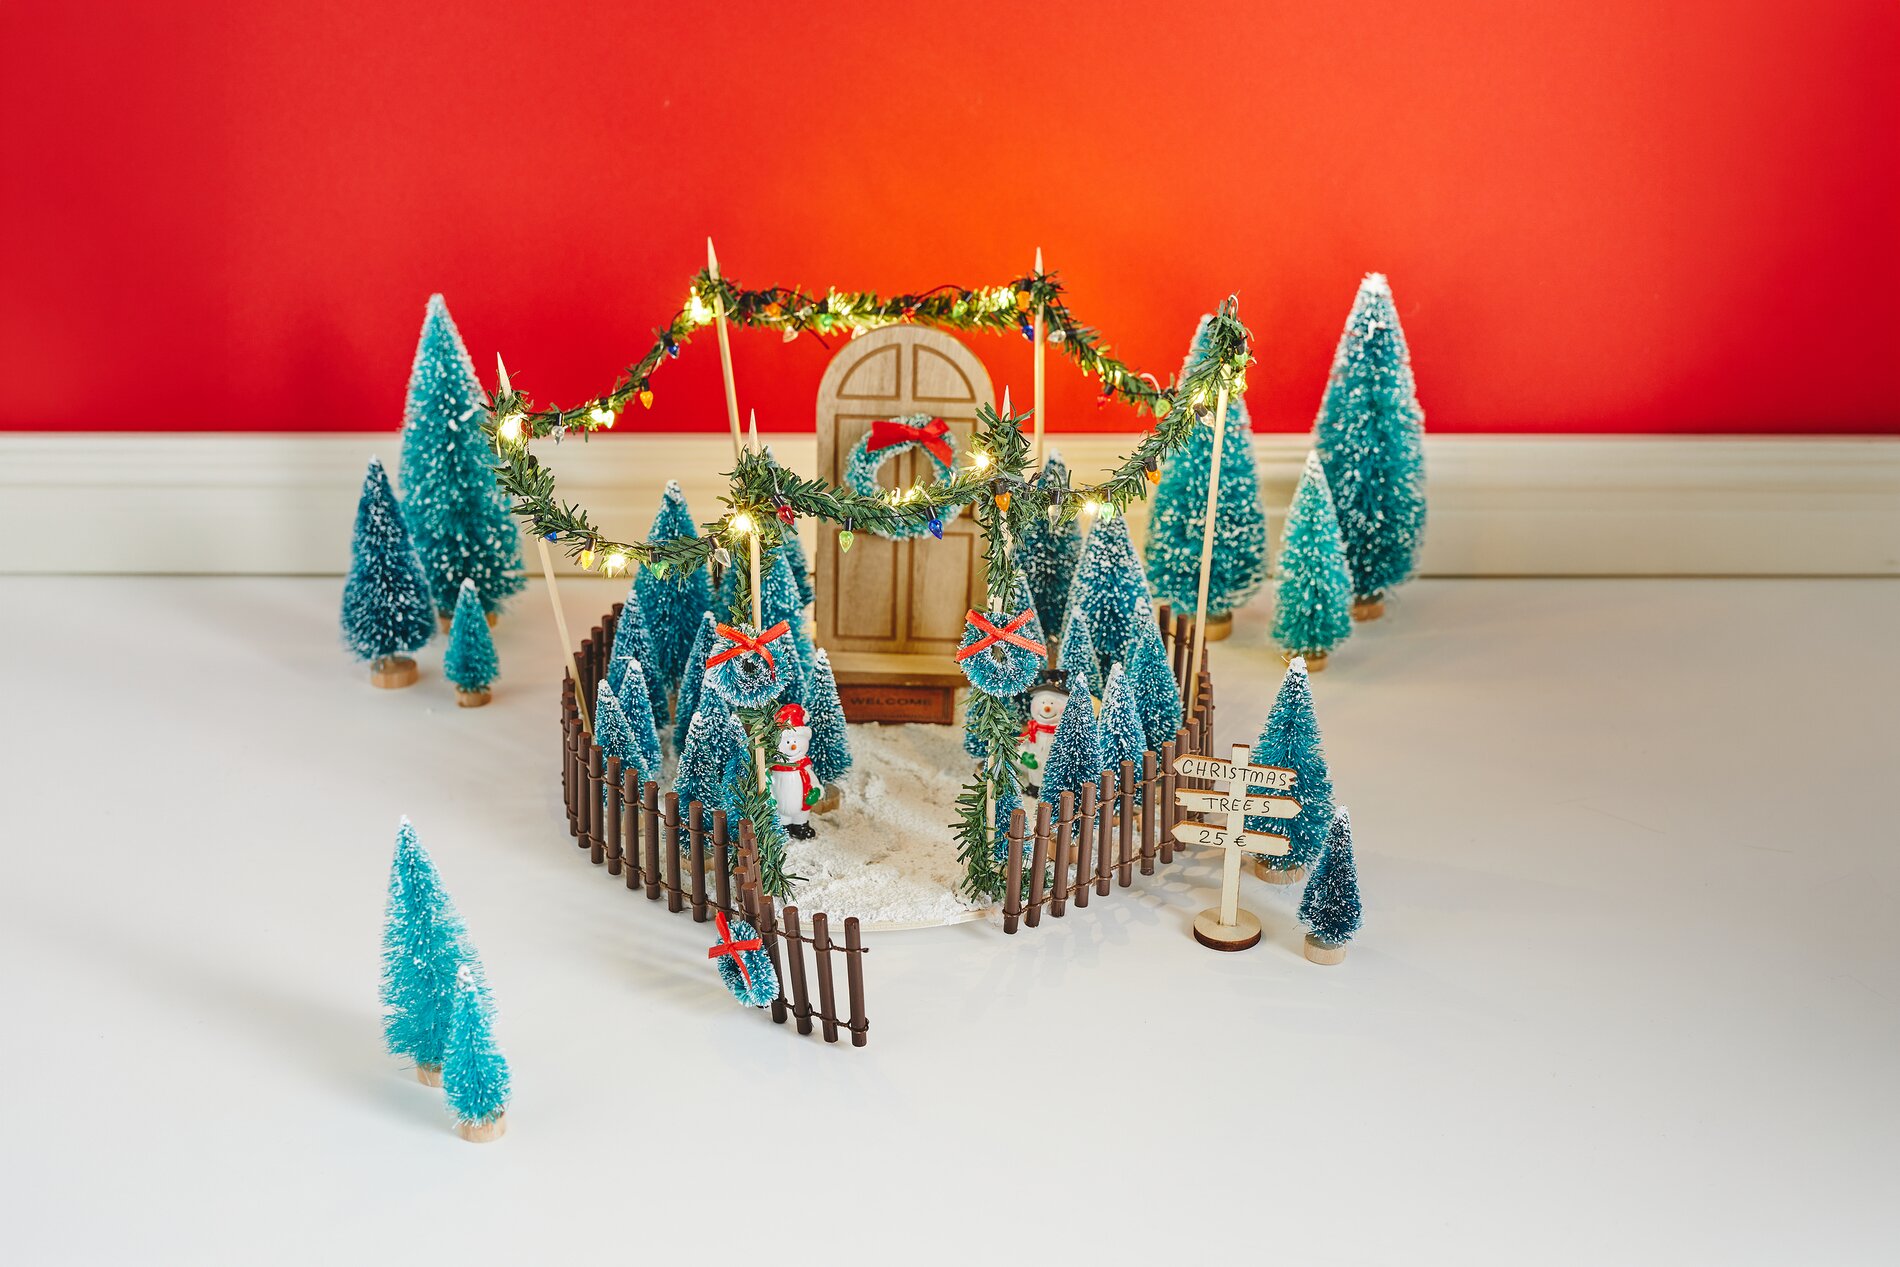
Step 2: Prepare the mounting for the lighting Insert a few bamboo skewers into the holes in the base and glue them in place. The skewers will serve as your discreet “poles,” to which you’ll later attach garlands and LED lights-chains of lights . Make sure they stand upright so the lights hang evenly over the scene.
Step 3: Create the snowy landscape and embed the figures Spread decorative snow over the base. While the snow is still wet, place the miniature trees and snowmen into it and press them in gently. This will help them stay in place. Then let the decorative snow dry completely so that nothing shifts while you continue working.
Step 4: Attach the fence and form a small gate Glue the fence around the base using hot glue. Leave a small section open and bend the fence there to form a little “gate.” This looks like a real entrance to the miniature Christmas village and automatically draws the eye toward the path leading to the elf door.
Step 5: Decoratively hang the garland and micro-LED-chain of light Wrap the garland, the micro-LED-chain of light , and the miniature-chain of light around the top ends of the bamboo skewers. Work your way from one skewer to the next to create a beautiful arch. This will give you atmospheric Christmas lighting in the miniature style, making the scene feel warm and festive.
Step 6: Hide the battery compartment and neatly route the wires Glue the battery compartment of the chain of light to the back of the door. This keeps it out of the main view but still accessible whenever you want to turn the lights on or off. Make sure the wires are routed loosely and aren’t taut.
Step 7: Label the sign and add finishing touches Label the sign with delicate, clearly legible words that match your Christmas theme. Small details like a neatly placed sign give your miniature scene character and make it a real eye-catcher on a windowsill, sideboard, or as a winter table decoration.
Finishing and Decorating Once everything is dry, turn on the LED-chains of lights and check that the lighting is evenly distributed. Now is the easiest time to make small adjustments. If you’d like to add more miniatures, decorative snow, or accessories, you’ll find plenty of suitable craft supplies in the online shop to help you expand your Christmas village.