DIY travel case
Instructions No. 1972So that you have all your travel documents at hand or can organise your souvenirs of the last trip in style, we explain in our instructions how to make this beautiful travel case. In the inside compartment you can keep your documents and can, for example, take out your passport, flight documents and everything else you need right away at the flight control and you don't have to spend a lot of time gathering the necessary documents.
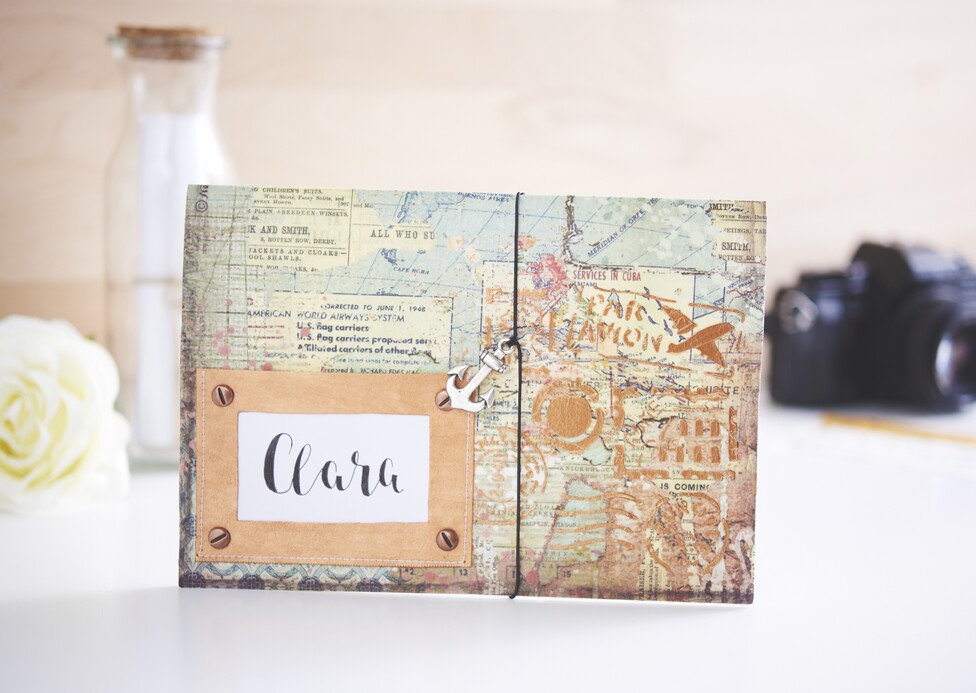
This is how the travel case is made:
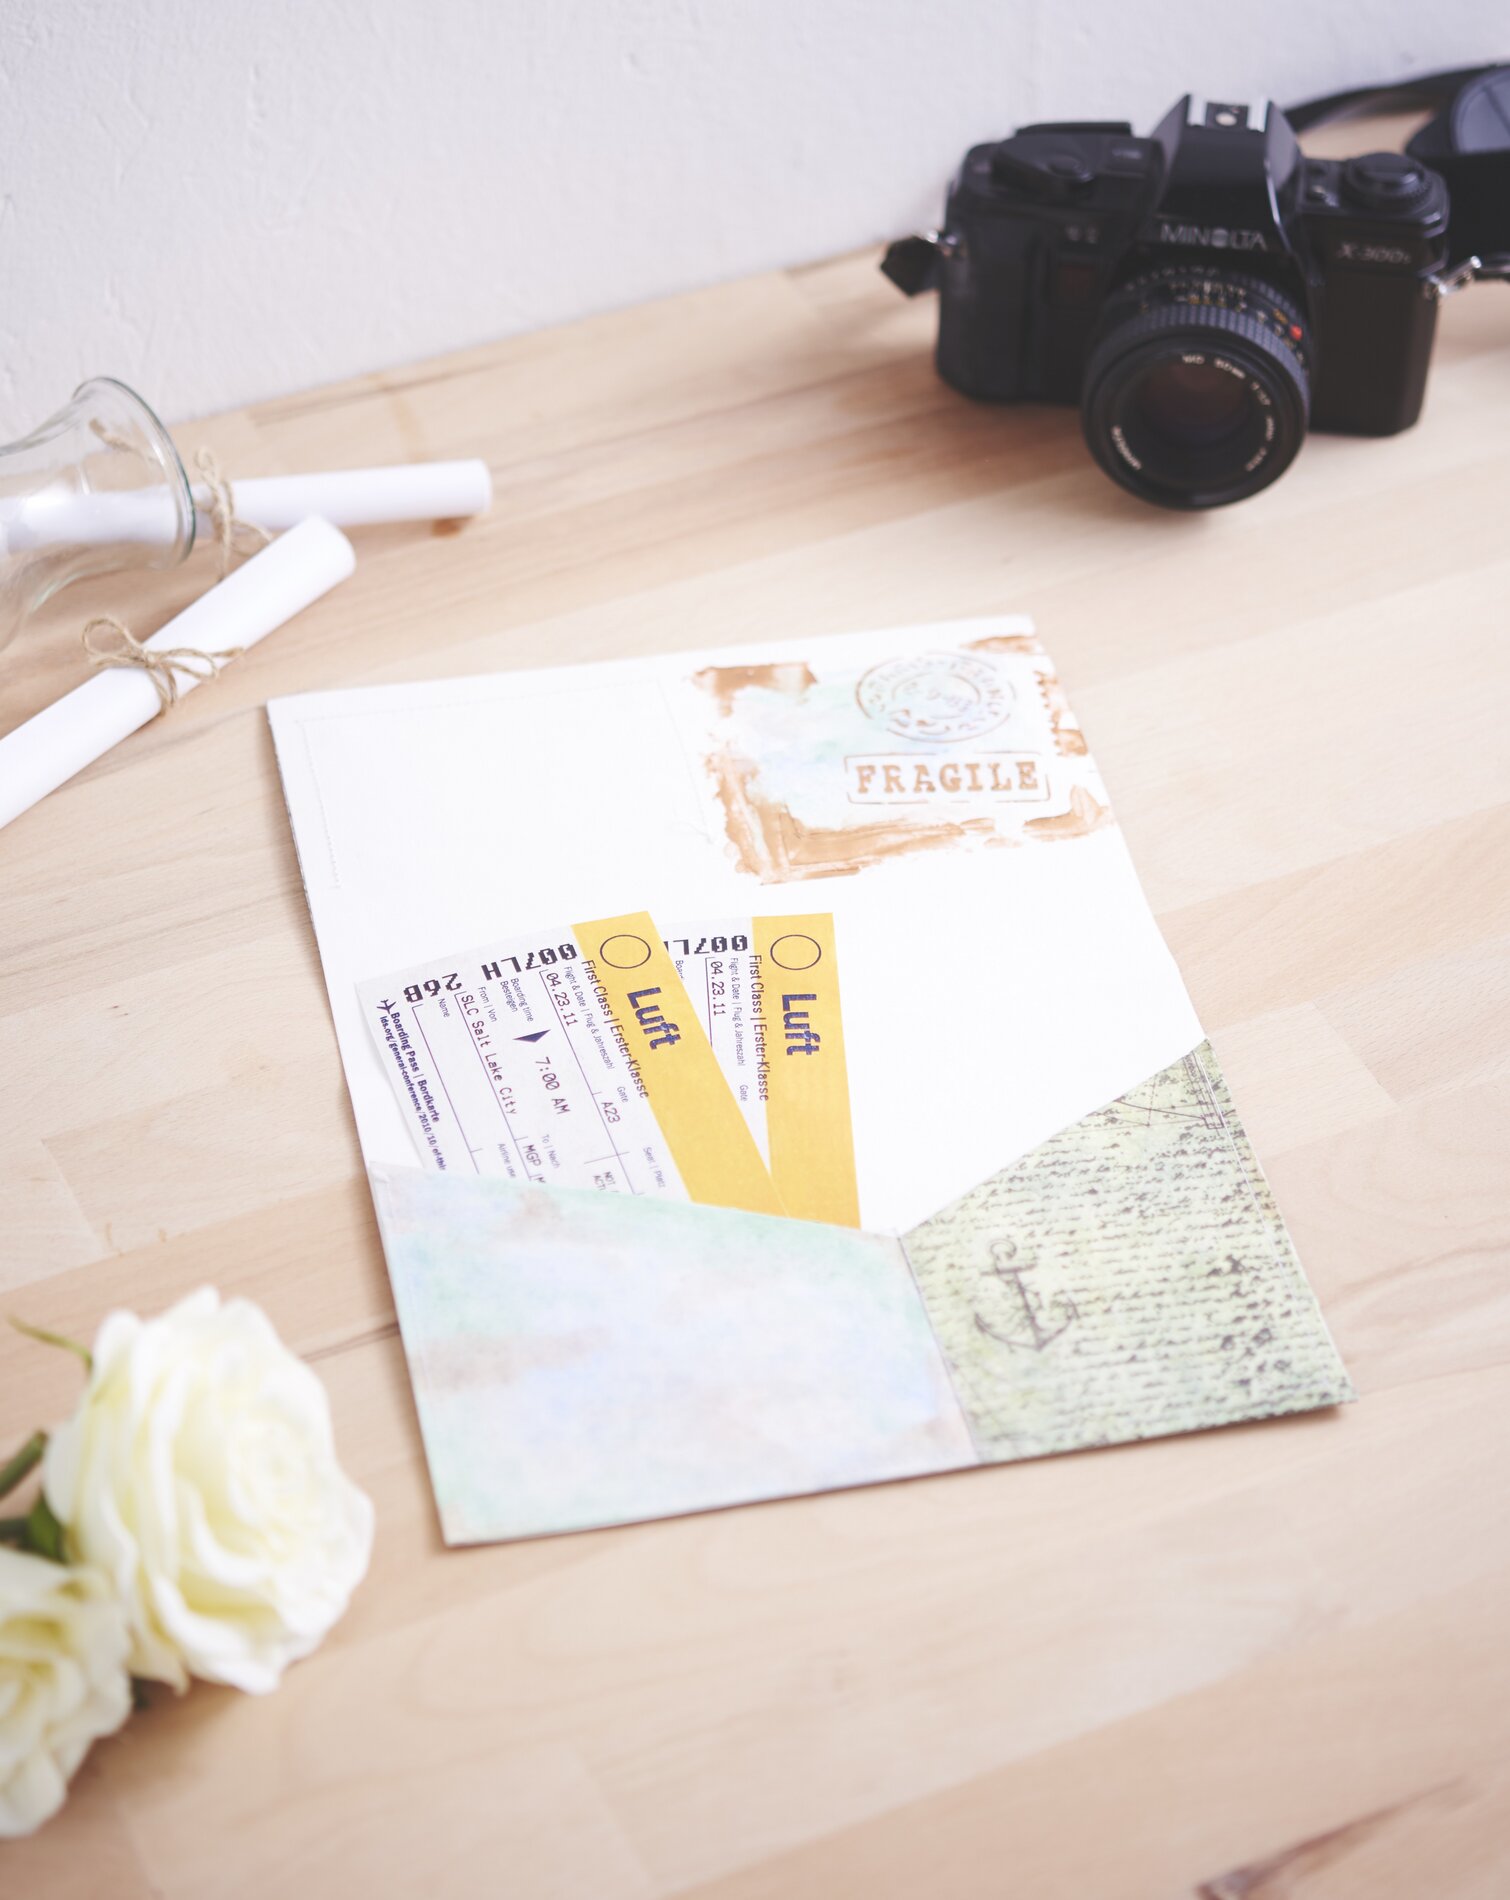
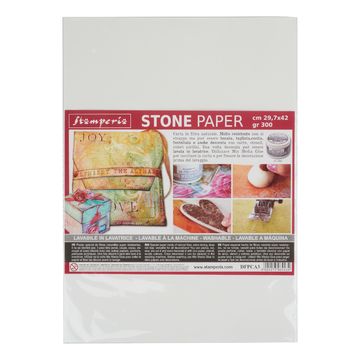
Glue the envelope with the complete Straw silk paper "Map" using Napkin varnish. To do this, apply it to the envelope with Napkin varnish a brush, place the envelopes on top Straw silk paper and brush them again with Napkin glue.
After drying, fold the envelope in the middle lengthwise.
Unfold the envelope. Where papers are to be inserted later, sew the inside pocket to the edges with a straight stitch. Sew a partition in the middle, on the template the dotted line
In our example we have the envelope with modelling cream and a Stencil designed. To do this, place it Stencil on the desired surface and best of all, apply the modelling Spatula cream to the desired motif of the Stencil apply. We have also created the "viewing window" with bronze modelling cream. Cut out the window from the stone paper and dab it with the modelling cream. Alternatively you can paint Handicraft paint it with one. Attach four screws to the "viewing window" Brads on. First fix it with double sided on Adhesive tape the cover and also sew it on with a straight stitch
Use the hole puncher to make a hole for the rubber band. Thread it through this hole with an anchor pendant and knot it inside
Now you can put a name tag in the viewing window.