The following instructions refer to the application of a PC with Windows operating system. On mobile devices and other operating systems, the arrangement of the buttons may differ. The names remain the same.
Inserting and cropping a file- First, please download our SVG file.
- Open the Cricut Design Space app.
- Click on the three horizontal lines in the upper left corner and go to "Workspace". Now you will see the working mat on your screen.
- Click on "Upload" on the left. Here go to "Upload image" and then to "Browse". Open the VBS SVG file.
- Under "Select image type", click on "Complex" (to crop the motifs) and then on "Next" at the bottom right.
- Now click on all the white areas with the mouse and thus crop the motifs. Please also note the white areas in the letters if they contain lettering!
- Click on "Apply and continue".
- Click on "Cut out image" under "Select upload type" and then on "Upload" at the bottom right.
- Now go to your file under "Last uploaded" and then click on "Add to canvas" at the bottom right.
- Now you have the file with the cropped motifs in your workspace. We are plotting everything out in one colour, so we don't need to ungroup them here.
Plot- First connect your machine.
- Now place the cork mat or even the vinyl film with the glossy film side on the mat.
- Click on "Make" in the top right-hand corner.
- Now go to the cutting mat, select the size of mat you are using and click continue.
- The file is displayed on the mat. Now click on "continue".
- Now select the correct material.
For cork: under iron-on vinyl "Flokfolie".
For vinyl: under Vinyl on "Matte vinyl film".
7. Now follow the instructions. The mat is pulled in and the plotting process starts.
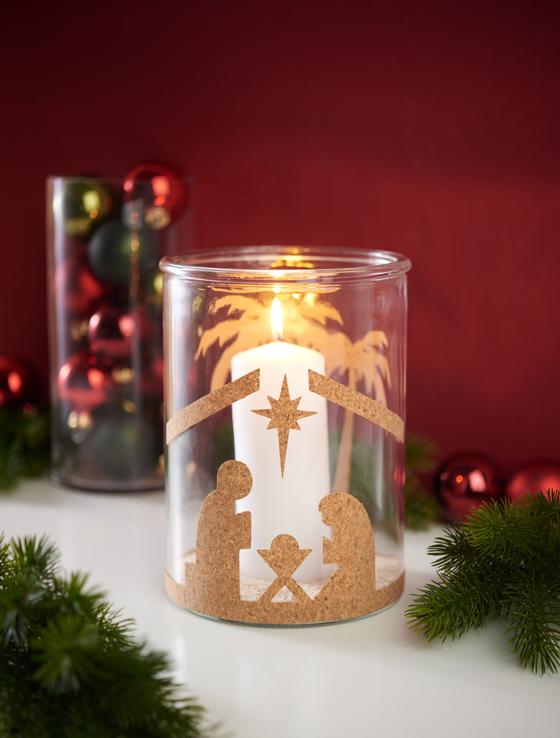
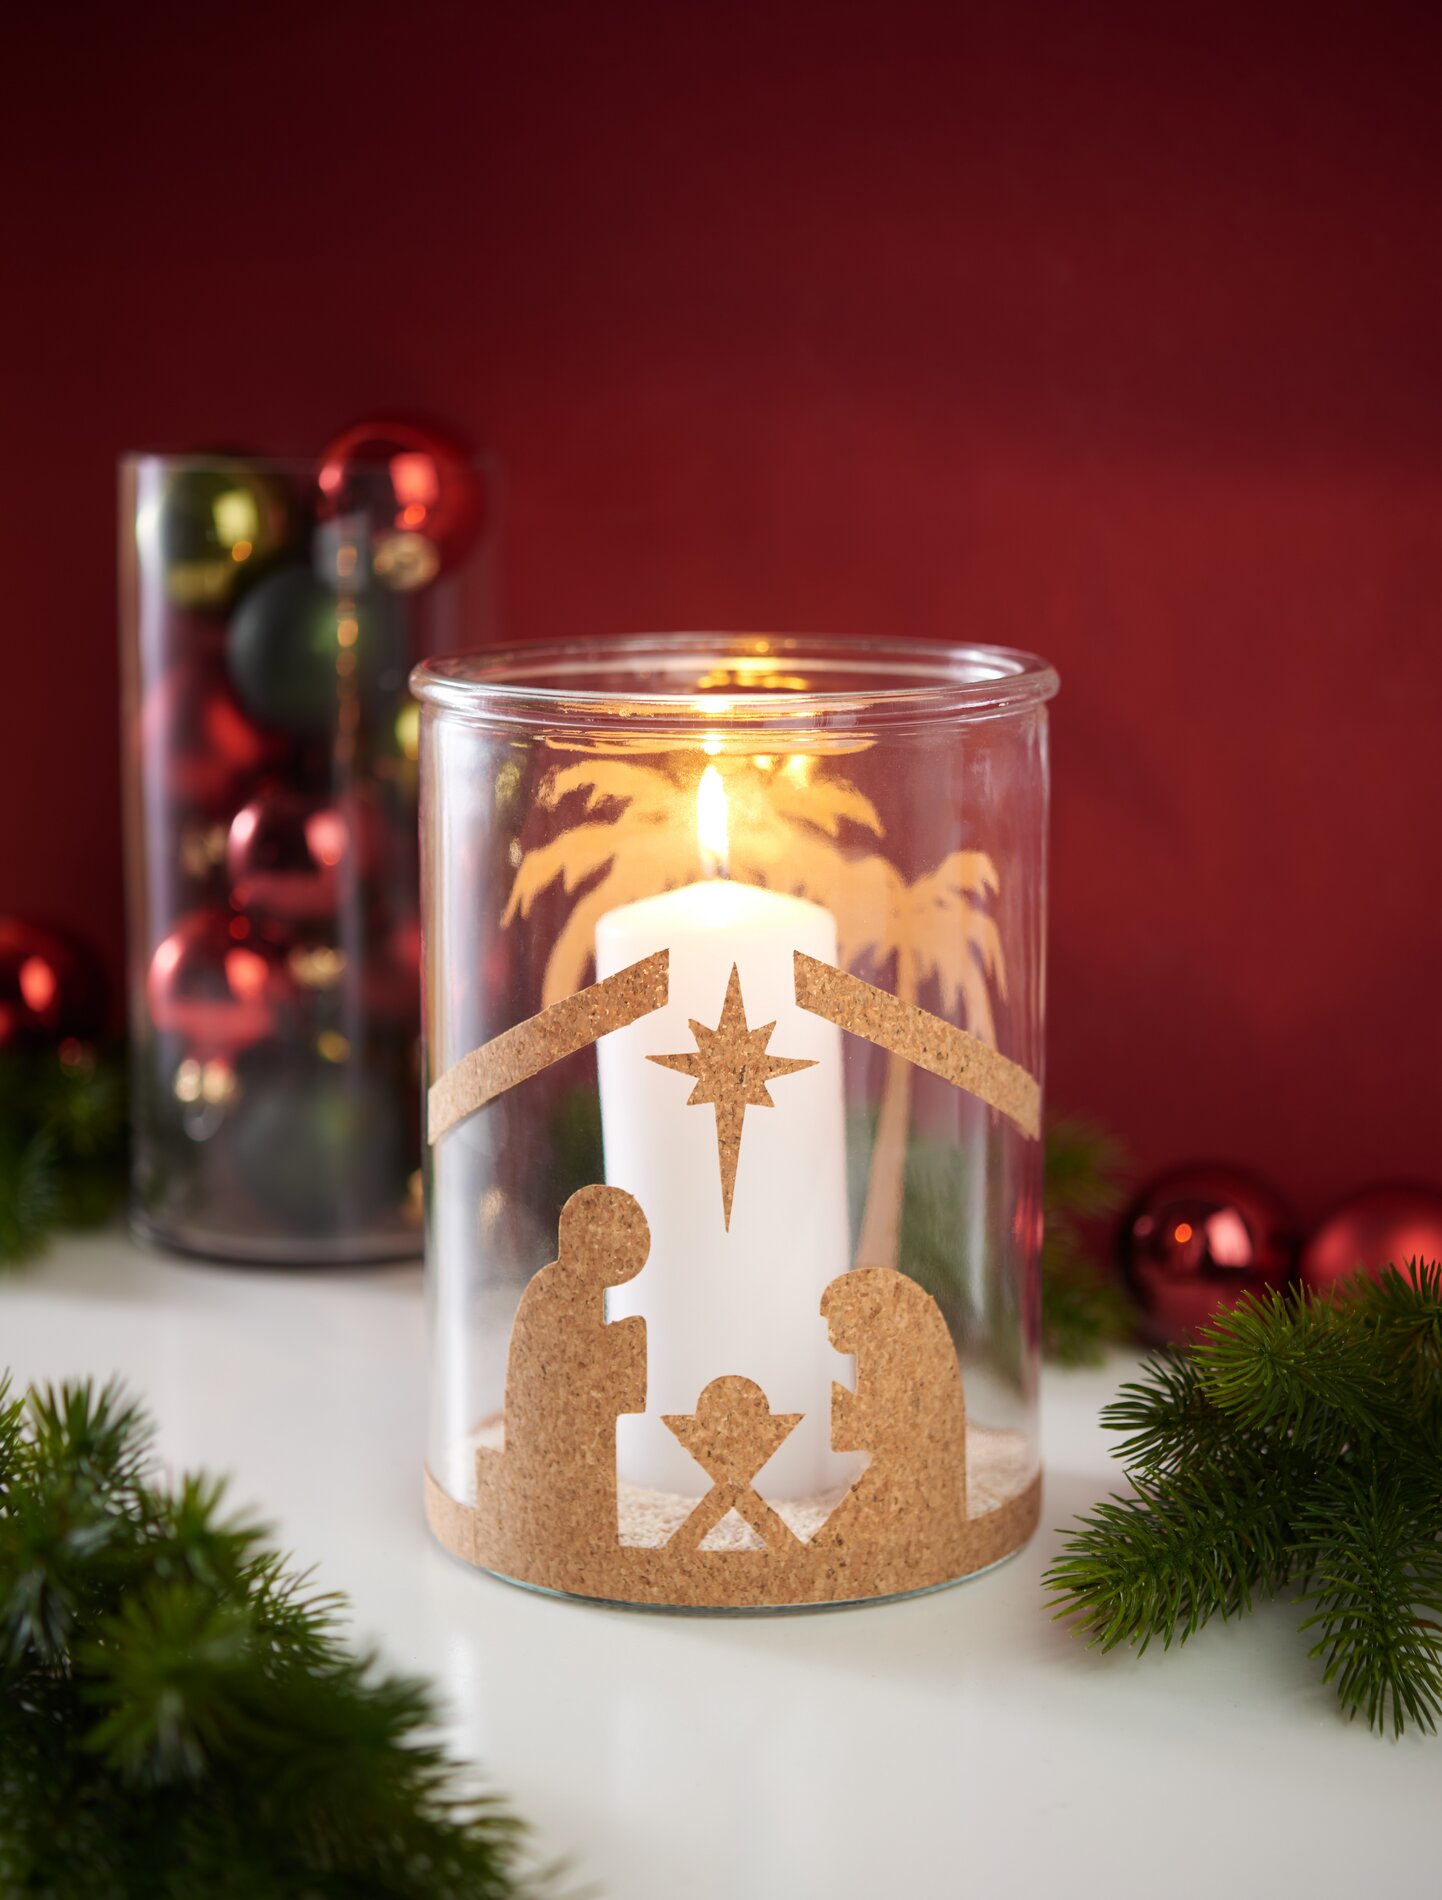
8. Now weed out the motifs and stick them onto the lantern glass.