Basic instructions Pouring
Instructions No. 1765
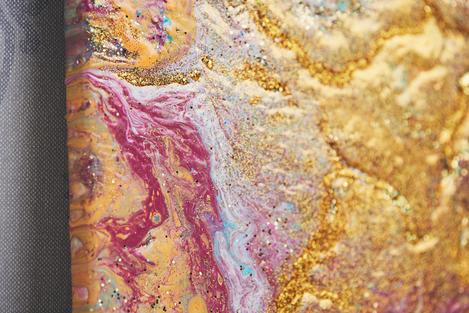
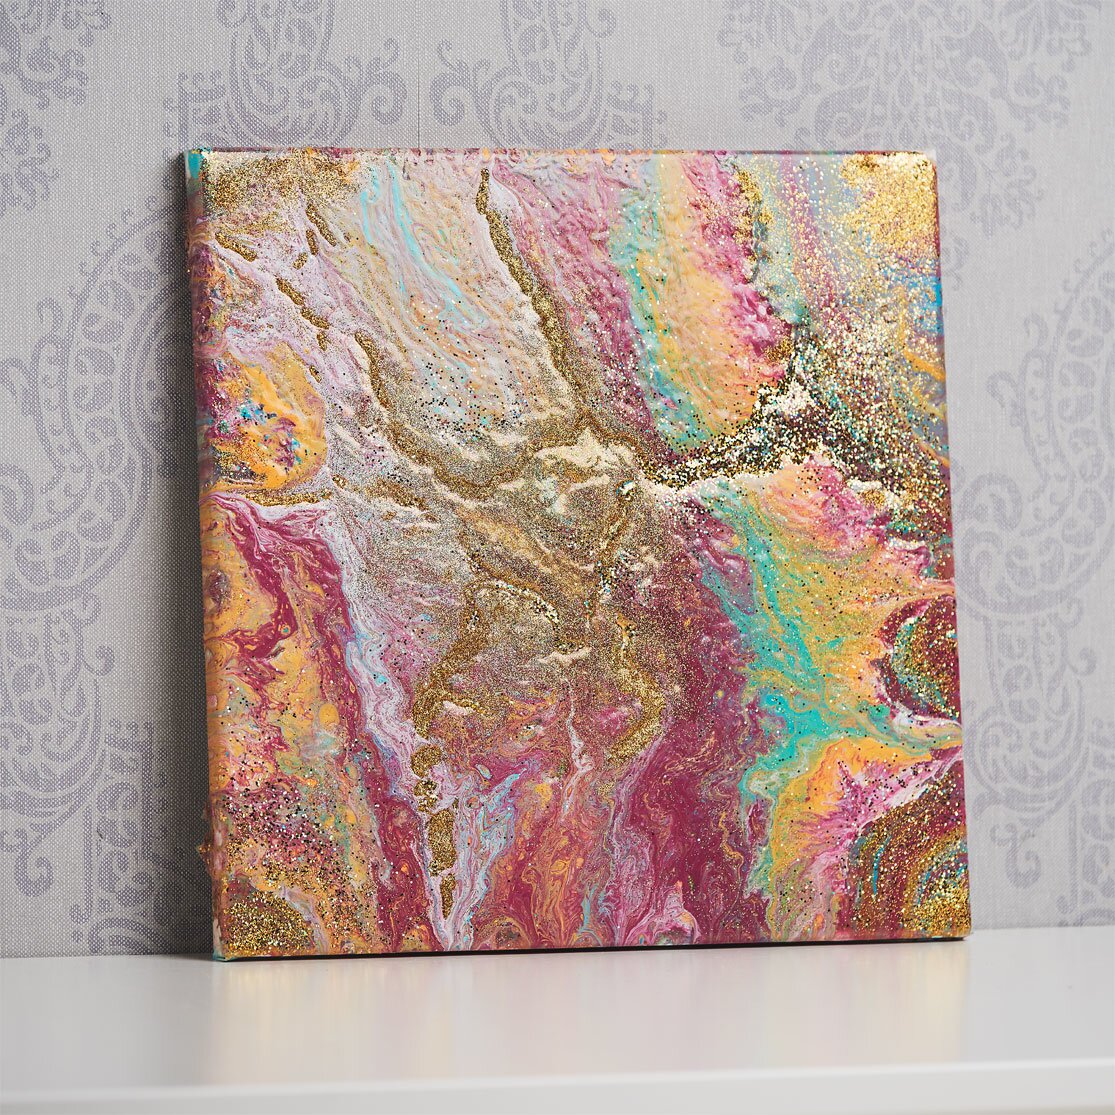
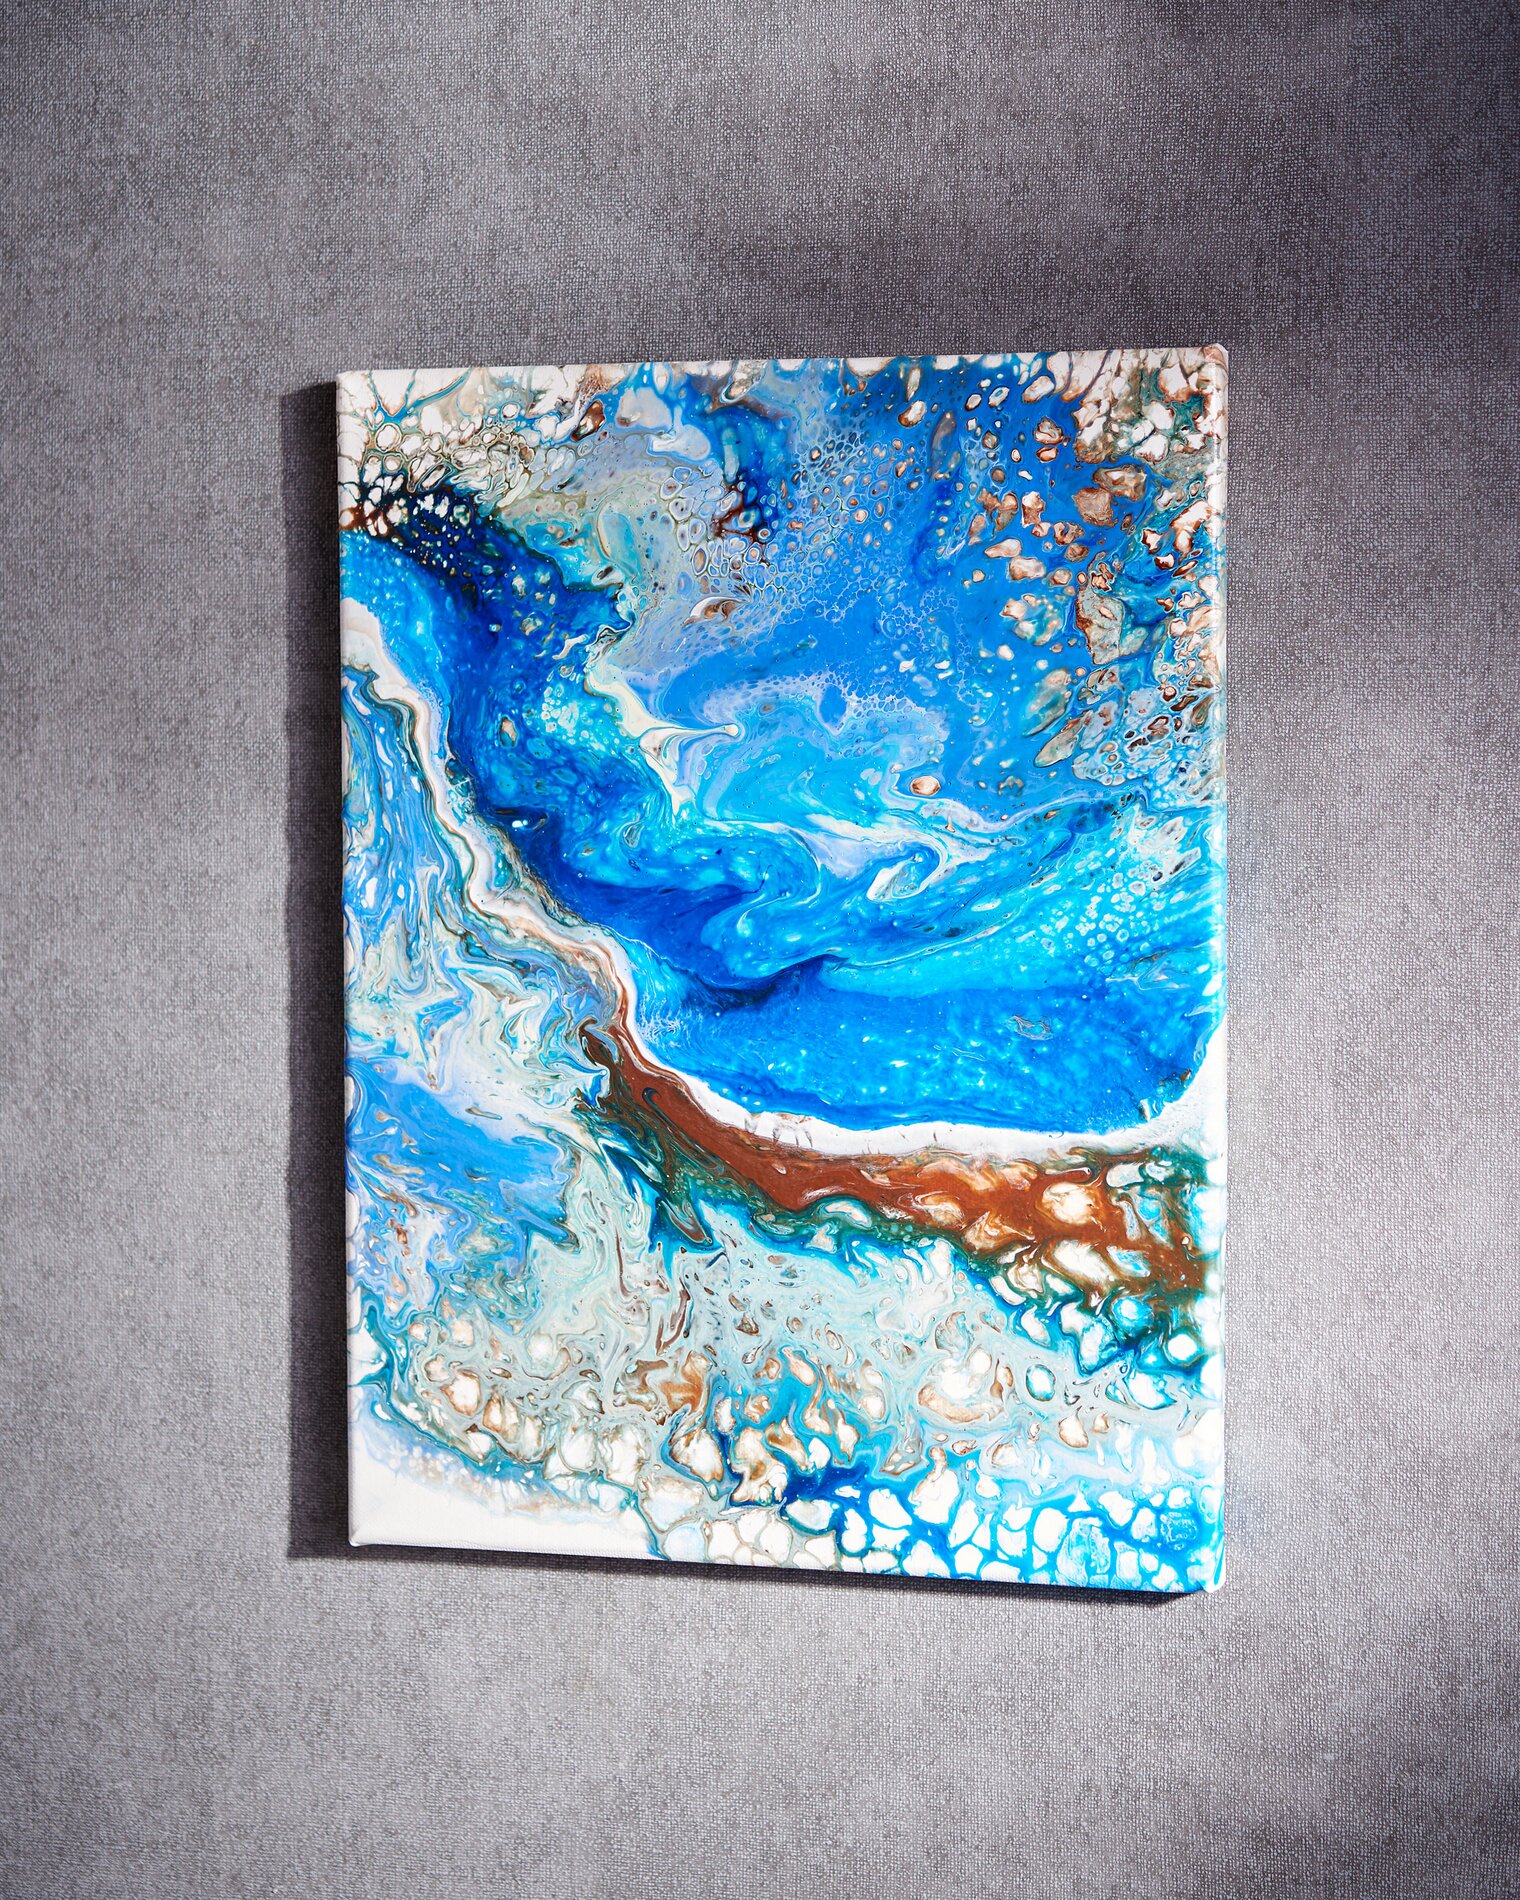
Why is Pouring so popular?
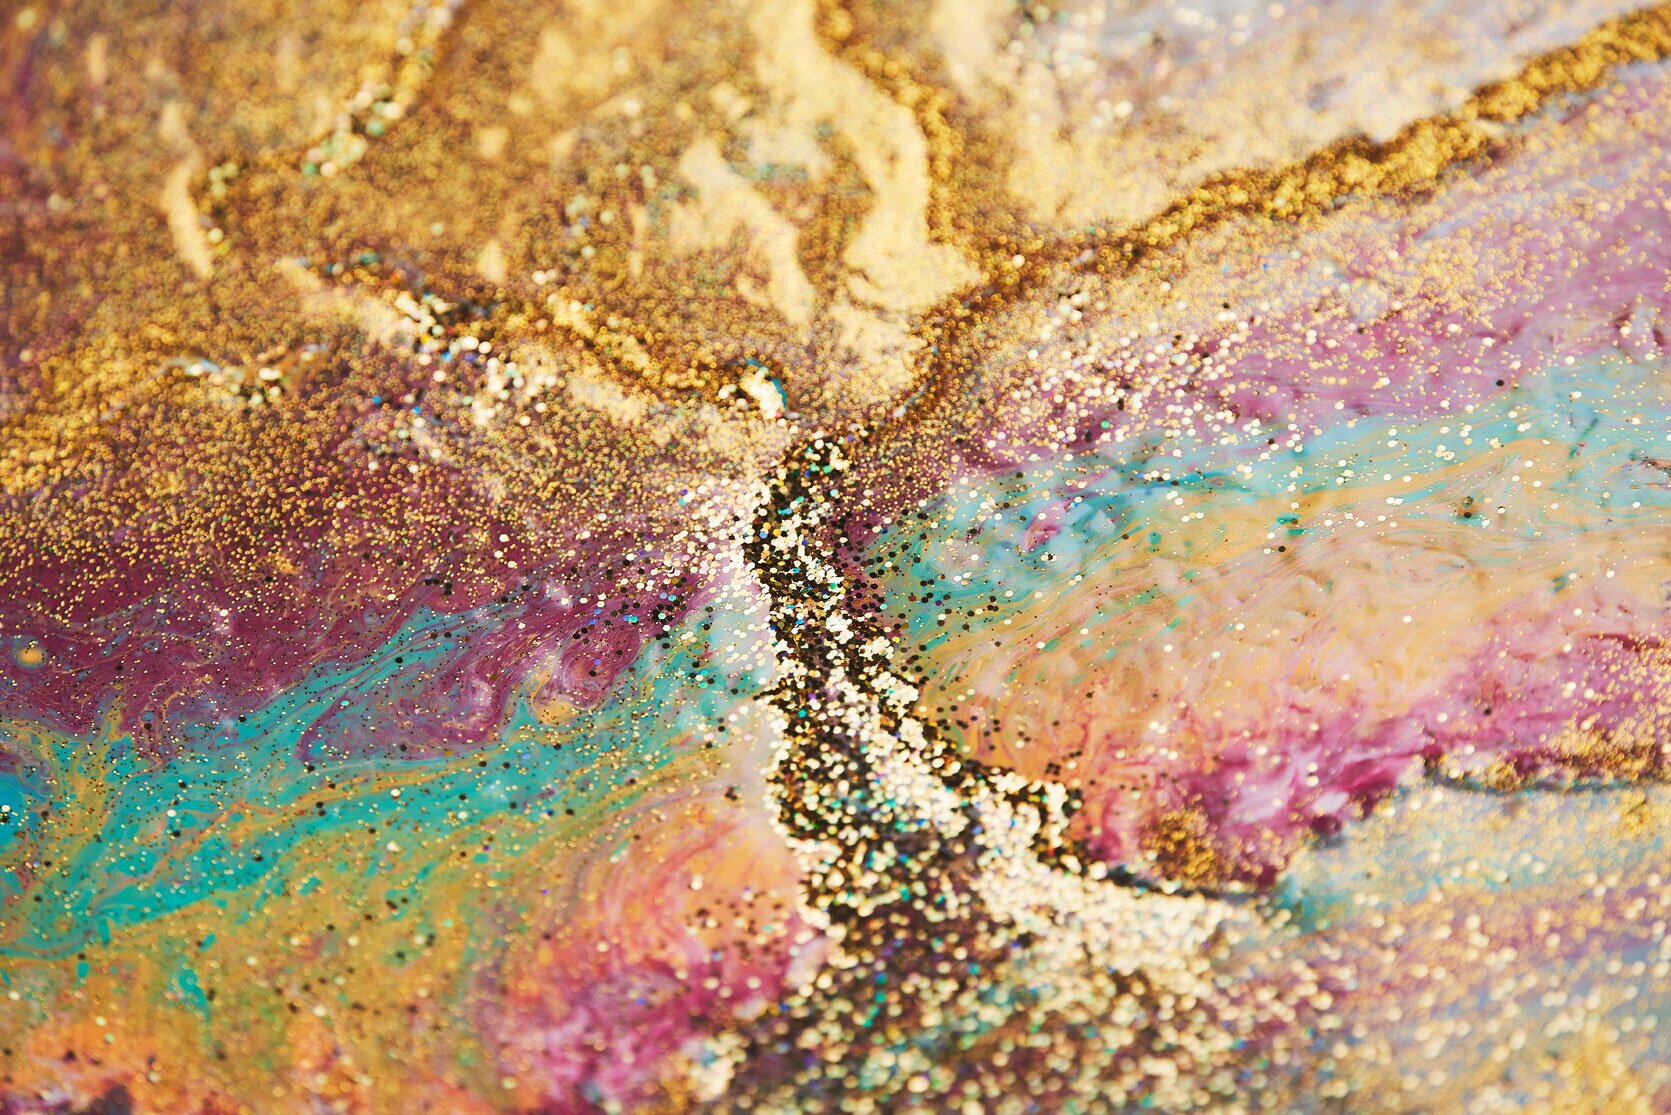
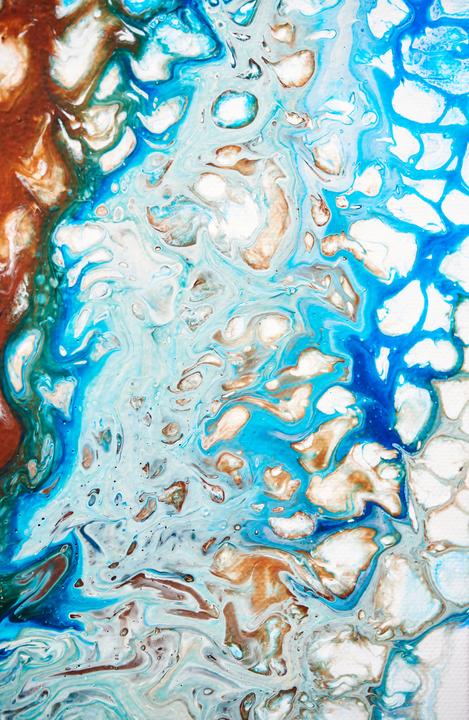
What is this Pouring Medium for?
Dilute the medium without Acrylic paint destroying the colour structure. According to the product instructions, the medium is mixed with the paint until it is thick and flows slowly on the image medium.
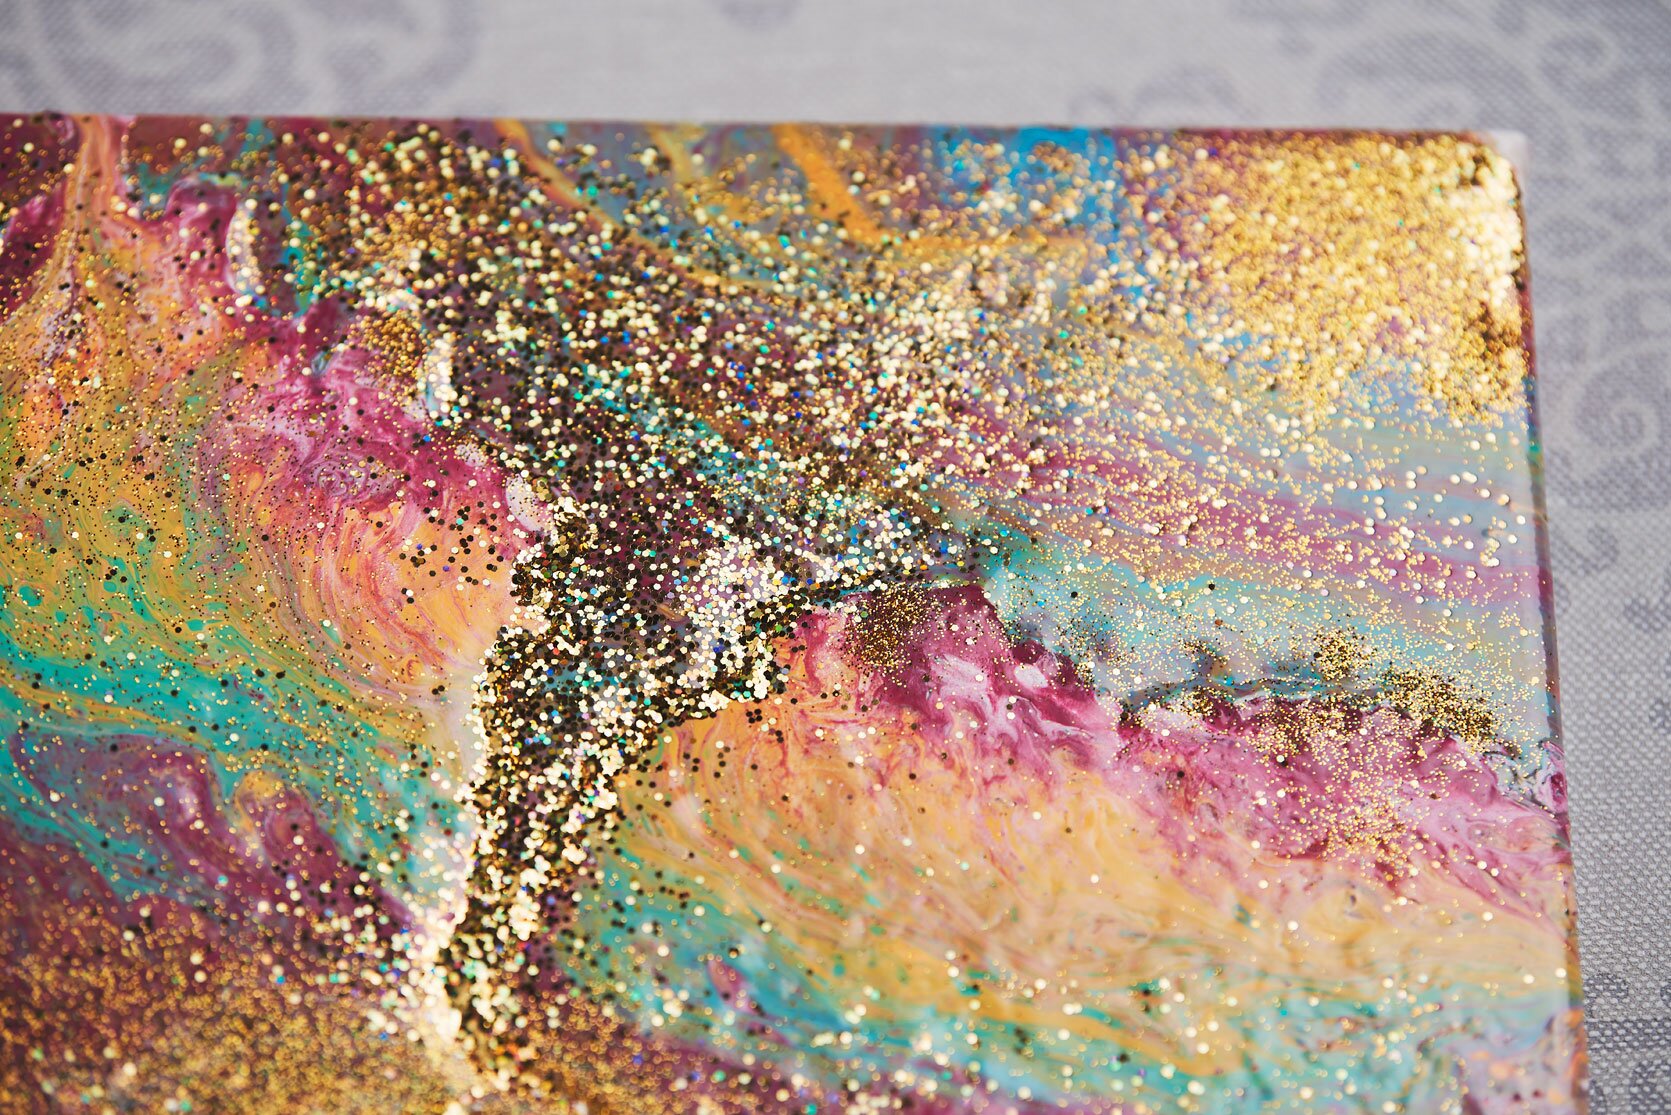
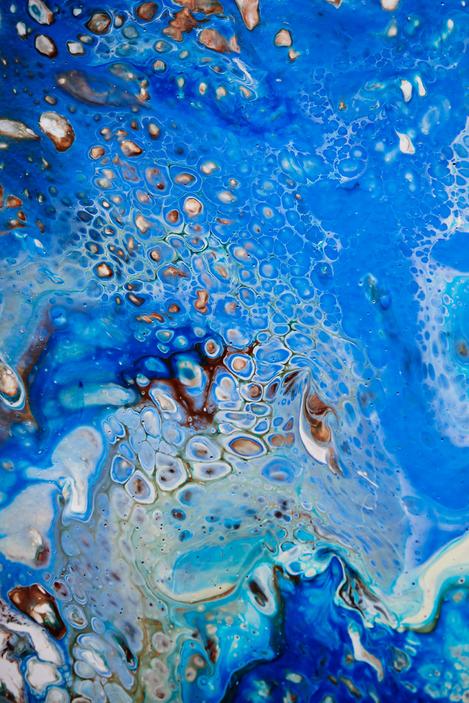
If more color bubbles are to appear on the picture, a little silicone oil is stirred in at the end. The more you stir now, the stronger the bubble formation.
Preparation
Protect your work surface, hands and clothing. If possible, use a protection for the work surface on which the cast picture can dry in peace. Additionally, cover the work surface with baking paper. From this Paper paper you can easily remove excess paint that has dried laterHow is Acrylic casting best achieved?
Puddle Pouring
The individual colours are poured one after the other on top of each other in the middle of the stretcher frame or picture ground. Due to the viscous consistency, the paint melts hesitantly. only The direction of the colour gradient can still be influenced.
Dirty pouring
In Dirty Pouring the different colours are poured one after the other into a glass or cup. Tip: For particularly effective colour contrasts, alternate colours and complementary colours when pouring. This Acrylic paint is then poured directly from the glass onto the picture.
Flip cup
Also for the technique of the Flip Cup, colours are first poured in layers into a cup (or a glass). This cup is turned upside down in the middle of the picture surface, the colour is then distributed. Use wooden spatulas, wooden skewers, and pipettes for your color experiments - get to know and appreciate color in a whole new way!
The mixed colours can be stored up to 3 months in screw glasses for the next picture. You should always cover the opening with cling film so that no dried paint residues crumble into your mixture.