- Secure order
- Easy return shipment
- Service-Hotline 01 662 20 20
Instructions No. 4107
Difficulty: Beginner
Working time: 20 Minutes
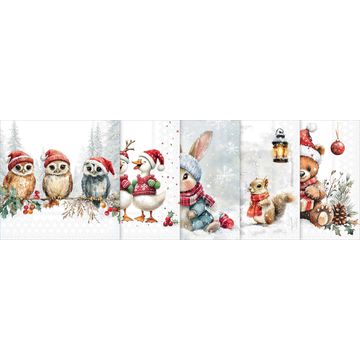
Choose a design and cut out the “ napkin ” correctly. Pick a quarter of the Christmas napkin’s design that you particularly like and cut it out to size. Important: For the napkin technique , use only the top, printed layer. Carefully peel off the lower, unprinted layers so that the design is as thin as possible and will later look like it’s printed on.
Prepare the separator disc: Apply “ napkin varnish ” as adhesive. Coat the separator disc with a thin layer of “ napkin varnish. ” With this technique, the varnish serves as both adhesive and sealant. An even, thin layer ensures that the napkin design adheres cleanly and that you can smooth it out without it getting soaked right away.
Apply and Secure the Design Carefully place the printed napkin layer onto the cutting disc while it’s still damp. Gently smooth the Paper from the center outward to eliminate any wrinkles. Then apply another thin coat of “ napkin varnish. ” to the design. Use light pressure so the design doesn’t tear or shift. Let everything dry completely—only then will the surface be stable and ready for further processing.
Trim the edges neatly for a professional finish. After drying, trim the excess napkin edges along the dividing disc. This ensures the motif fits exactly within the circle and later blends cleanly into the “ acrylic ball, ” without any paper edges sticking out.
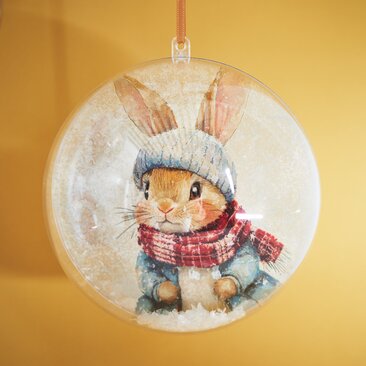
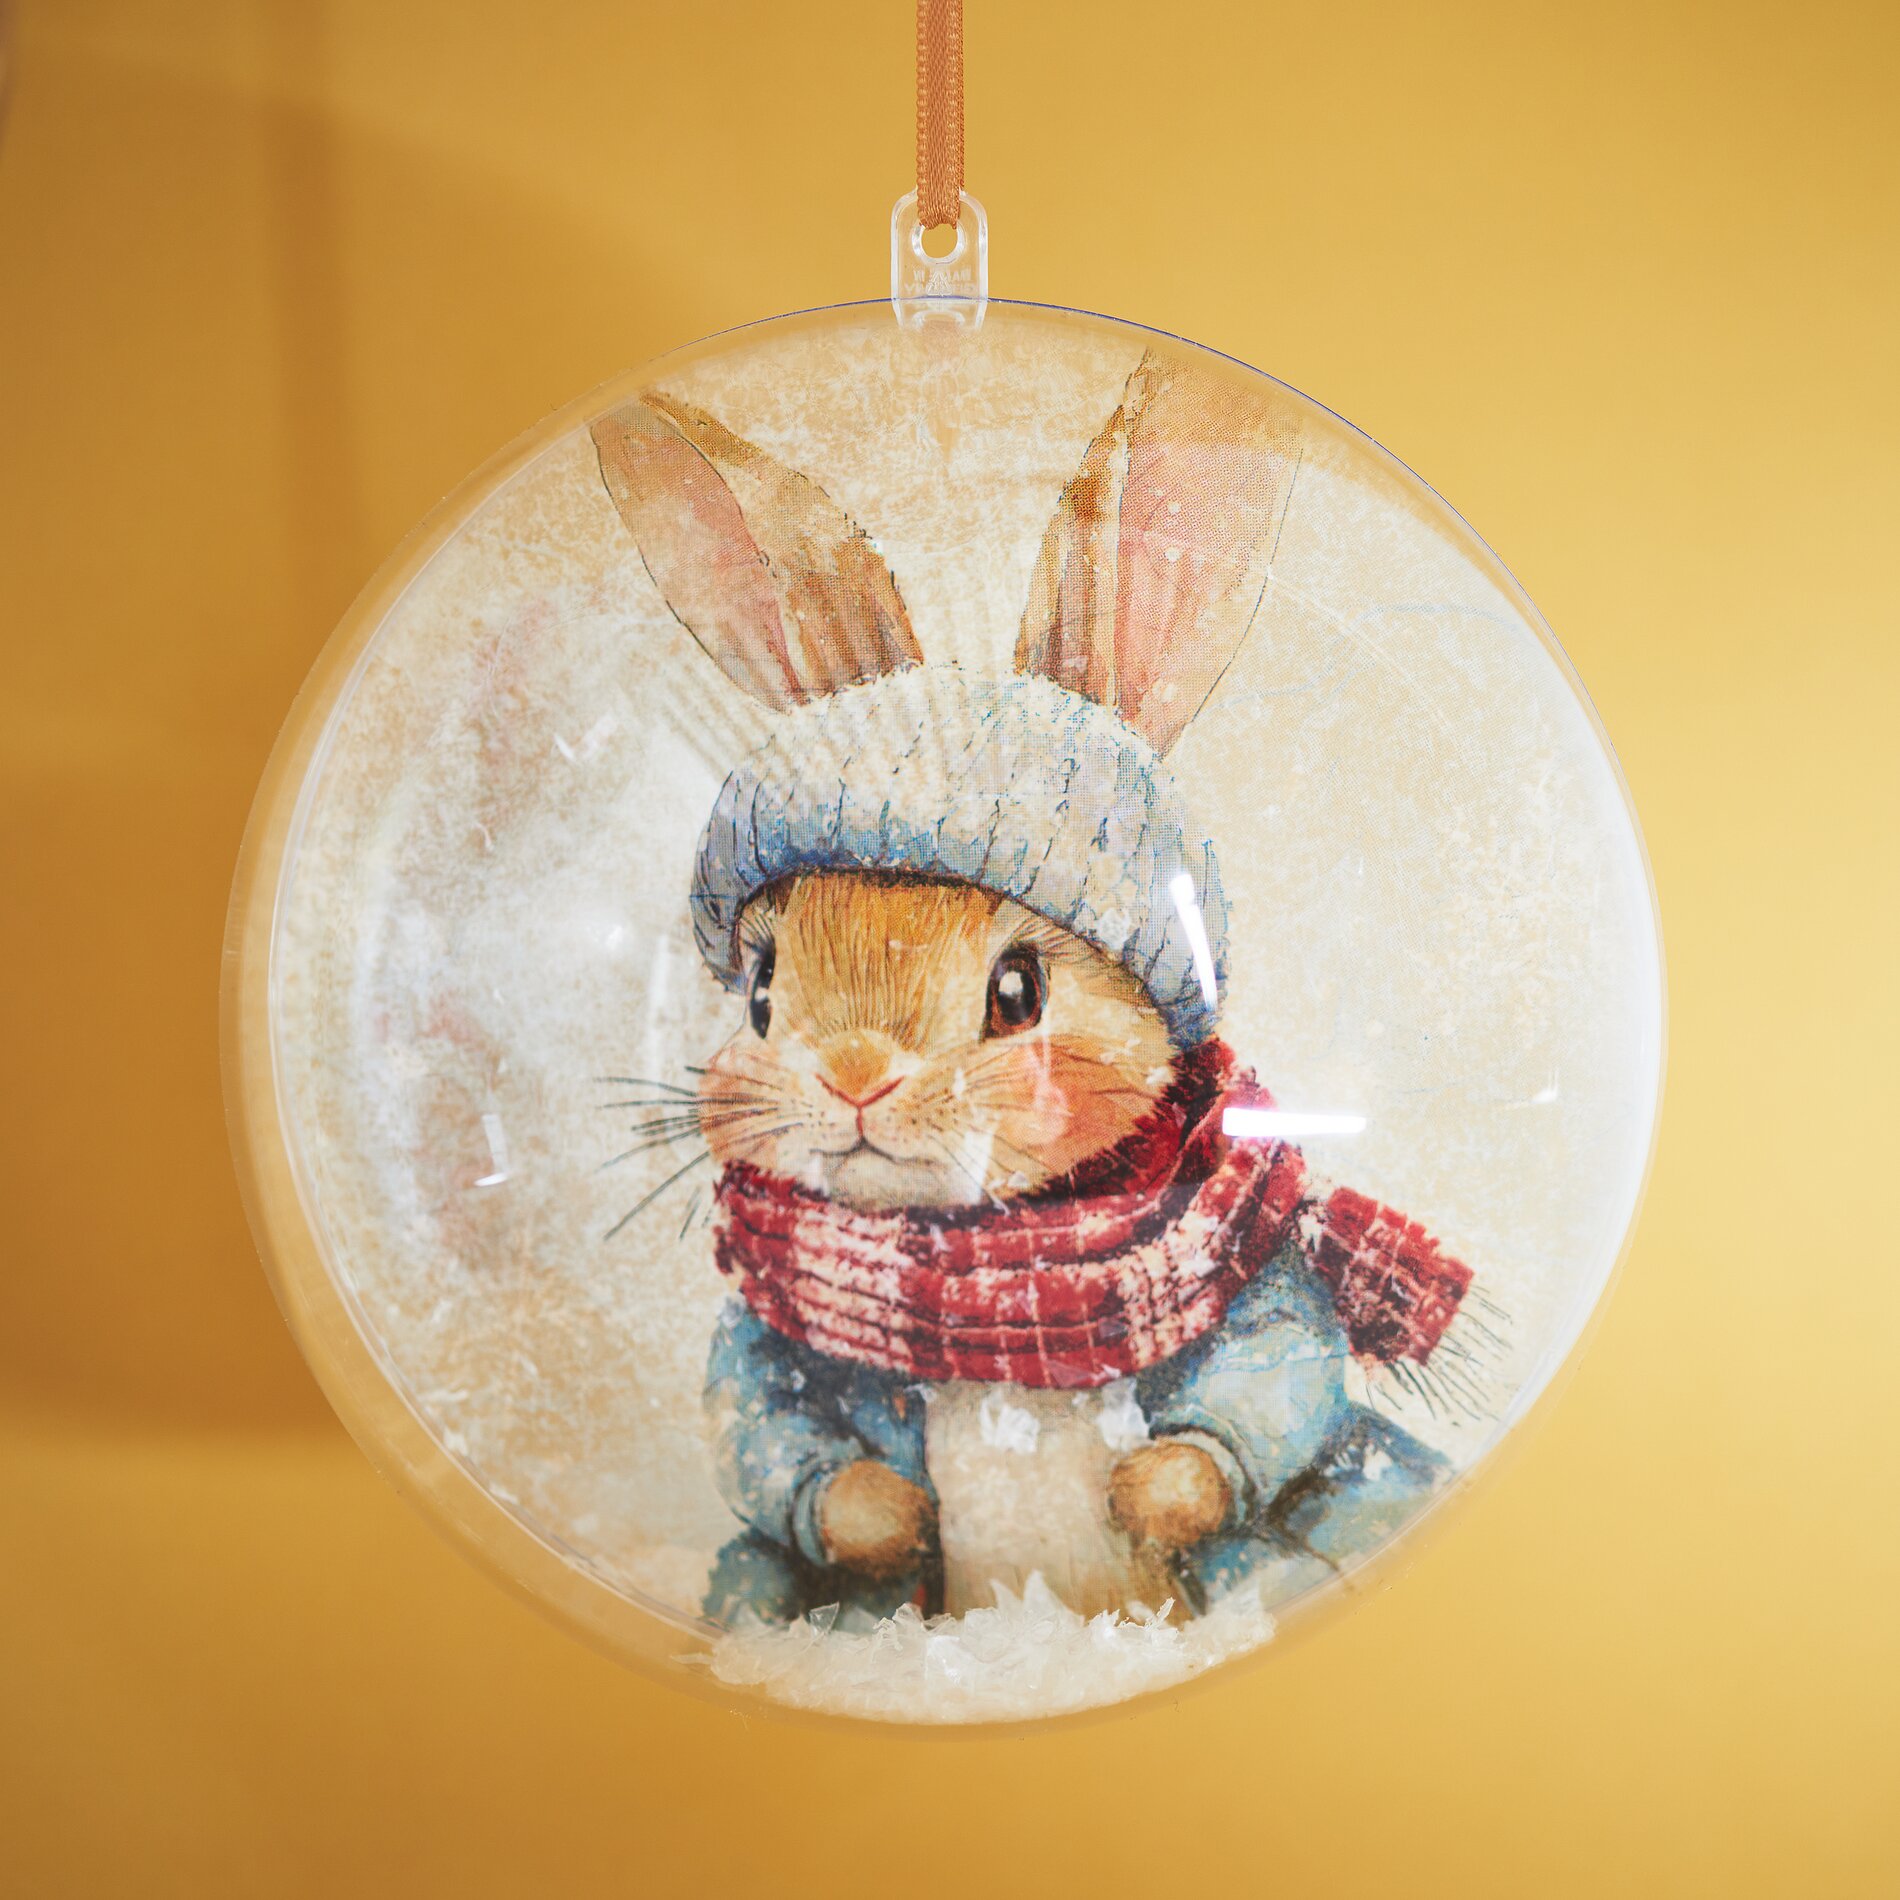
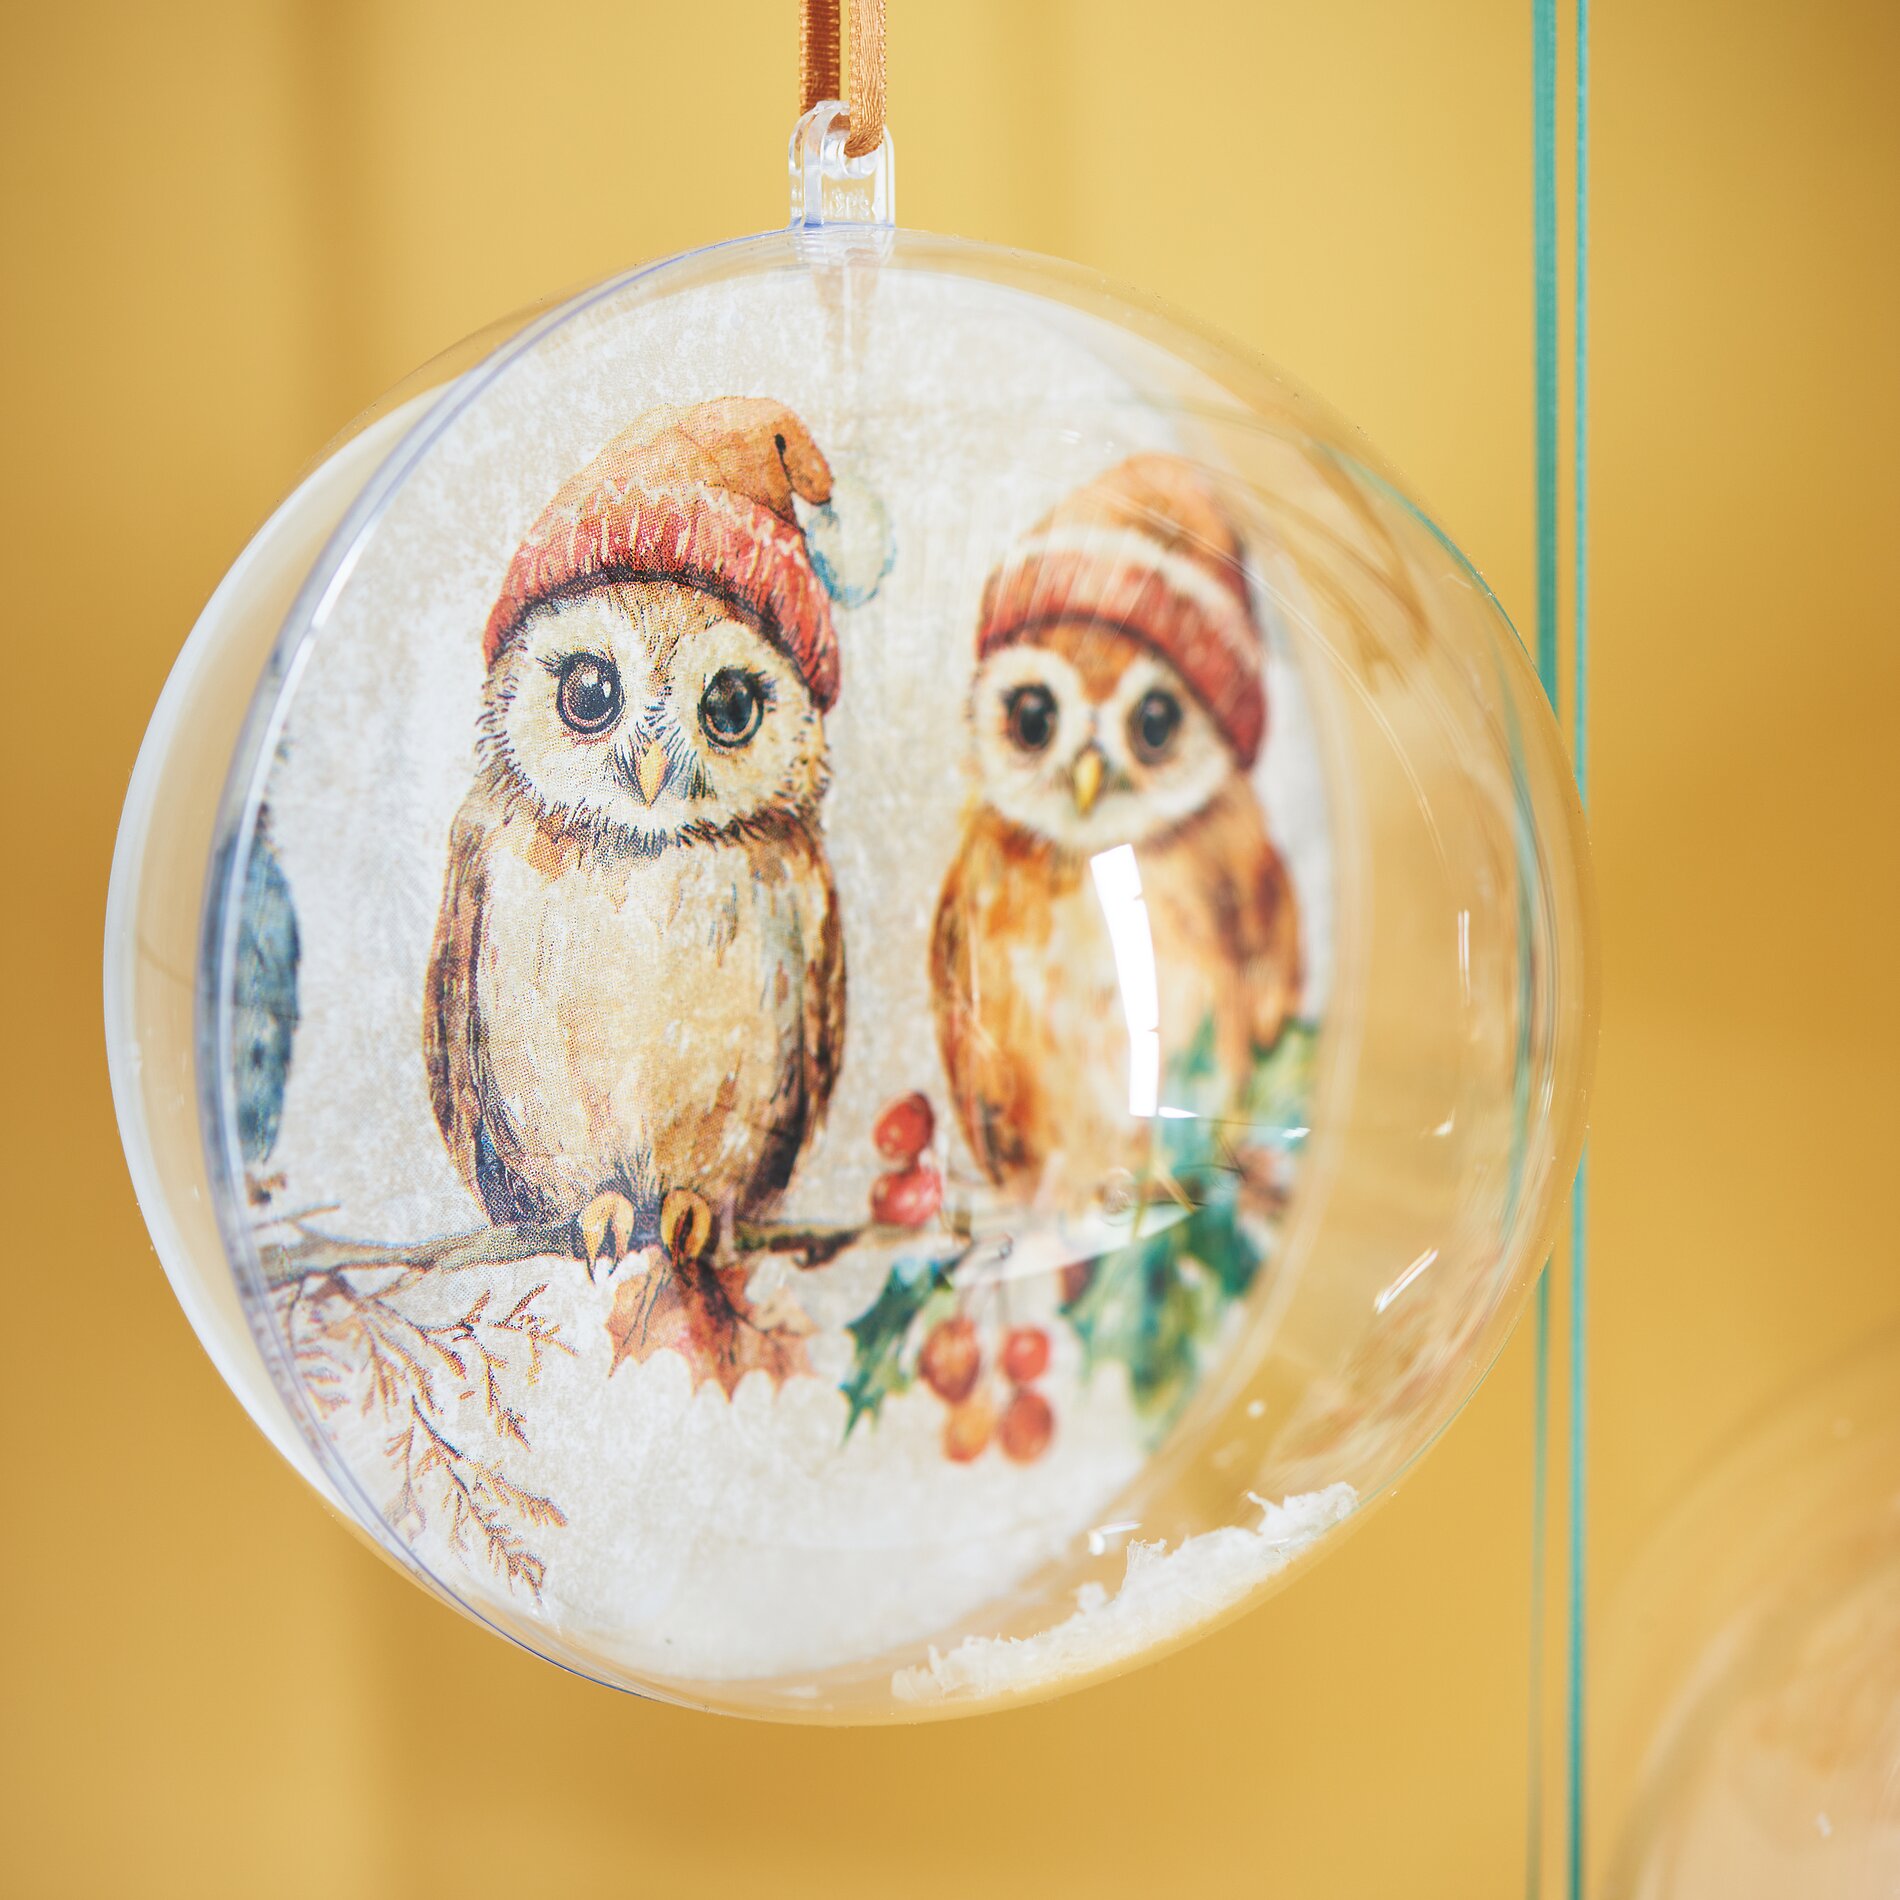
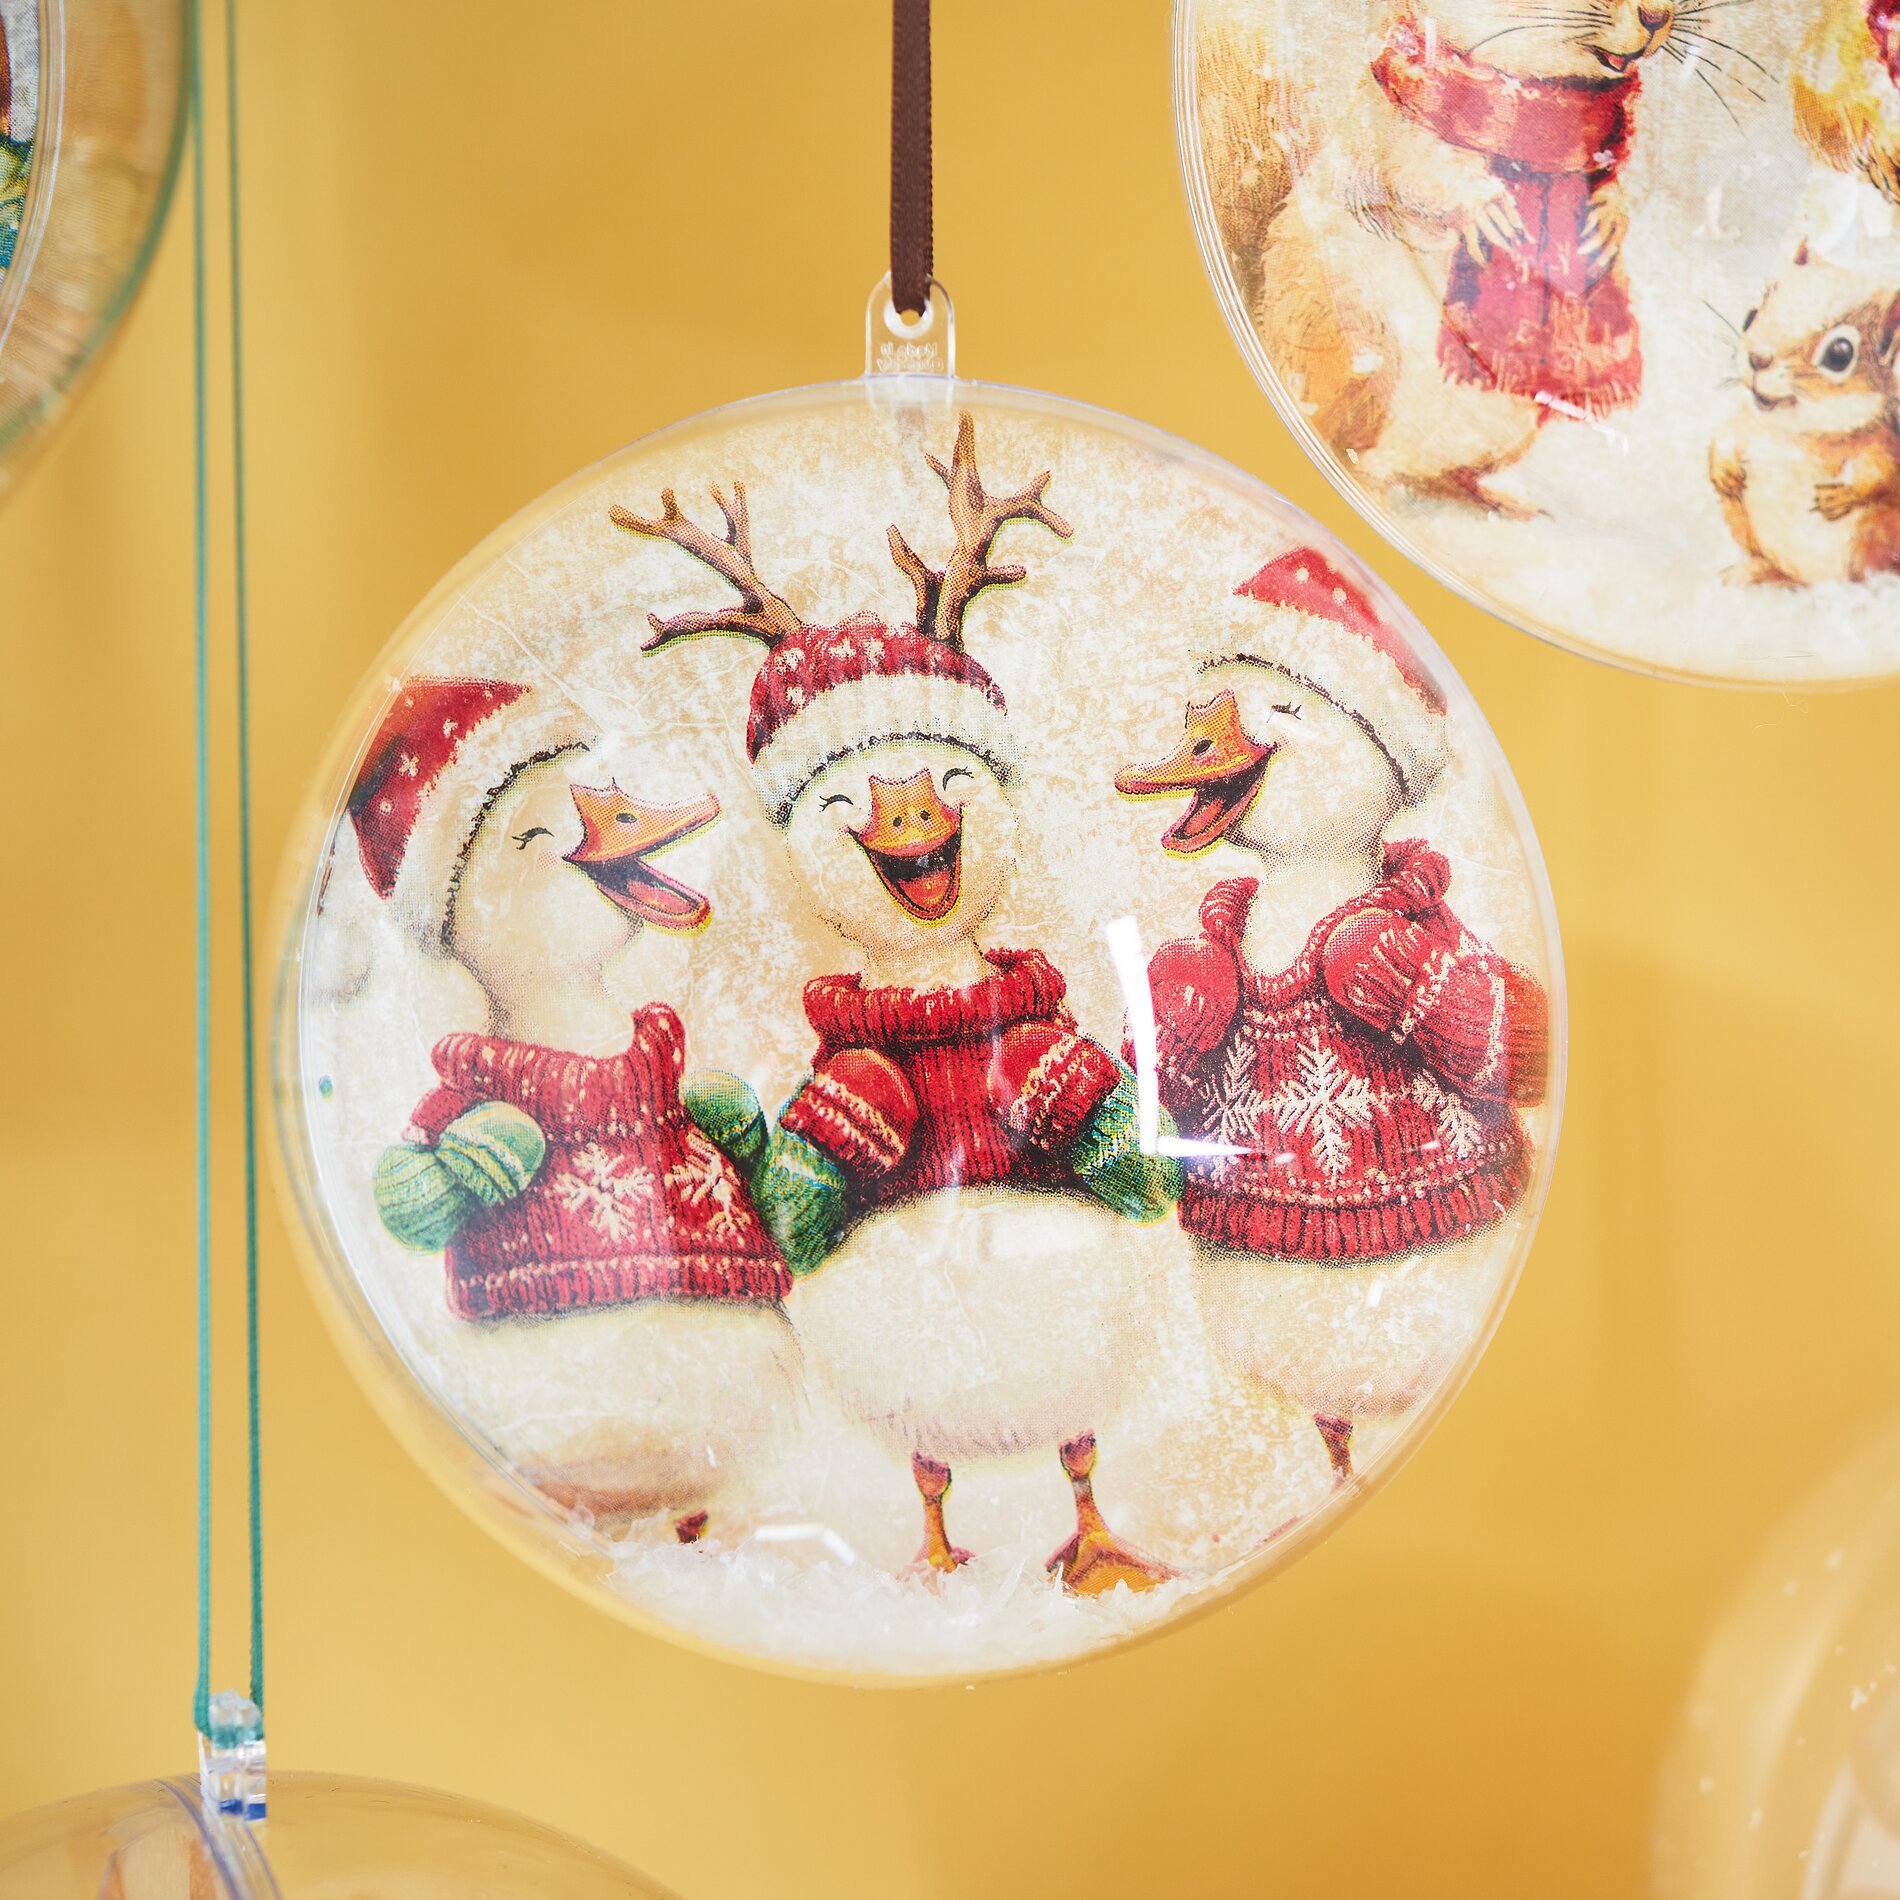
acrylic ball Filling: Creating a snow effect. Pour some diamond snow into one half of the “ acrylic ball. ” Place the decaled cutting disc into the hemisphere. Then sprinkle some diamond snow onto the cutting disc as well. The snow creates a wintry sense of depth and makes the Christmas motif appear softer and more festive.
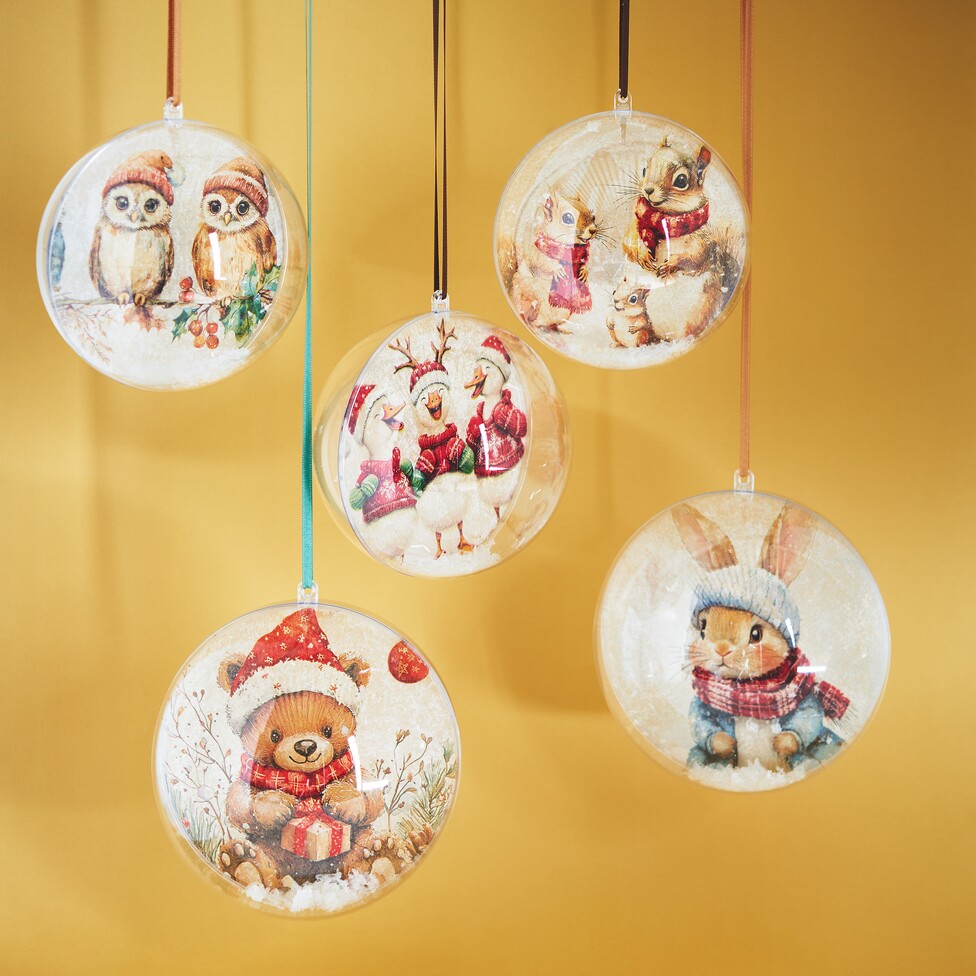
Close the ball and hang it. Close the ball with the second half. Cut a piece of “ ribbon ” for the hanger, thread it through the eyelet, and tie the ends in a knot. Vary the ribbon color to match the motif so that the Christmas ball looks harmonious on the tree, window, or branch.
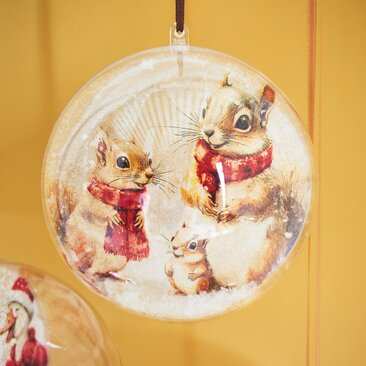
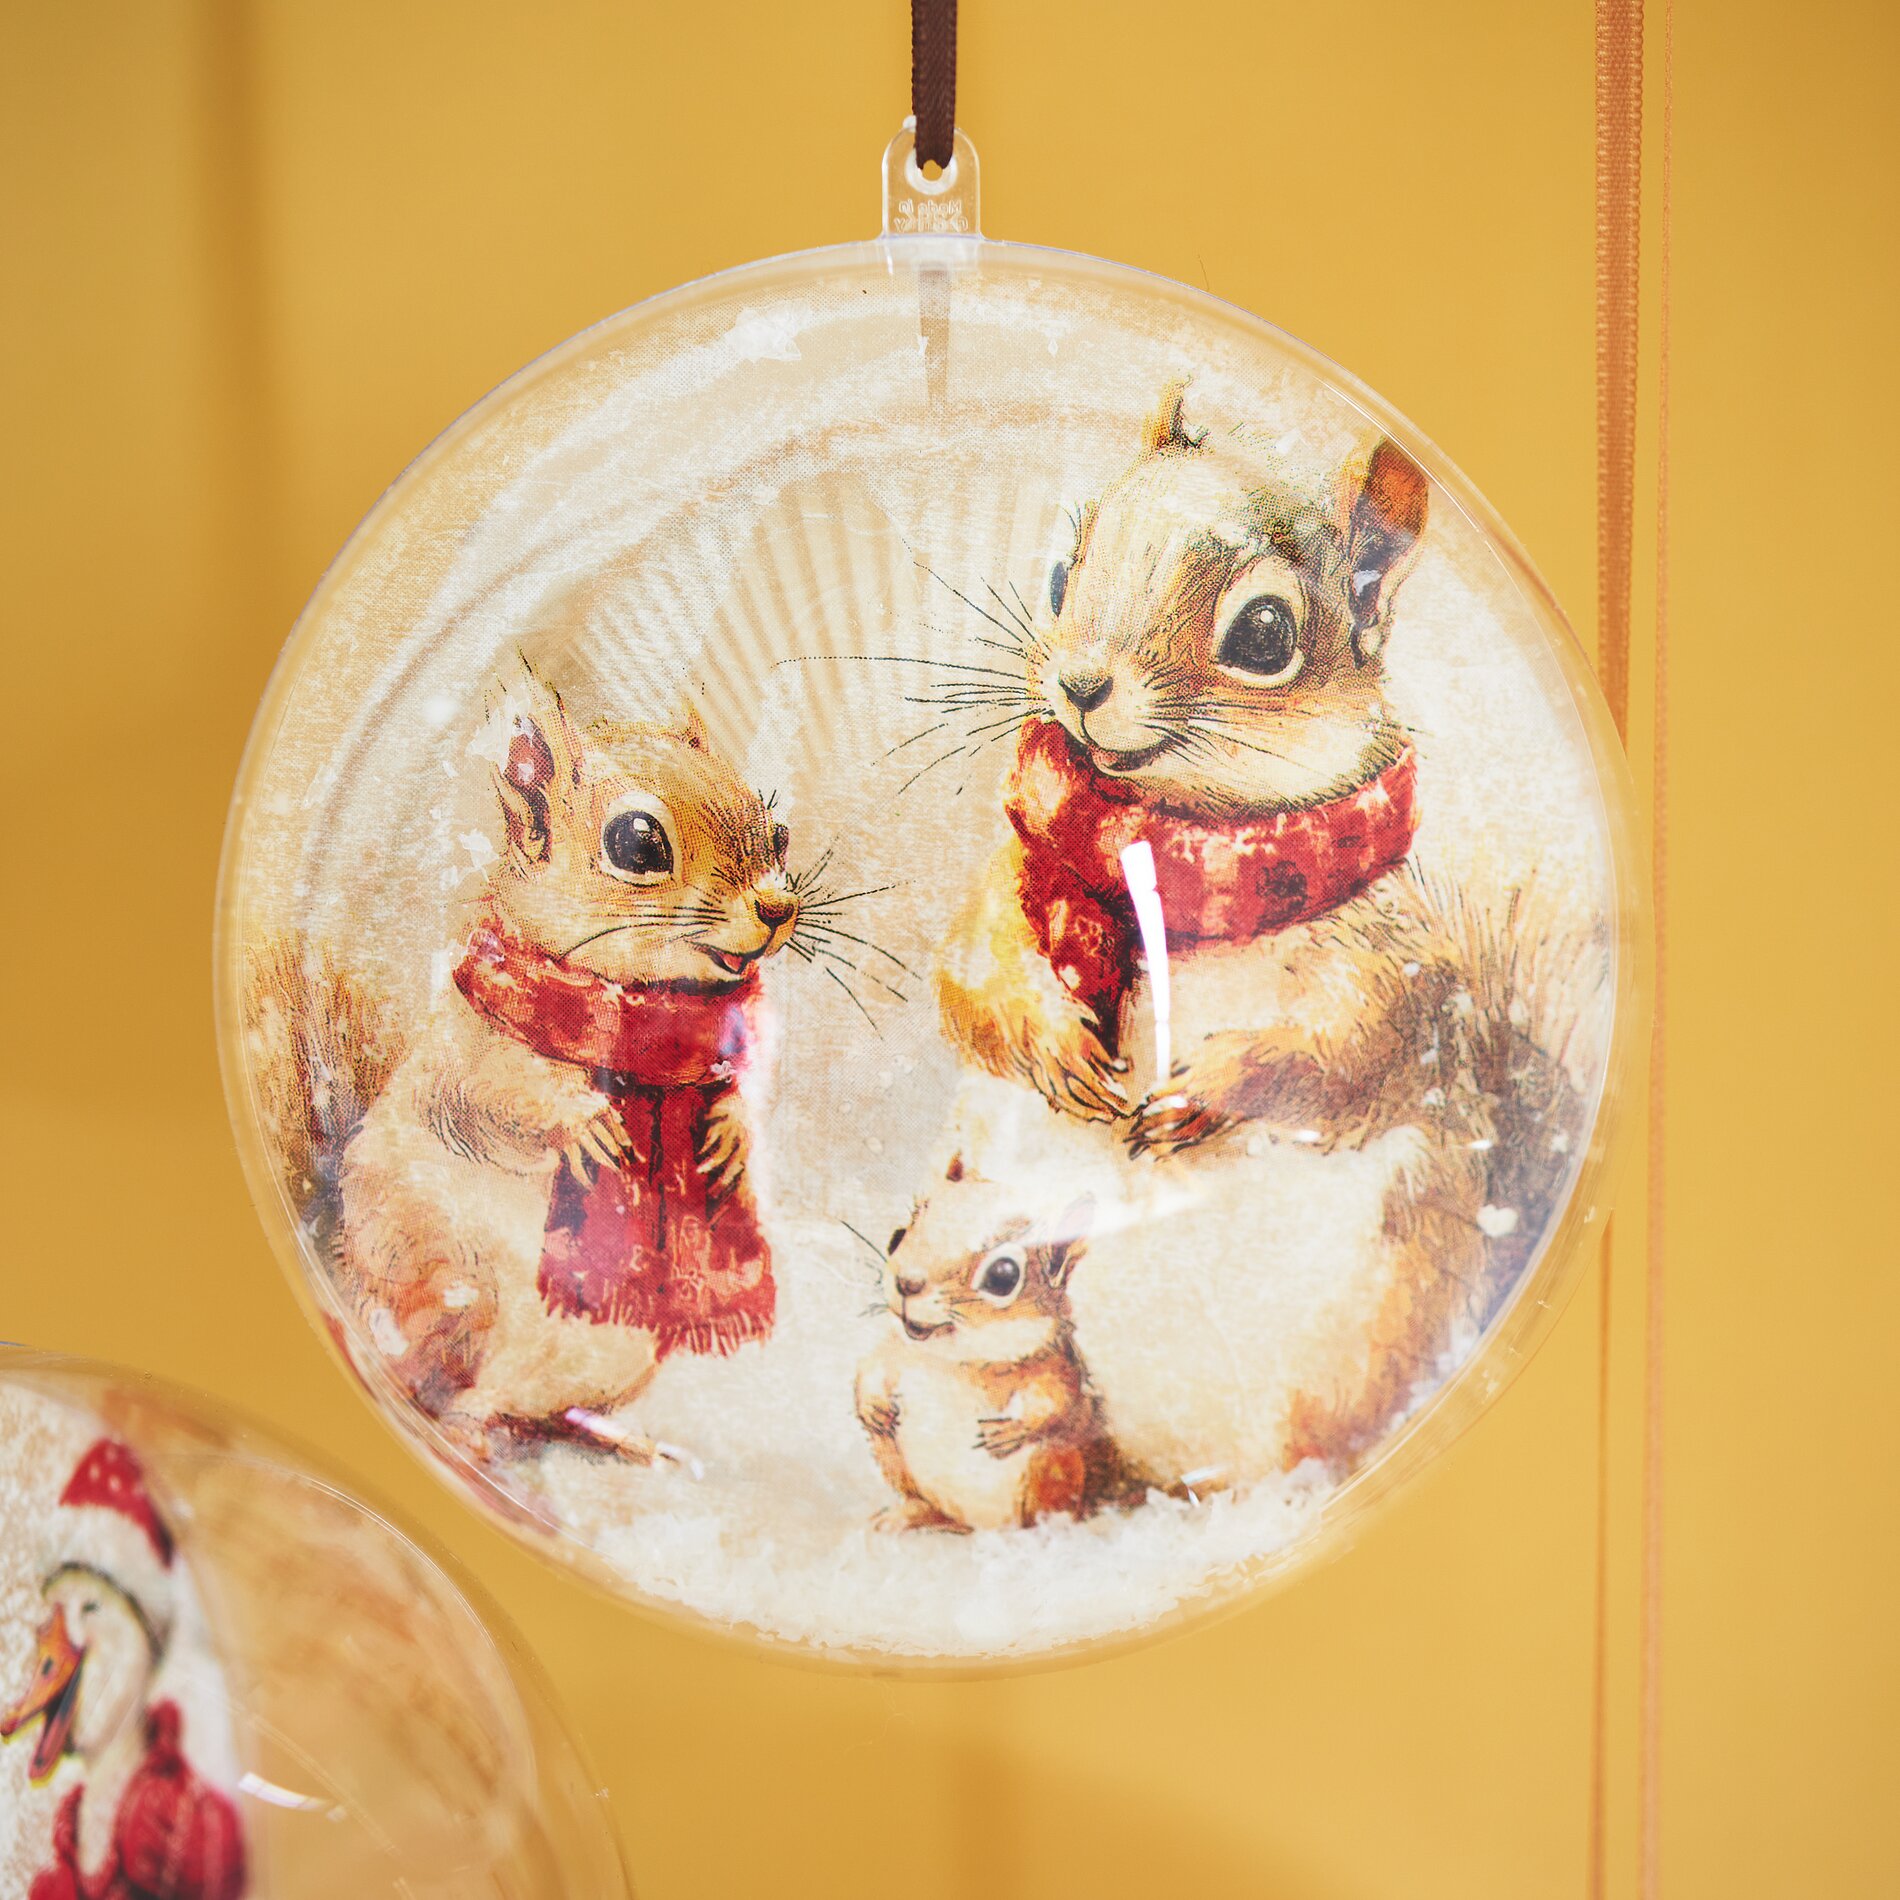
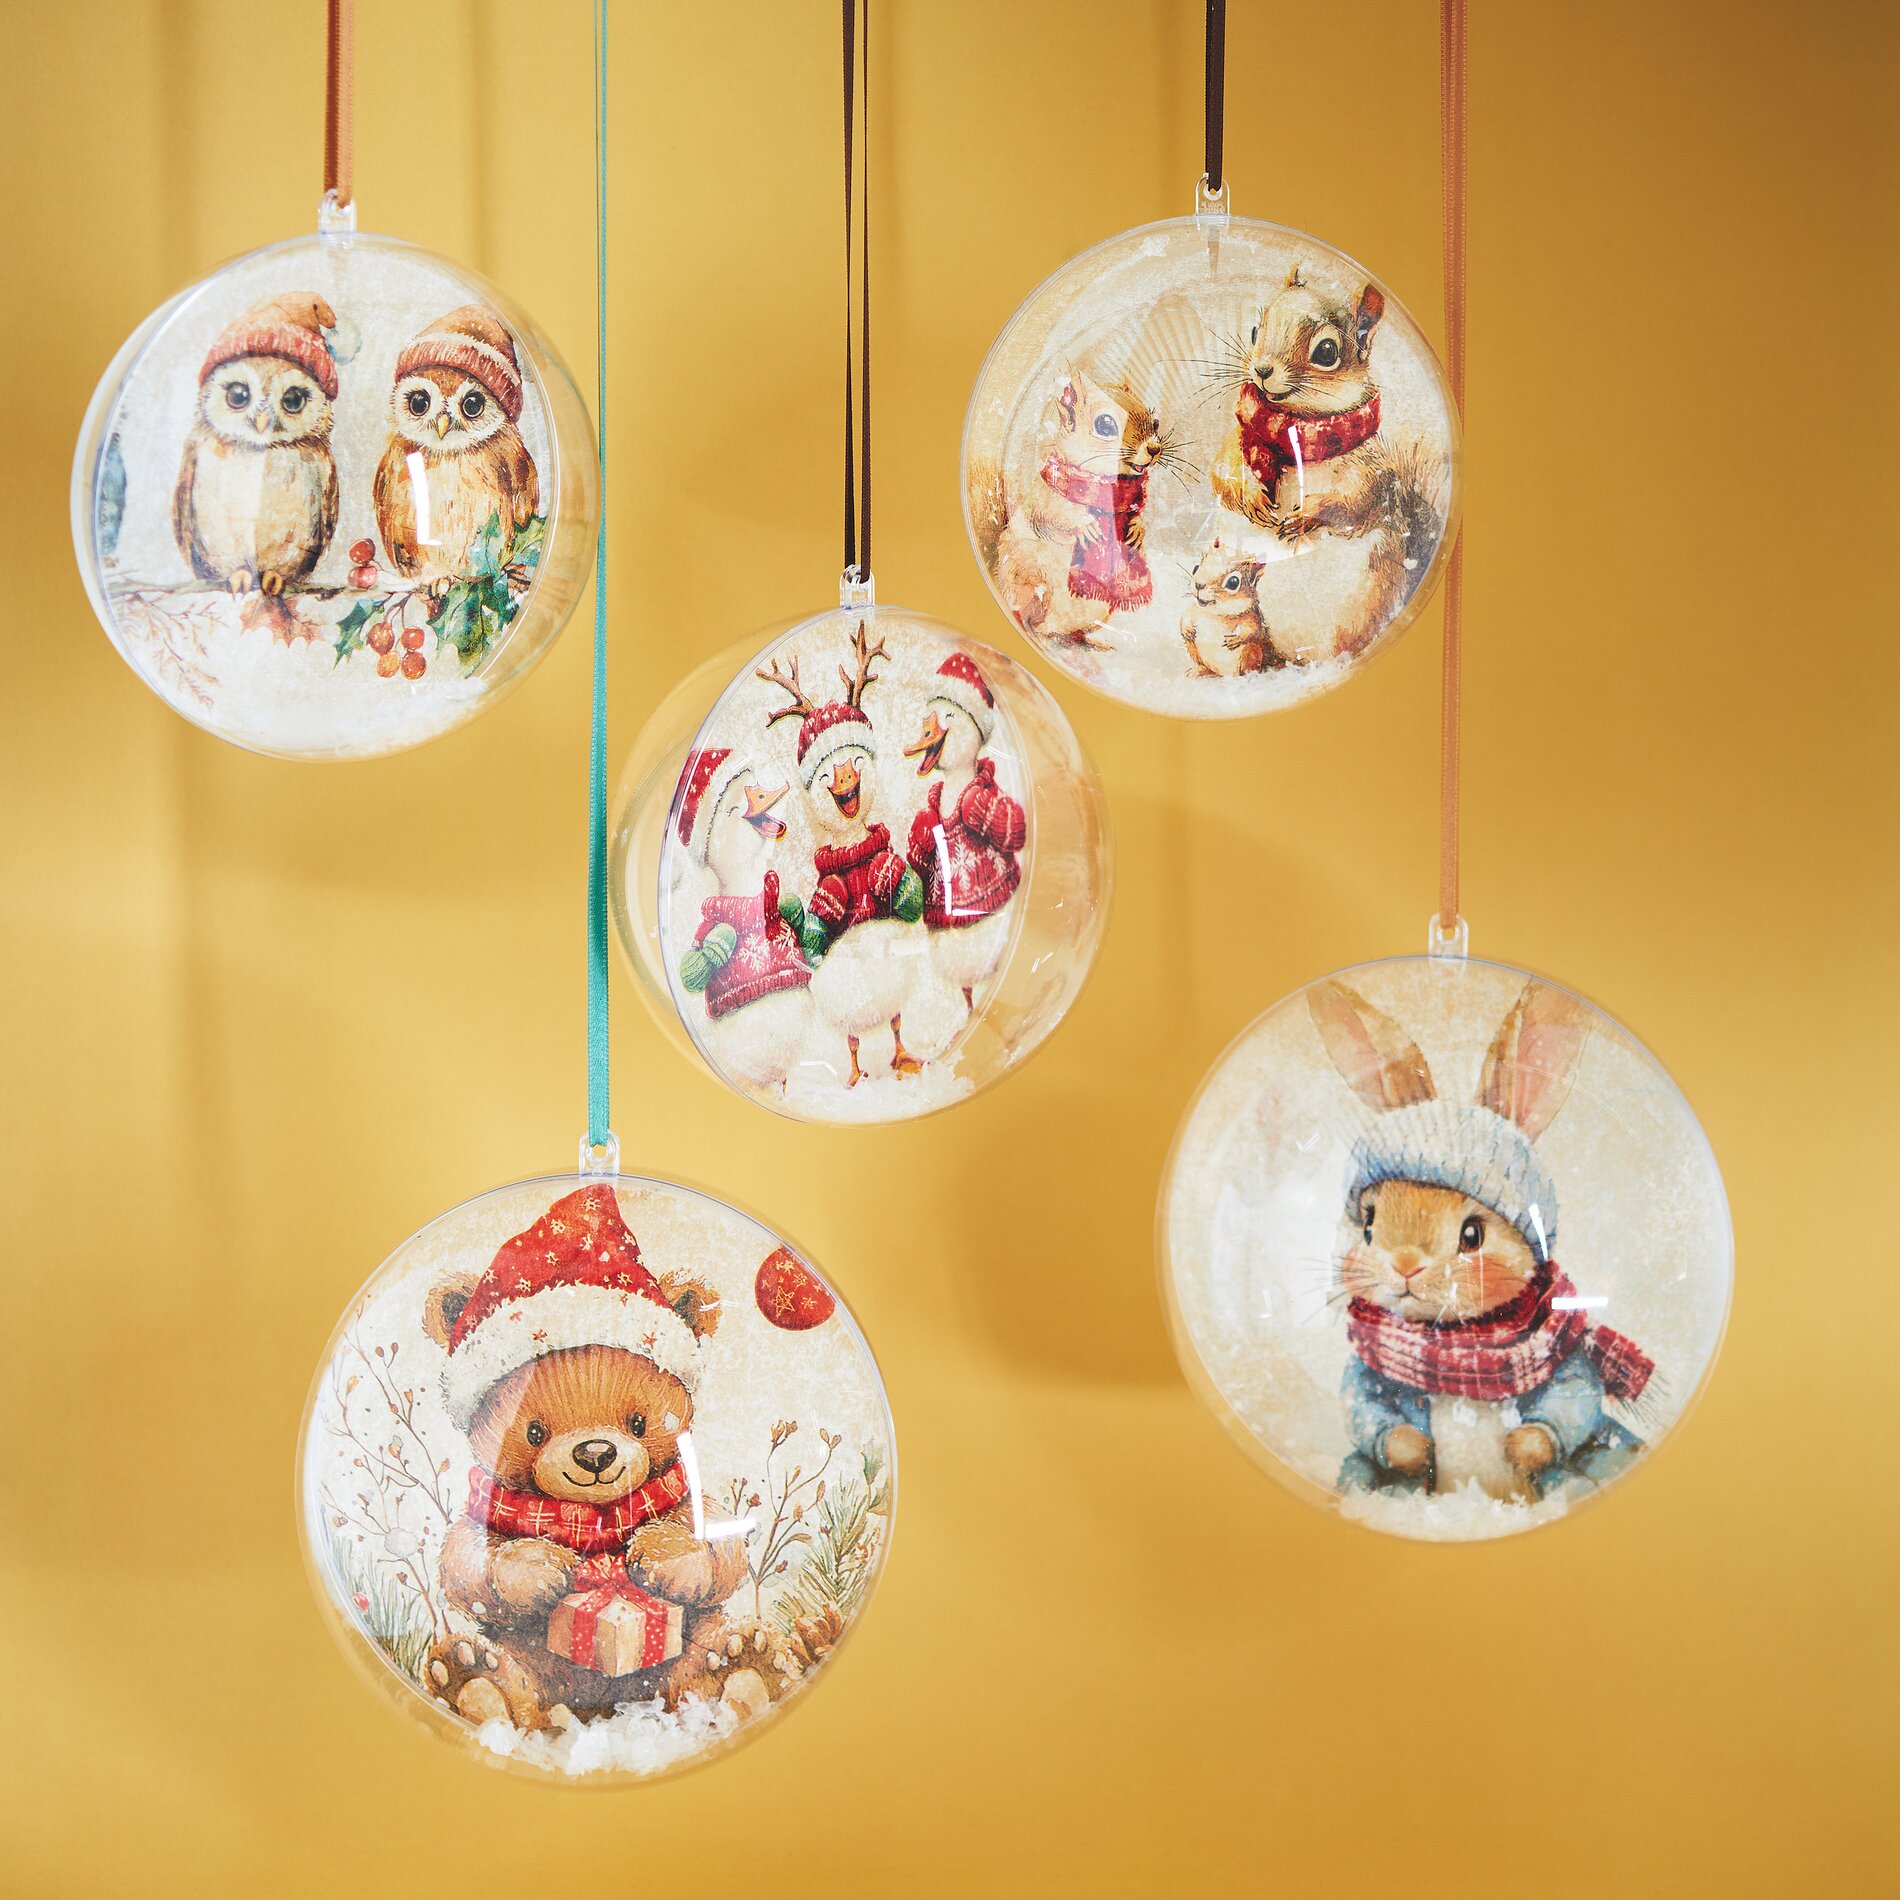
Tip for creating a set: If you’re making several “ acrylic balls ” baubles, choose different motif cutouts from the napkin and use varying amounts of diamond snow. This way, your set will look cohesive, yet each bauble will remain a little one-of-a-kind piece.
Now it’s your turn! Browse the online shop for matching “ acrylic forms, ” napkin designs, “ napkin varnish, ” ribbons, and snow effects—so you can immediately create more “ christmas balls ” in your own style.