- Secure order
- Easy return shipment
- Service-Hotline 01 662 20 20
Instructions No. 4064
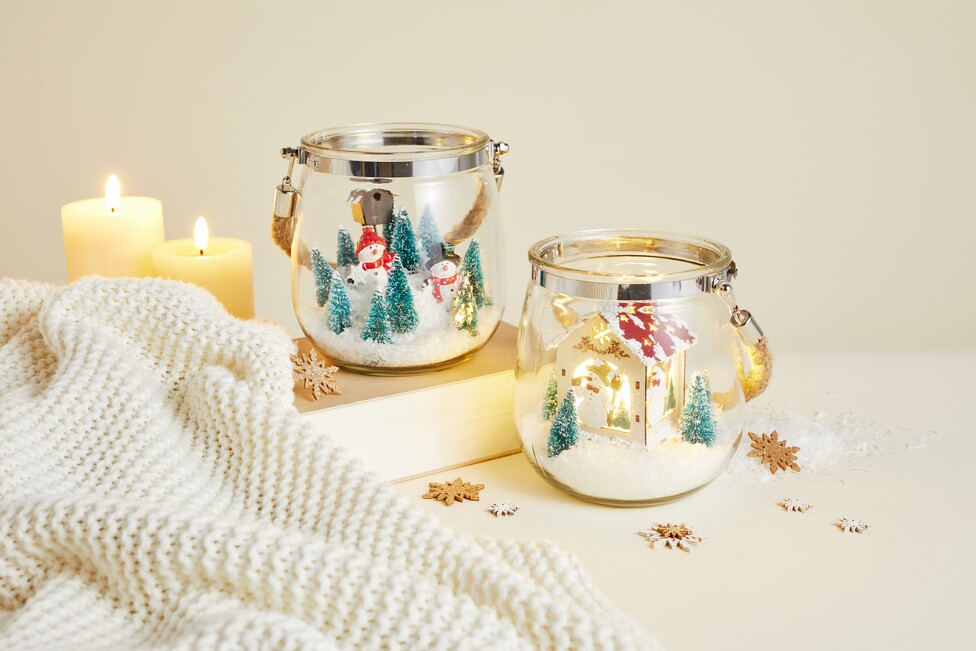
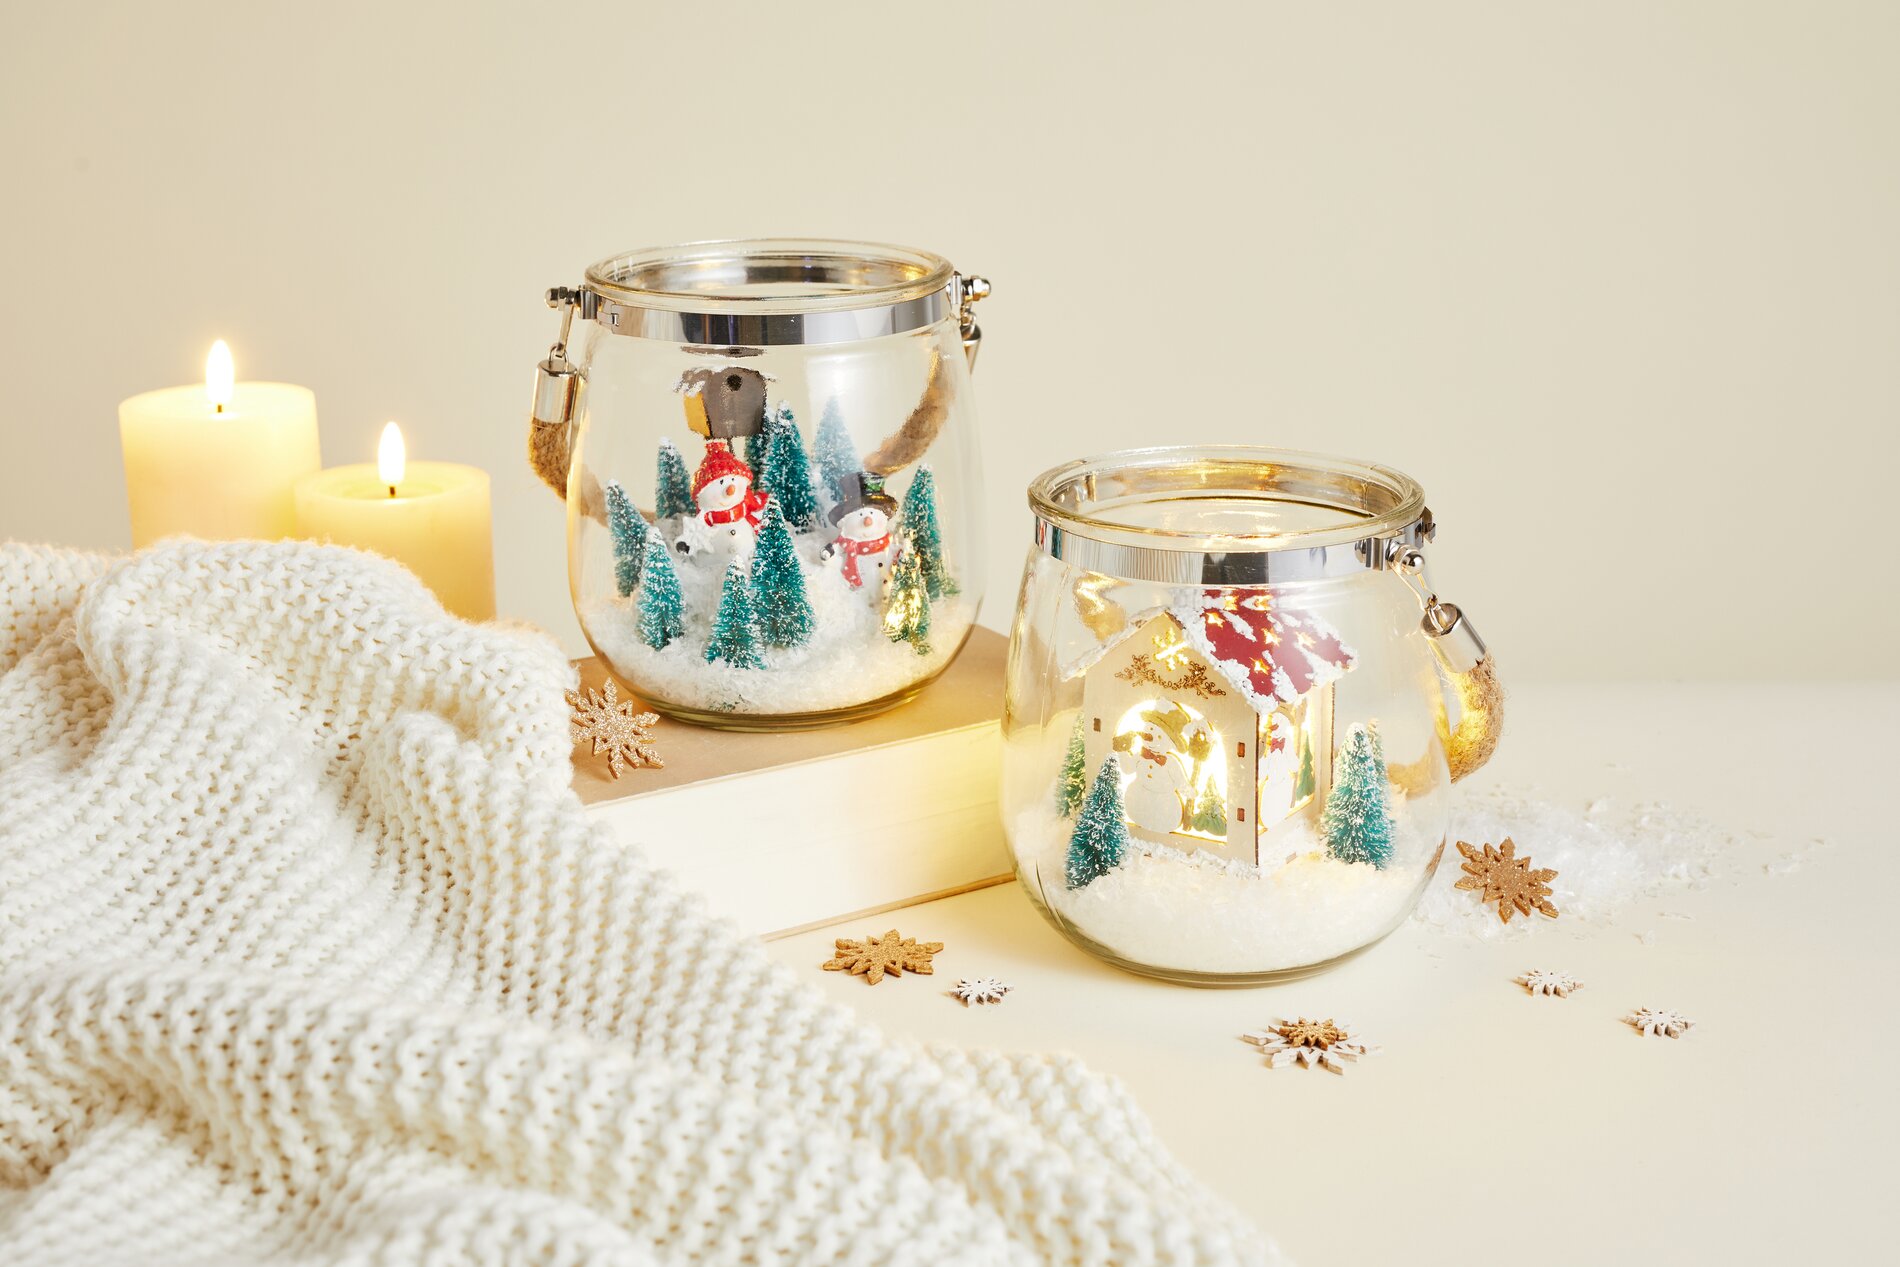
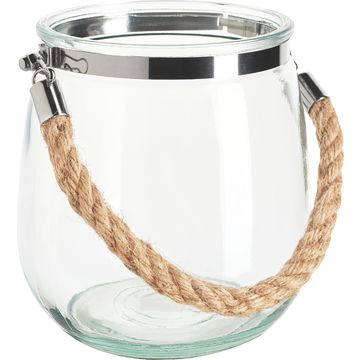
Winter "-wind light " in a Glass Jar: Create a Light House with a Snowman Scene Get your “ wind light-” glass jar ready and quickly plan the layout inside. This way, the little winter scene will look harmonious later, and you won’t have to take anything apart once the glue has set. Keep the light house’s LED unit within easy reach—it should remain easily accessible once you’re done.
Step 1: Paint the light house Paint the parts of the light house with craft paints. It’s better to apply two thin coats rather than one thick one: this will give you cleaner edges and ensure the paint covers evenly. Let everything dry completely.
Step 2: Assemble the house—and keep functionality in mind Once dry, assemble the light house. Important: The light house won’t be glued together later so you can operate the lights at any time.
Step 3: Apply decorative snow liner – add wintry details Decorate the light house with the decorative snow liner. Apply the “snow” to the roof edges, around the windows, or along the bottom edge of the house, for example. The liner creates a textured effect that looks like fresh snow. Let the snow lines dry thoroughly so nothing smudges when you place the house in the glass later.
Step 4: Cut the “ polystyrene ball ” in half – a stable base for the mini-landscape Carefully cut the “ polystyrene ball ” in half with a long knife. A clean cut edge helps ensure the hemispheres stand stably in the glass. Work slowly and with even pressure to minimize chipping of the “ polystyrene .”
Step 5: Prepare the fir trees—so they stand securely in the glass Remove the wooden bases from the small fir trees. This will allow you to glue them more flatly to the polystyrene-hemispheres later, making them appear firmly anchored in the snow inside the wind light-glass.
Step 6: Attach the figures and trees – compose the scene Glue the snowmen, birdhouse, and fir trees to the polystyrene-hemispheres using hot glue. Start by placing the larger elements first, then fill in the gaps with the fir trees. This creates a balanced winter landscape with a foreground and background. Be sure to leave a small open area where the light-up house can stand securely later—without needing to be glued down.
Step 7: Brush on decorative snow—create a realistic snow surface Apply decorative snow to the polystyrene-hemispheres and spread it with a brush. The brush helps you place the snow around the figures’ feet as well, so everything looks naturally snow-covered. Let the surface dry thoroughly so that nothing trickles or comes off when you place it in the glass.
Step 8: Arrange in the “ wind light-” glass—finish the glowing winter decoration Place both “ polystyrene-” hemispheres into the “ wind light-” glass. Position the lighted house loosely on top so you can still operate the LED. Finally, sprinkle a little extra snow over both landscapes to give the scene a soft, wintry look. Place the cord decoratively on the side of the glass—this turns your-wind light into an atmospheric winter decoration for a windowsill, shelf, or table.
Now it’s your turn! If you’d like to expand your winter landscape, you’ll find matching paints, artificial snow, and other decorative details for glass and lanterns in our online shop.