- Secure order
- Easy return shipment
- Service-Hotline 01 662 20 20
Instructions No. 3487
Difficulty: Beginner

Step 1: Mix the casting compound
Start by mixing about four tablespoons of casting powder with water. Make sure you achieve a creamy, lump-free mixture. The consistency of the mixture determines how detailed your lanterns will ultimately be. It is important to work without lumps, as lumps can lead to unevenness.
Step 2: Fill and shape the casting mold
Now pour the creamy casting compound into the prepared "houses" silicone casting mold. You have creative freedom as to how you position the inner part of the mold. If you put the opening at the bottom, your casting will have a base. If you point the opening upwards, you will create a cylindrical object. Play with shapes here and find out what you like best!
Step 3: Shape and leave to dry
Now leave your mold to dry for around four hours. Patience is required here, as complete drying is essential for an optimal result. After Time to dry: you can carefully remove your cast houses from the silicone molds.
Step 4: Finishing the details
If there are any residues in the windows or other details, simply remove them with a bamboo skewer. This will ensure that the details of your houses are clean and precise. To give the edges of the houses a smooth and professional look, you can carefully finish the edges with sandpaper .
Step 5: Finishing for a special shine
If you want to give your houses a special shine, the use of VBS acrylic metallic is the perfect choice. This special acrylic paint provides a great finish.
Step 6: Bringing the light into the dark
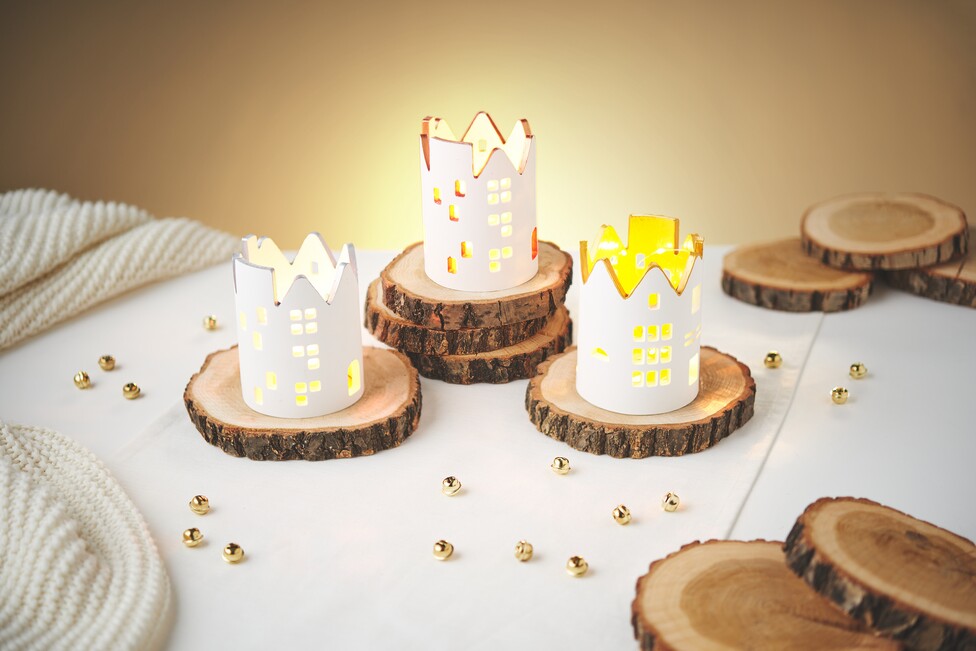
Now you can make your little works of art shine: Place chains of lights or tea lights in the cast houses. The finished wind light-houses now radiate a warm and inviting light that will enchant any room.
Let your creativity run wild!
Ready to create your own glowing lantern houses? Visit our online store and discover a variety of casting powders, silicone molds and colors to help you transform your home into an atmospheric oasis. Click here to get started right away and secure your craft materials!