- Secure order
- Easy return shipment
- Service-Hotline 01 662 20 20
Instructions No. 3265
Difficulty: Beginner
Working time: 2 Hours

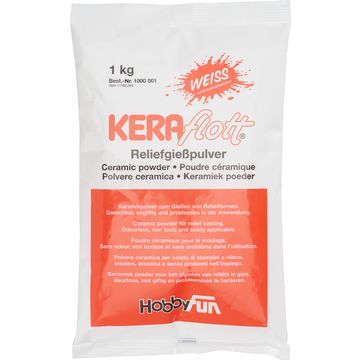
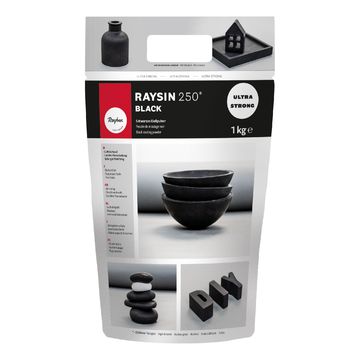
Step 1: Preparing the casting powder
This is how much casting powder you need for the different molds:
Silicone mold "Stick candle holder Fun": approx. 3 heaped tablespoons
Silicone casting mold " "coaster Round", 18.5 cm: approx. 5 heaped tablespoons
Silicone full mold "Bunny", approx. 4 heaped tablespoons
"Bunny" solid silicone mold, approx. 3 heaped tablespoons
Start by mixing the casting powder with water in a suitable container to form a creamy mixture. Make sure that no powder settles at the bottom and that all lumps are completely dissolved. This is important to ensure a uniform consistency and achieve a perfect casting result.
Step 2: Fill and de-aerate the molds
Now pour the prepared mixture into the silicone casting mold of your choice. Gently shake or tap the mold on the table so that the mixture is evenly distributed and air bubbles can escape. This step is crucial to achieve an even structure.
Step 3: Demolding and drying
After about one hour you can carefully remove the cast shapes. Allow the castings to air dry for a few more hours so that they reach their optimum strength. If there are any rough edges, you can easily smooth them out with sandpaper .
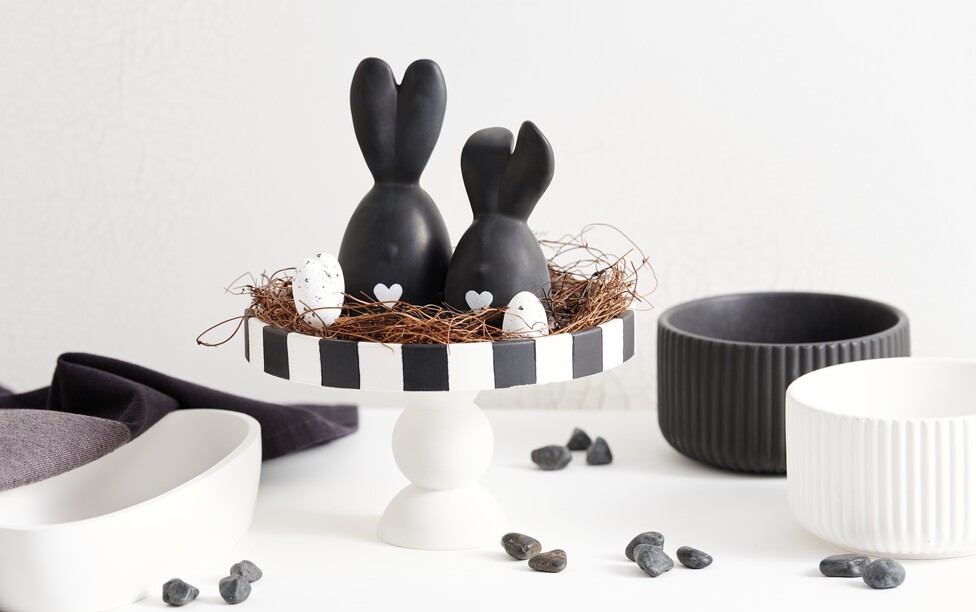
Step 4: Assembling the decorative bowl
Use handicraft glue, to carefully glue the "Fun stick candle holder" to the center of the " "coaster round". The stability of this connection is important for the secure stand of your bowl.
Step 5: Decorative painting
Tape off the edge of the bowl so that you can apply perfect stripes with the black POSCA marker without staining the rest of the surface. Use the white POSCA marker to paint small hearts on the bunnies, which you will add later.
Step 6: Create the Easter wreath
Place the vine wreath on the decorative bowl and arrange the cast bunnies on it so that they form a harmonious picture. Finally, glue on the easter eggs to emphasize the Easter atmosphere.
Step 7: Optional protective varnish
If you want to use the decorative bowl as a fruit bowl, apply a food-safe varnish in advance to protect the surface and keep it hygienic.