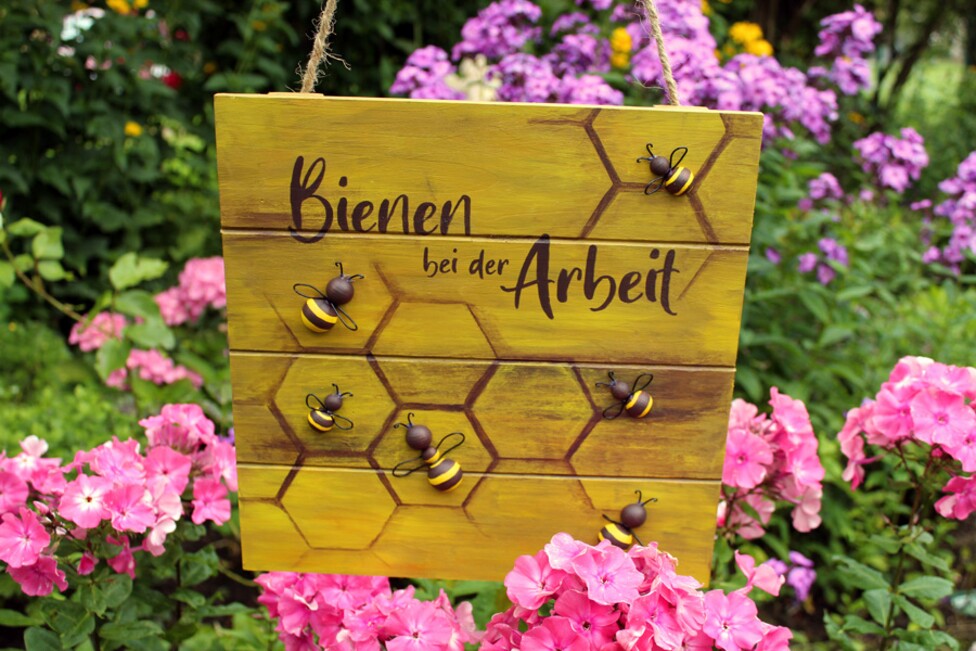
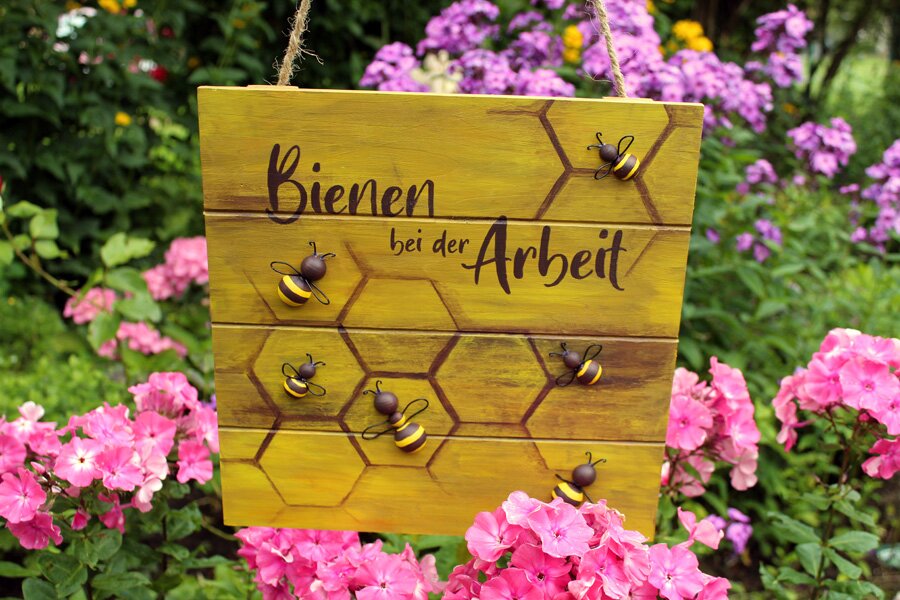
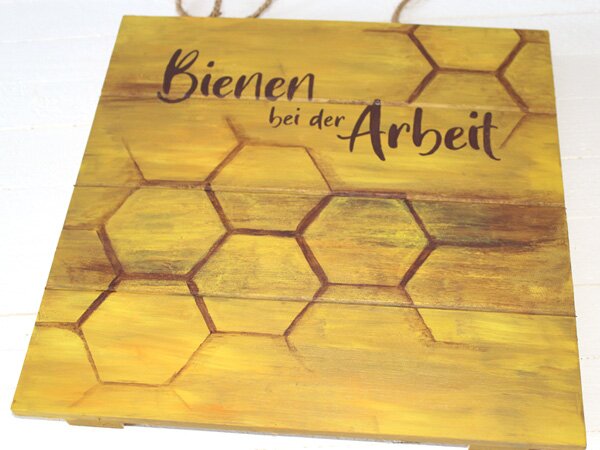
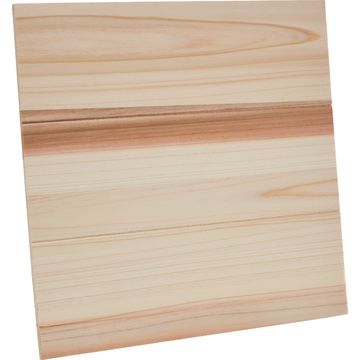
Garden sign "Bienen bei der Arbeit“/ Bees at work"
Anleitung No. 2073If you perhaps have a corner that is only for the bees or even a beehive with you, it can't hurt to point it out. This way, careless visitors are protected and you also have a nice eye-catcher.
For priming, take your paint, put a few good spots of it on the shield and spread it all over with a sponge or brush. Let this first layer dry almost completely. You can use a hair dryer to speed up the process
Then use the brush to add more accents, but with less paint, so that the colours blend more into each other without mixing. Then you blow-dry again. You do this until you are satisfied with your shield
Then let everything dry out well and draw the writing and honeycombs for yourself. Either do this freehand or use templates or the like to help you.
Let it dry and then fill in the writing. You can either use or Black take Brown - depending on how strong your contrast should be
Then let everything dry well again.
For the bees, you first prepare the hemispheres. If you have all three hemisphere sizes at hand you can make three different bees (see picture above left)
Everything that later becomes the head, you paint with the brown color. All other hemispheres you paint yellow
When the yellow paint is dry, you can paint the stripes. So that not every bee is the same, you can vary the thickness and number of stripes.
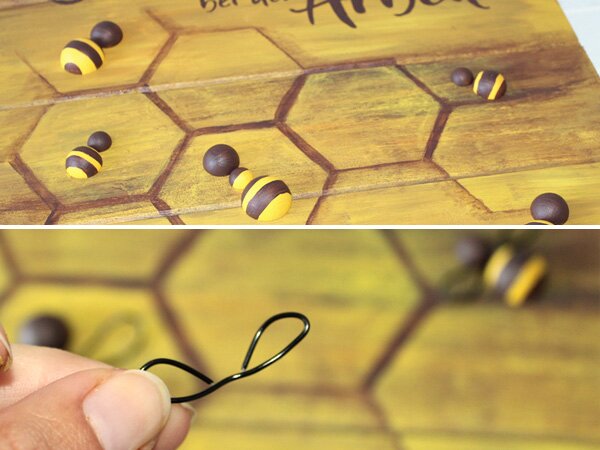
If the hemispheres are dried, you stick the bees at different places on the sign with the Handicraft glue . Between two hemispheres you should always leave a small gap for the wire or the wings
If the glue is not yet on, you can still move them while "winging"
From the wire you cut pieces, which you then bend to the wings and fix them with hot glue between the hemispheres on the shield. You can also vary the shape and size of the wings, just like the bodies. You can also mount the wings flat or slightly protruding
With smaller pieces of aluminium wire from you form the feelers, of which you bend the end only slightly and fix them with hot glue
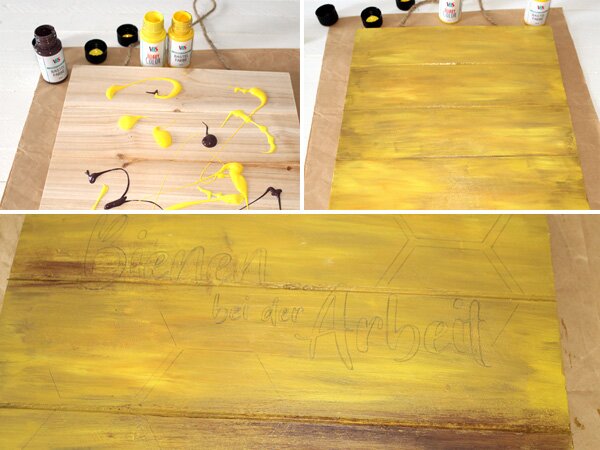
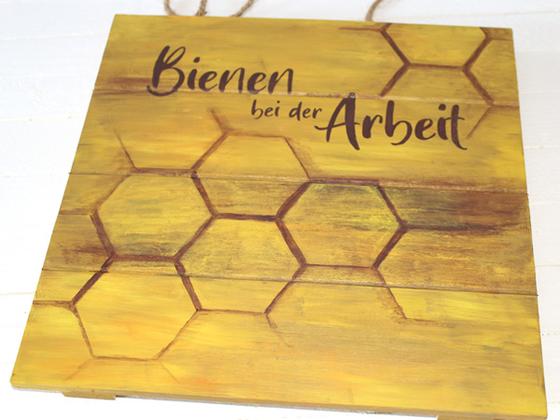
If you don't want to work with wire, you can also paint on the wings and feelers. Or you can combine both variants
Have fun doing it!