- Secure order
- Easy return shipment
- Service-Hotline 01 662 20 20
Instructions No. 1413
Difficulty: Beginner
Working time: 30 Minutes

Painting with Chalky Color paint
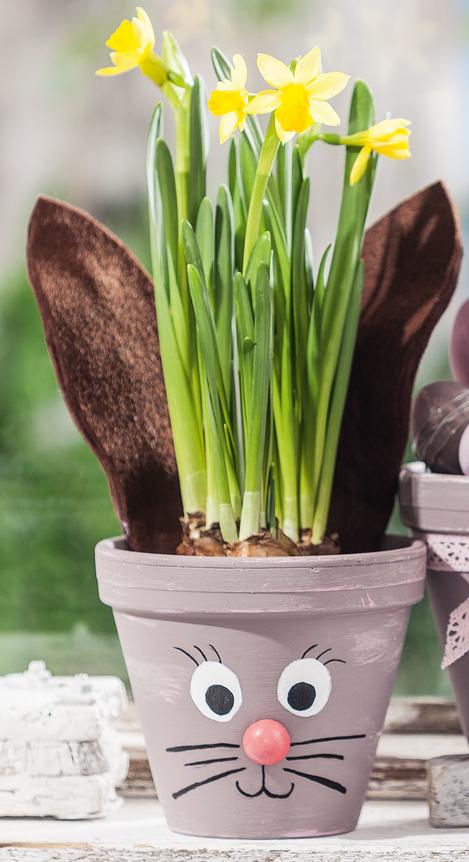
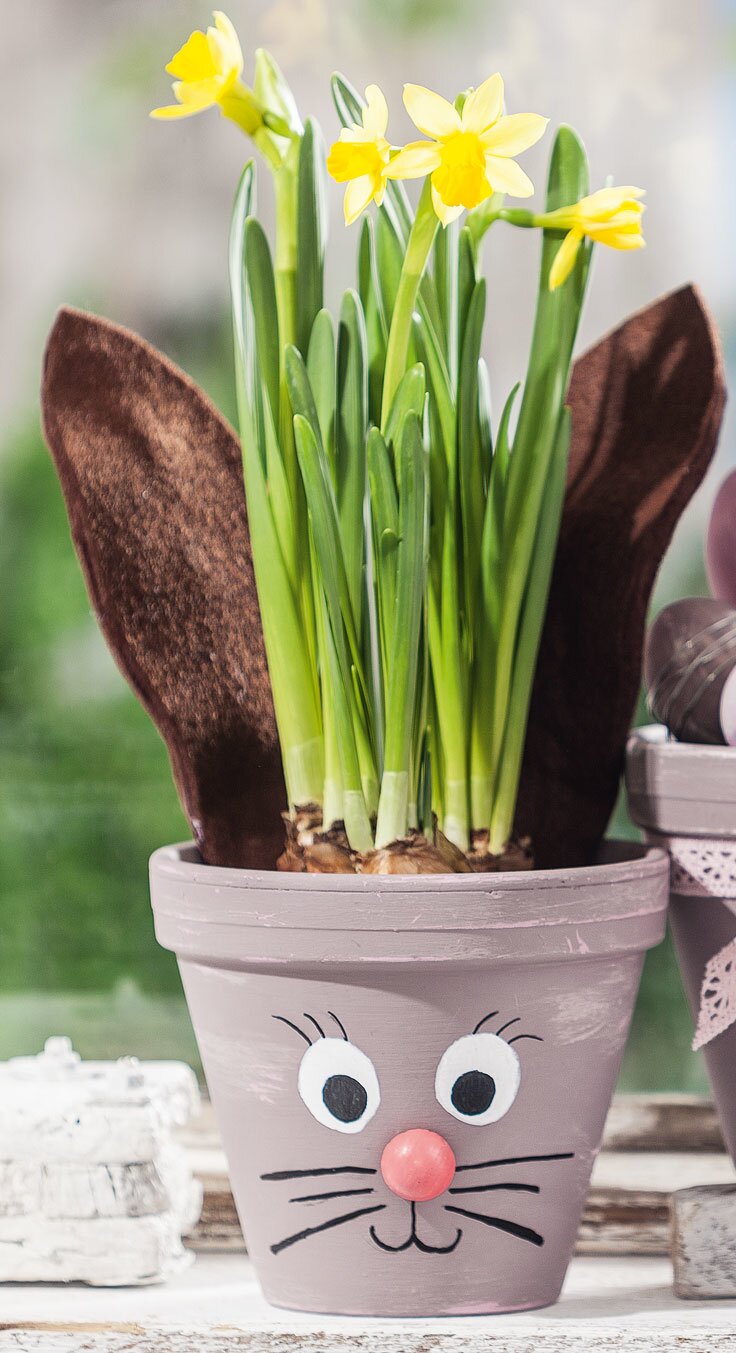
Prime the pots with Chalky Color paint. To create an antique look, apply a layer of Chalky Wax when dry and, when the wax is dry, apply another layer of colour in a contrasting shade.How to make the rabbit flowerpot
Download the design template. Transfer the bunny ears to brown Textile felt. Cut them out twice. Glue a thin wire to each ear with hot glue. Cover this wire by gluing the double bunny ears on each.Easter eggs in the pot
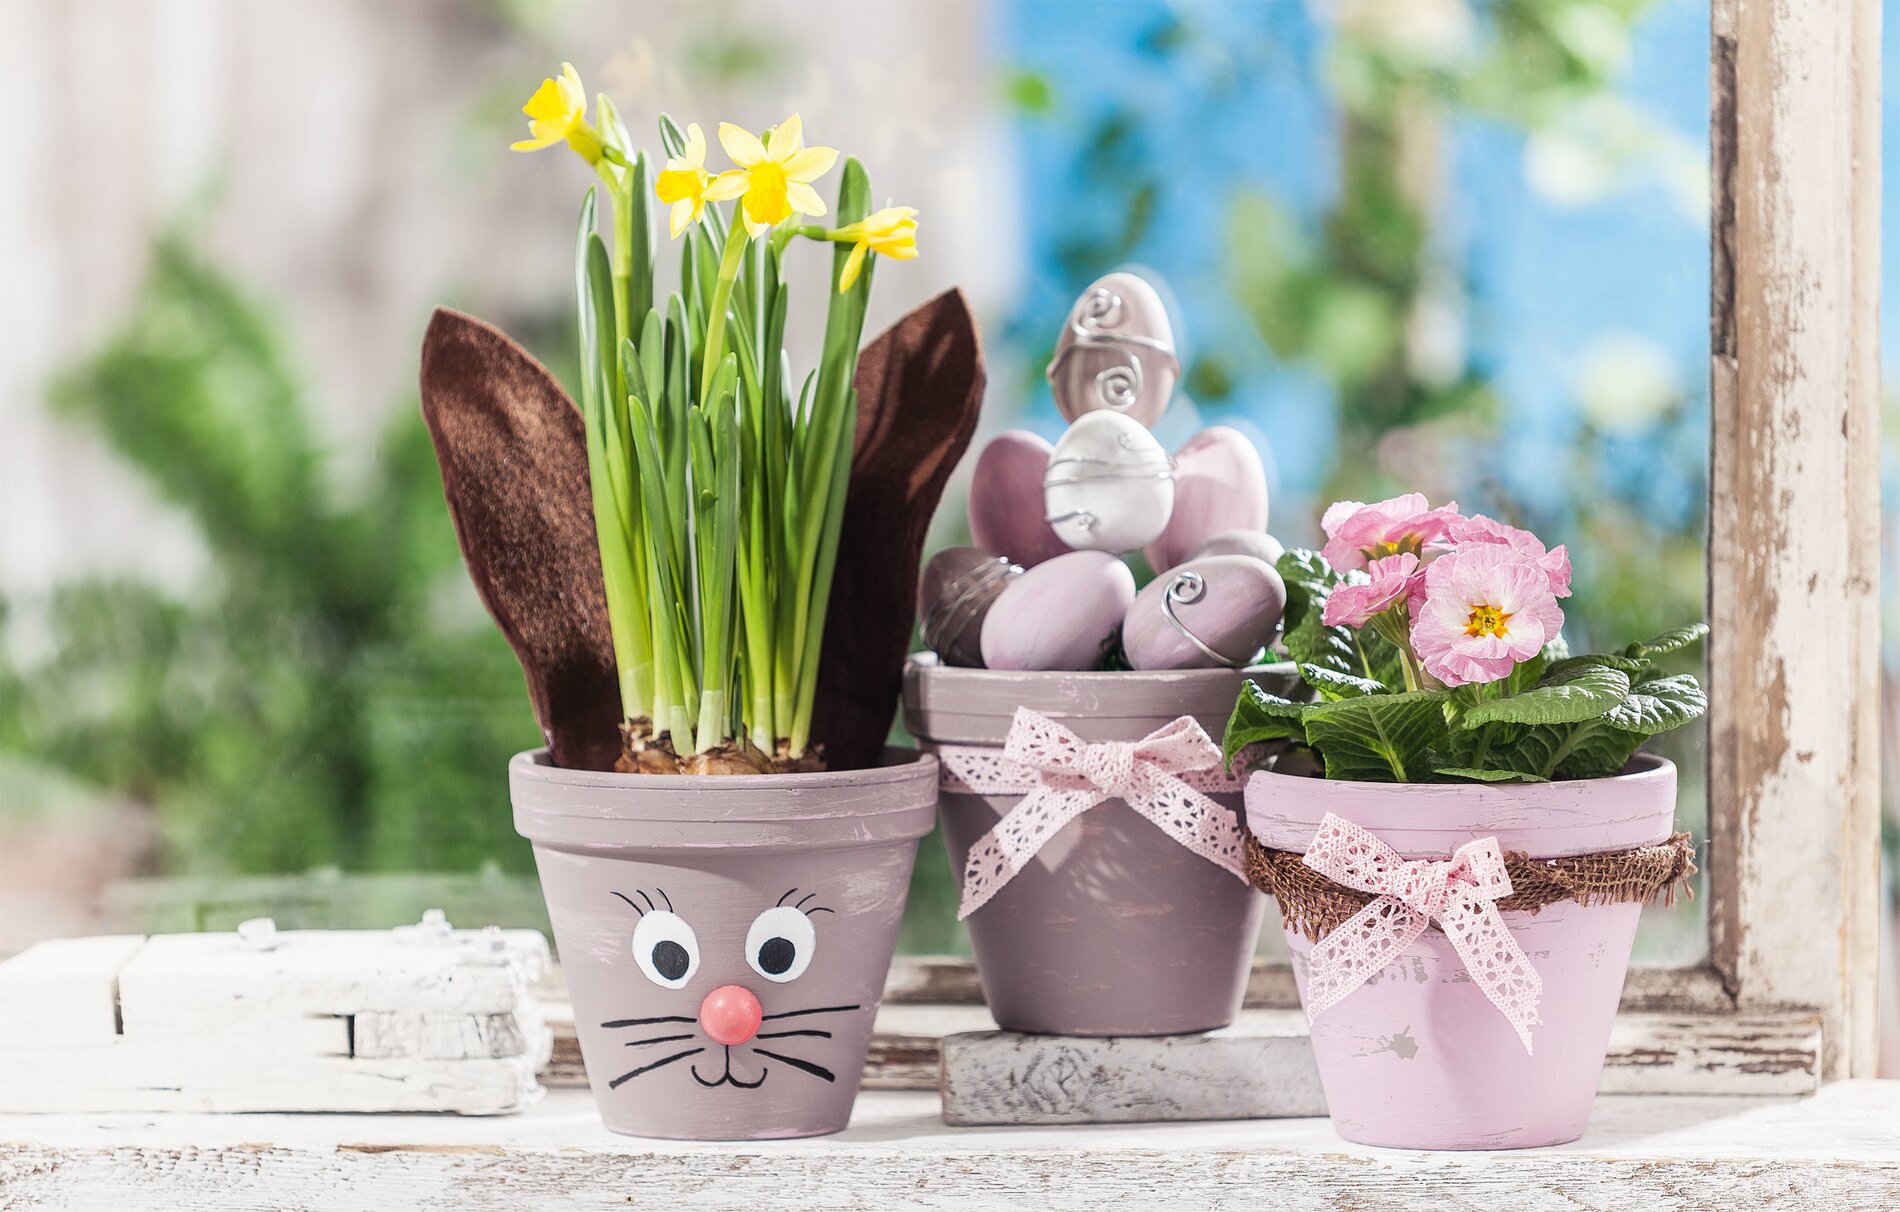
Cotton wool eggs can also be painted with Chalky paint. Choose different colours to match the Chalky Terracotta-pot and colostrate different coloured Easter eggs. Put each egg on an aluminium wireSmall loop - big effect
Glue around the Terracotta-pots double-sided Adhesive tape. Overwrap this with Jute- or with Lace ribbon and tie a small bow - this gives your decoration that special something