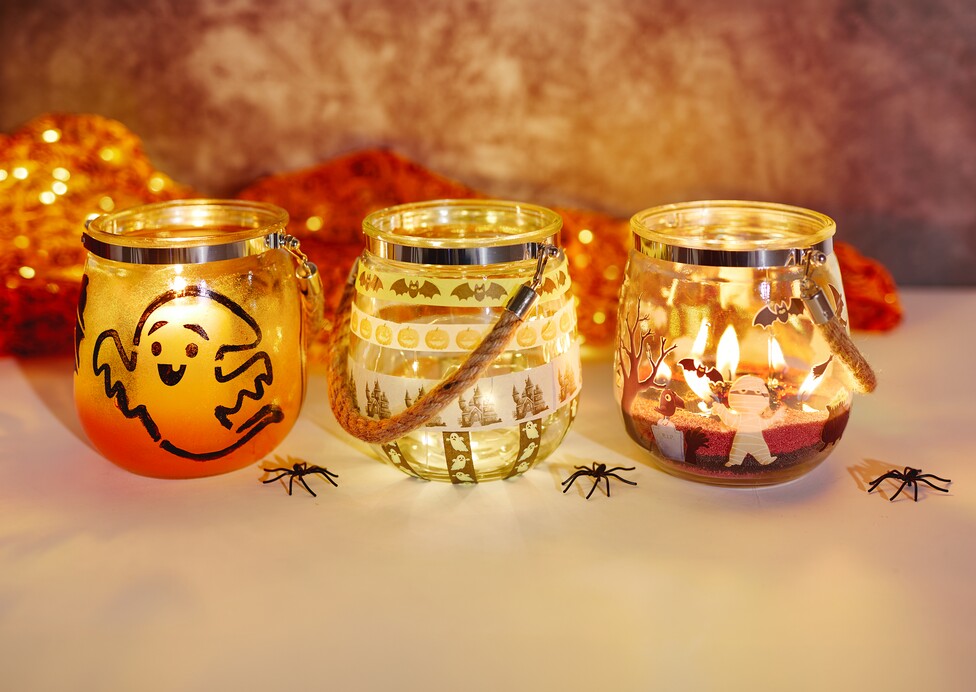
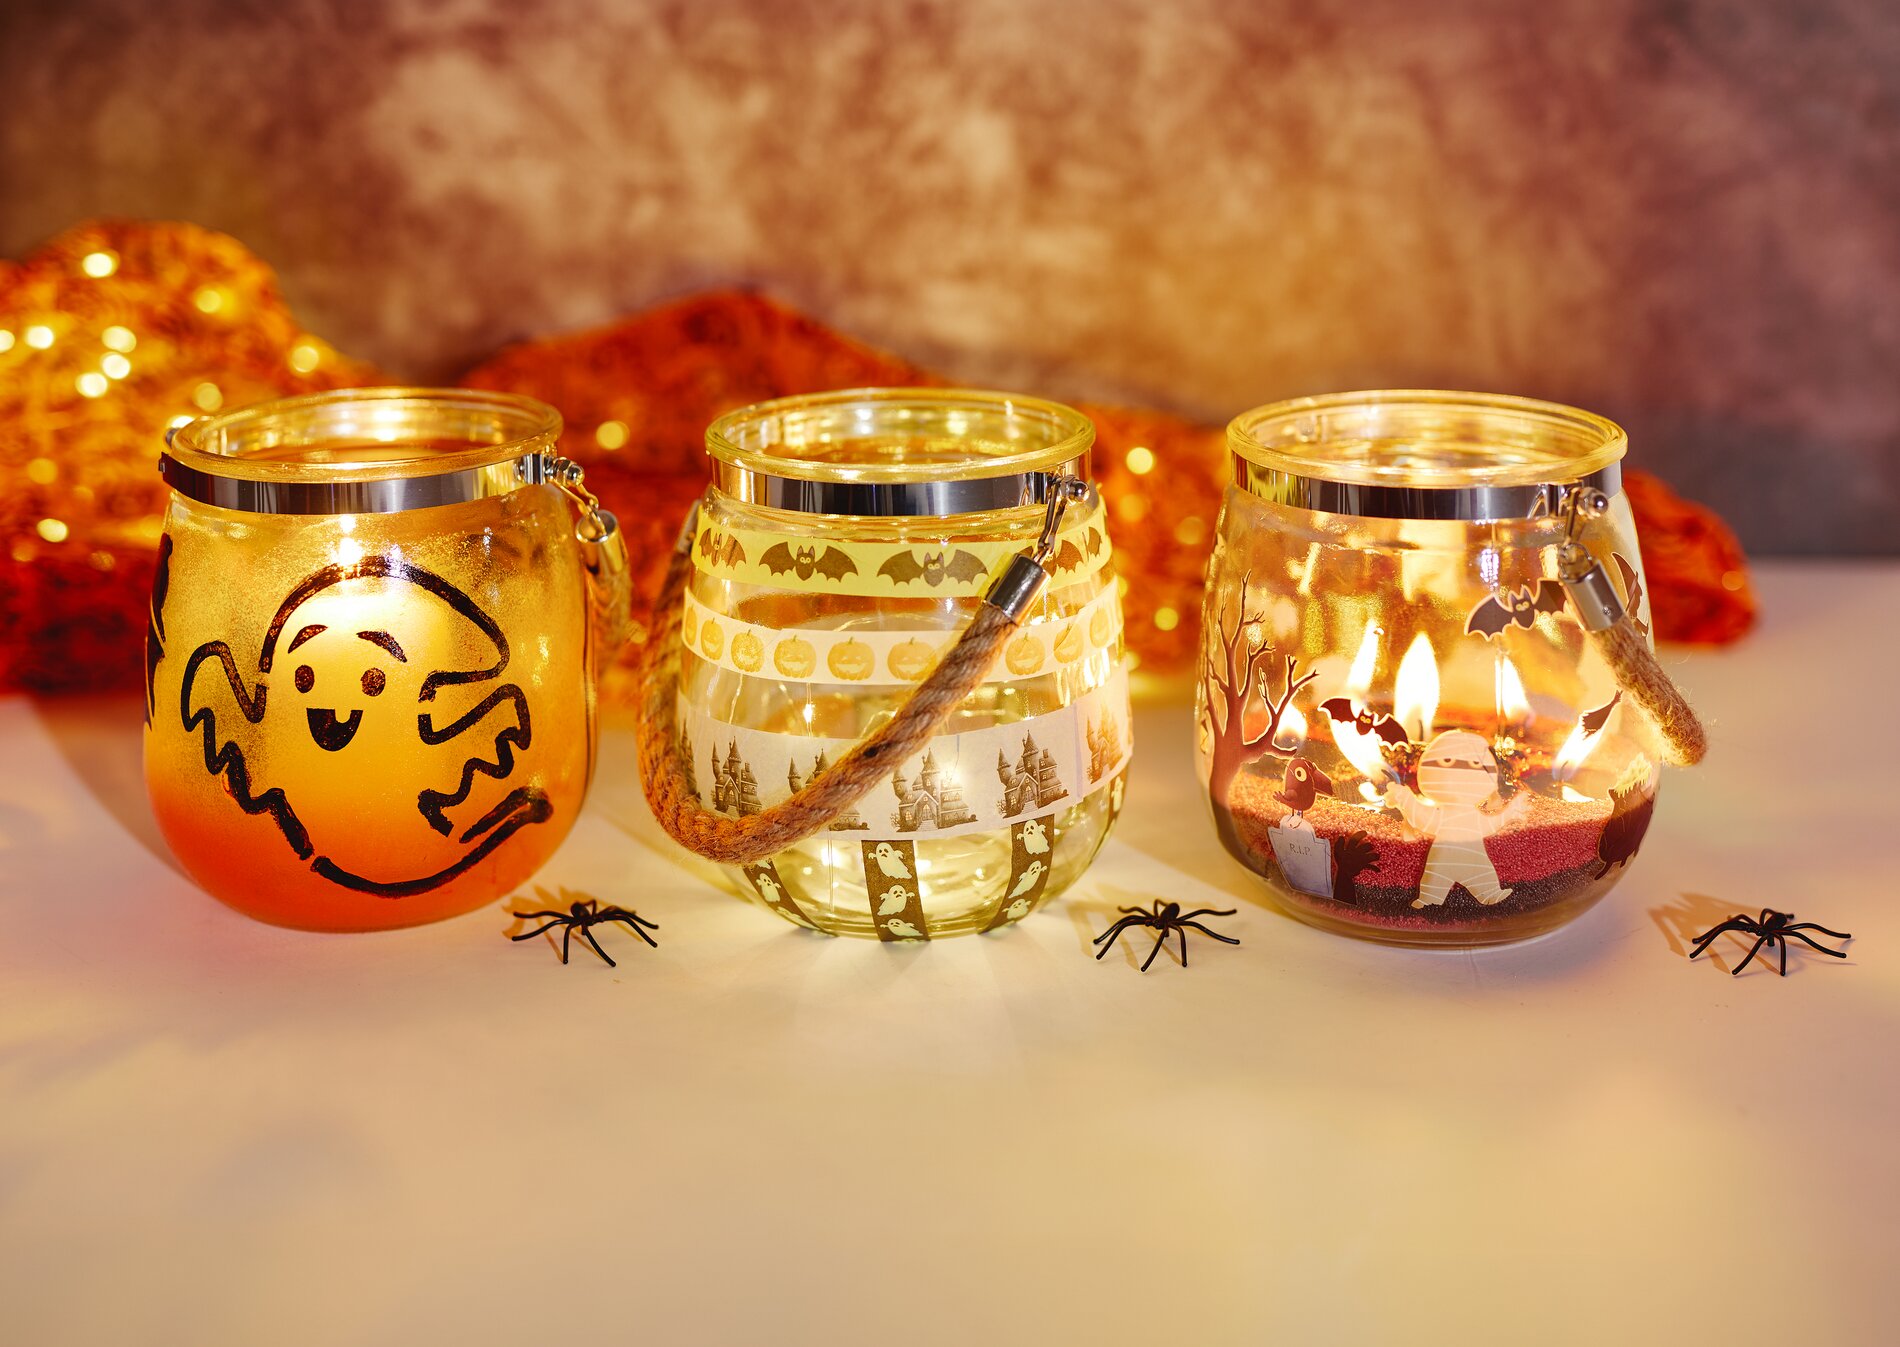
Decorate a Halloween lantern glass with glass and porcelain paints using a dabbing technique
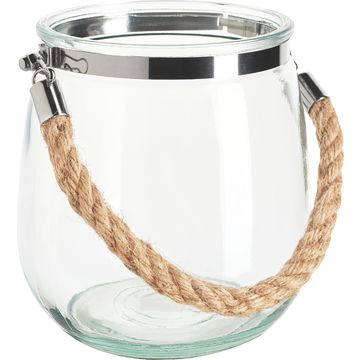
First, clean the glass lantern thoroughly with warm water and a little dish soap to remove grease and dust from the glass surface, so that the glass and porcelain paint will adhere well to the glass later. Dry the glass with a lint-free cloth and try not to touch the areas you want to paint with your fingers. This will prevent grease marks that could otherwise cause stains.
For the luminous background, dab “Clear” glass and porcelain paint onto the glass using a small sponge or a soft dabbing brush. Dabbing creates a slightly cloudy, atmospheric surface (satin finish) that looks especially beautiful when a tea light or an “ chain of light ” glows inside the lantern later on. If you want a more intense color effect, repeat the dabbing process after the paint has dried slightly. Let the paint dry completely afterward.
Now place a “ stencil ” of your choice on the glass and press it down firmly so the edges align neatly. Dab the design with “classic ” glass and porcelain paint. Use a small amount of paint and build up coverage in several light dabbing layers. This prevents paint from seeping under the “ stencil ” and blurring the outlines. Carefully peel off the “ stencil ” while the paint is still not completely dry, then let the design dry undisturbed.
Clean the stencil with water and dish soap immediately after use. This keeps the openings clear so you can reuse them for future Halloween projects. Allow about 4 hours total for the painted surface to dry before heat-setting the glass.
To ensure your Halloween “-wind light ” stays beautiful for a long time, the glass and porcelain paint needs to be fired. Be sure to remove the “ cord ” from the glass before firing. Place the lantern glass in a cold oven, as the slow temperature rise protects the glass from stress. Then heat the oven to about 160 °C. The firing time of approximately 90 minutes begins only once the temperature has been reached. Afterward, let the glass cool down in the oven. This allows the firing process to complete properly, and the paint becomes waterproof, dishwasher-safe, and saliva-resistant.
Decorating a Lantern Jar with Rub-Ons (Applying Transfer Designs)
Clean the lantern glass as described above, since rub-ons adhere best to clean, smooth surfaces. Cut out the desired designs and place them where you want them. Rub-ons are transfer designs: by rubbing, the design is transferred from the backing sheet to the glass.
Smooth out the film and rub evenly over the design using the included spatula. Take your time and be sure to work along the edges so that every line is transferred. Slowly peel off the backing sheet. If any parts are still stuck to the sheet, reapply them and rub again until the design is completely on the lantern glass. This will give you crisp Halloween details that look especially clear in candlelight.
Decorate a lantern glass with washi tape for a Halloween look
The same rule applies here: clean first, then apply the tape. Stick the washi tape around the glass however you like—as individual strips, borders, or a mix of different widths. Press the edges down carefully so the tape doesn’t peel off later. If you want a particularly neat finish, cut the tape precisely with a sharp knife or scissors.
Light it up and set the scene
For that classic “ wind light-” effect, you can fill your jar with candles, candle sand, or a “ chain of light .” A “ chain of light ” provides an even, warm glow and is especially suitable if you want to let the lantern burn for a longer period. If using a real flame, make sure nothing protrudes into the jar and that the “ wind light ” is stable.
If you’re in the mood for more Halloween decorations: In our online shop, you’ll find matching stencils, rub-ons, washi tapes, and many other craft supplies to create an entire “ wind light-” series right away.