- Secure order
- Easy return shipment
- Service-Hotline 01 662 20 20
Instructions No. 3574
Difficulty: Beginner
Working time: 45 Minutes
Step 1: Prepare the casting mixture
Start by making the casting mixture: add one heaping tablespoon of casting powder to a bowl. Now slowly add water while stirring continuously. The goal is to achieve a creamy, lump-free consistency that pours easily into the mold. This basic process is crucial for the quality of your finished butterflies.
Step 2: Add some color
Now it’s time to get colorful! Add the VBS colour concentrate to the casting mixture. Stir the mixture thoroughly so that the color is evenly distributed. Depending on the amount of color concentrate, you can achieve both pastel and bold shades. Feel free to experiment with different color concentrations to create a unique final result.
Step 3: Pouring the Butterflies
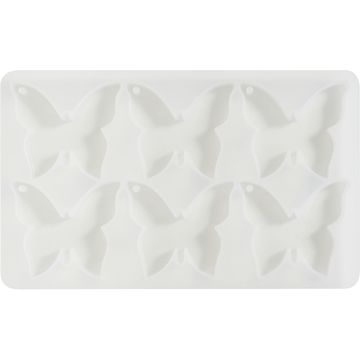
Now carefully pour the prepared casting mixture into your silicone mold. Make sure the mold is completely filled, and avoid air bubbles by gently tapping the filled mold a few times. Do not lift the mold to prevent spilling.
Step 4: Allow to Dry
After about 30 minutes, the casting mixture will have had enough time to set sufficiently. Carefully remove your butterflies from the mold. Proceed gently to avoid damaging anything. Then let the figures dry completely before moving on to the next step.
Step 5: Smooth the Edges
Once your cast figures are completely dry, you can smooth the edges with a little “ sandpaper .” This is where the term “sandpaper ” comes into play—it refers to a “ Paper ” with a rough surface that is used for smoothing and finishing surfaces. A smooth finish adds the finishing touch to your butterflies and ensures a professional-looking final result.
Step 6: Hang the butterflies decoratively
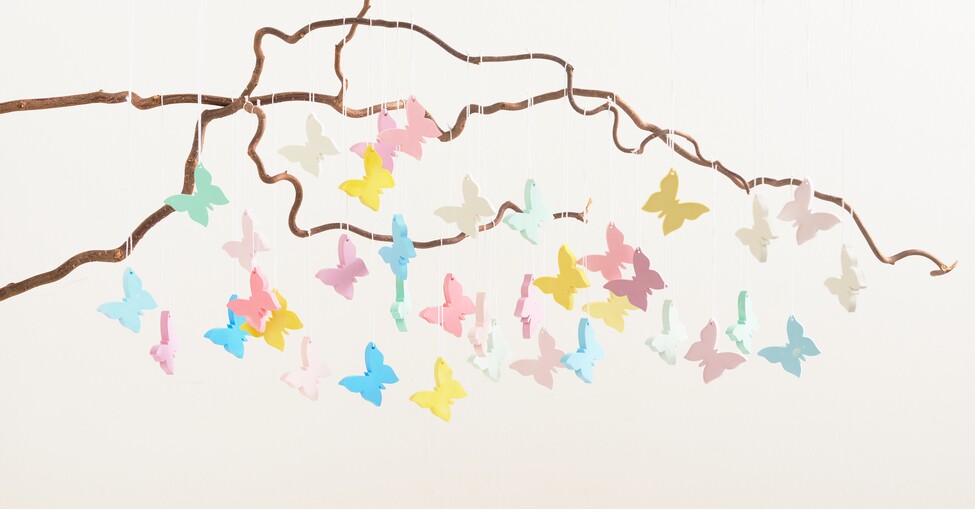
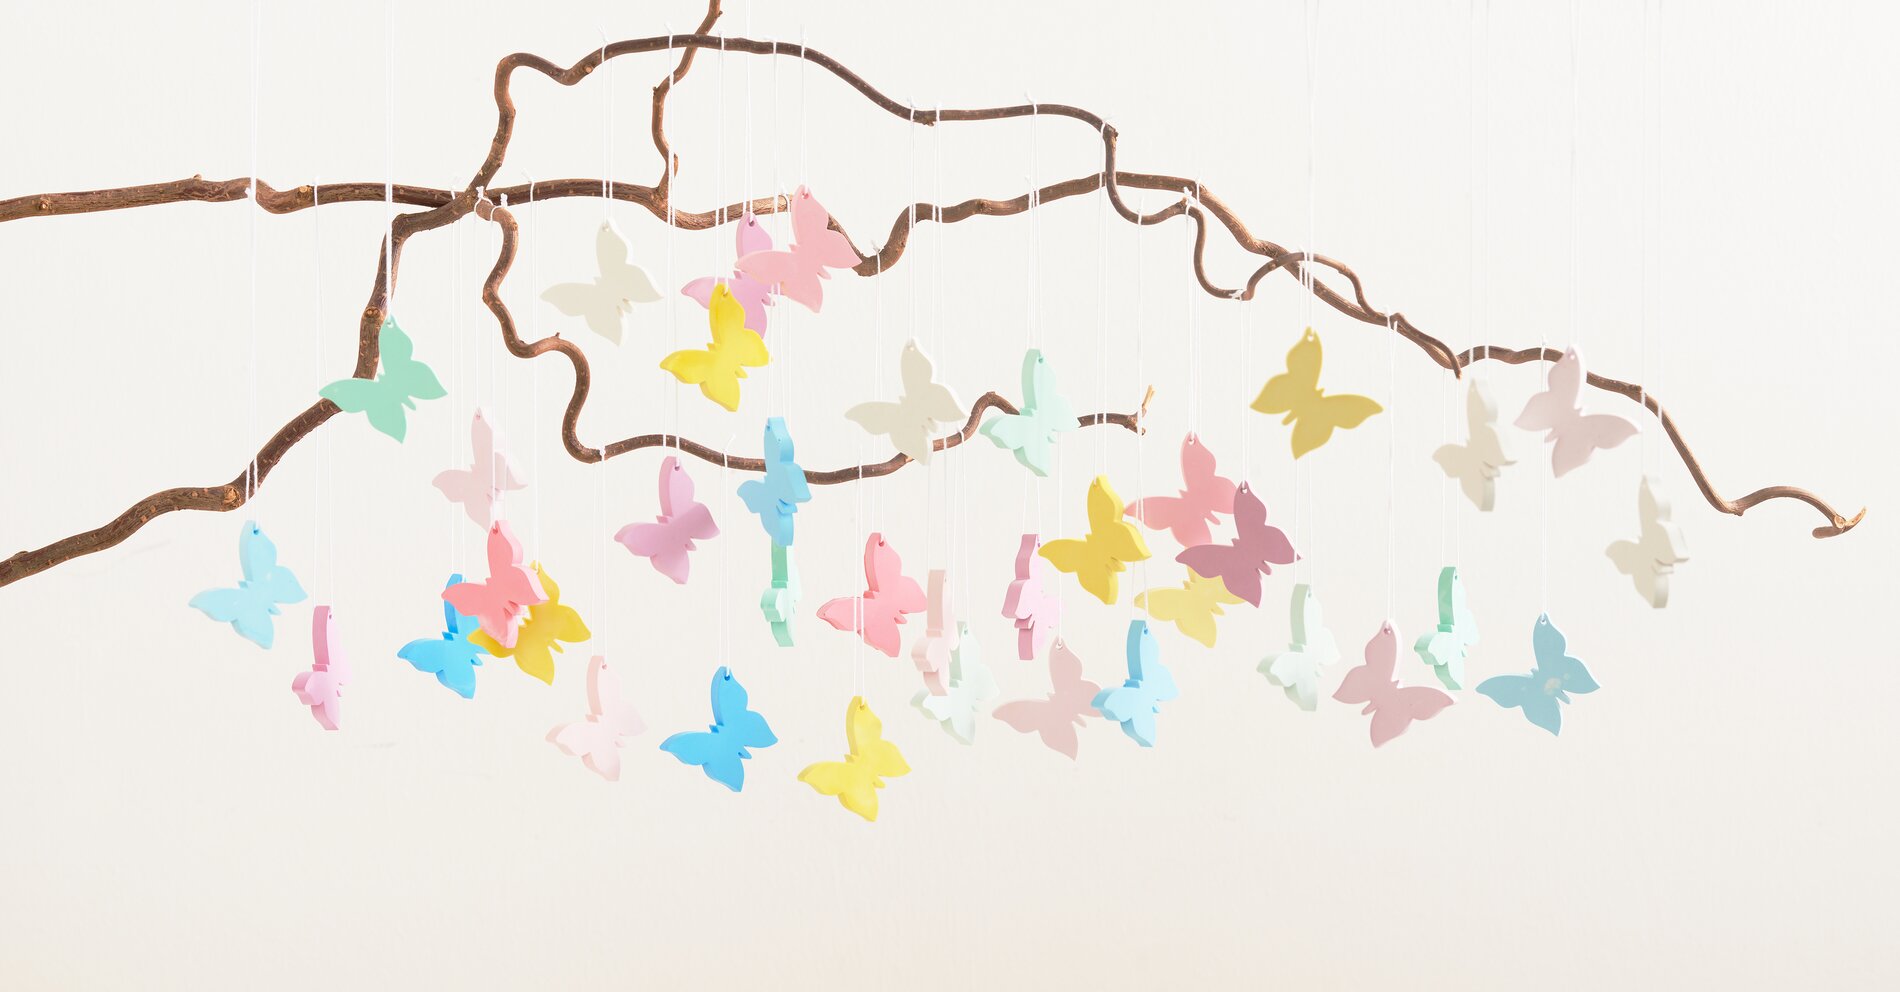
Almost done! Now thread a pretty ribbon through the holes in the butterfly figures. The ribbon serves as a hanger and allows you to place these colorful works of art wherever you like—whether in your room, on the patio, or in the garden. Done!