- Secure order
- Easy return shipment
- Service-Hotline 01 662 20 20
Instructions No. 4155
Difficulty: Beginner
Working time: 30 Minutes


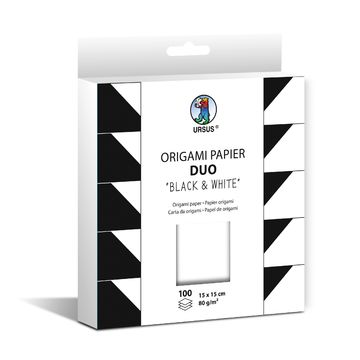
Gather six black-and-white origami paper squares from Paper . The black-and-white combination-Paper creates the characteristic contrast later on, because as you fold and shape the paper, the light and dark sides alternate in visibility. Make sure to fold the edges as neatly as possible—this will ensure the paper star is symmetrical and sturdy in the end.
1. Fold the basic shape—so the points will be precise later. Fold a square of paper once diagonally to form a triangle. Smooth out the fold with your fingernail so the edge is really sharp. Then fold the triangle in half again to create a smaller triangle. This basic fold is important because it gives you a solid reference point for the cuts you’ll make later.
2. Mark the cutting lines—the spacing is crucial. Place the small triangle so that the closed fold edge (the side without open flaps) is easily accessible. Starting from this closed fold edge, draw three lines spaced 1.5 cm apart. The lines run parallel to the long edge of the triangle and end 1 cm before the open side. This 1-cm “stop” prevents you from cutting all the way through the triangle—this way, your star segment will remain connected later.
3. Cut and open—this is where the snowflake look comes from Cut along the three marked lines with scissors. Then open the “ Paper ” back up completely into a square and lay it face down. You’ll now see several “points” or strips that stagger inward—these will soon be shaped into the paper star’s characteristic three-dimensional loops.
4. Glue the points together to form loops – for the 3D effect Take the smallest inner points and glue their lace together with handicraft glue . This creates the first small loop in the center. Next, glue the second-largest points together in the same way, tip to tip. This alternating connection builds up the depth that makes the star look so three-dimensional. Be sure to glue only the lace —this keeps the edges airy and gives the shape the appearance of a snowflake.
5. Flip it over and continue gluing—to ensure the segment is even Carefully flip the Paper over. Now glue the remaining points together on the back, tip to tip. This will give you a diamond-shaped, sturdy star segment with clean lines. Repeat steps 1 through 5 with five more paper squares until you have a total of six identical segments.
6. Connect the segments—the star gains stability. Stack the six segments on top of each other at the bottom point. Important: Align all segments in the same direction so the pattern looks even. Connect them in the center—either with a stapler clip or by using “ handicraft glue, ” if you’re not using a stapler. Then arrange the segments in a circle and connect each pair of adjacent segments again in the center. This creates a sturdy paper star that holds its shape well even when hung up.
7. Add a hanging loop—so your paper star is ready to be displayed right away Finally, use a hole punch to punch a hole in one corner of a segment. Thread a jute ribbon through the hole and tie it securely. This way, you can hang your black-and-white paper star as a “ christmas decoration ” on a window, a branch, or as a modern Christmas tree ornament.
Extra tip for a clean finish: While the glue is still wet, hold the glued lace s together for a few seconds. This ensures the loops close neatly and really highlights the contrast of the Duo-Origami paper—perfect for nostalgic paper stars with a graphic black-and-white look.
Now it’s your turn! If you need more Origami Paper, handicraft glue, hole punches, or jute ribbon for your christmas stars , check out our online shop and stock up on everything you need for your next paper star project.