- Secure order
- Easy return shipment
- Service-Hotline 01 662 20 20
Instructions No. 4118
Difficulty: Beginner
Working time: 2 Hours
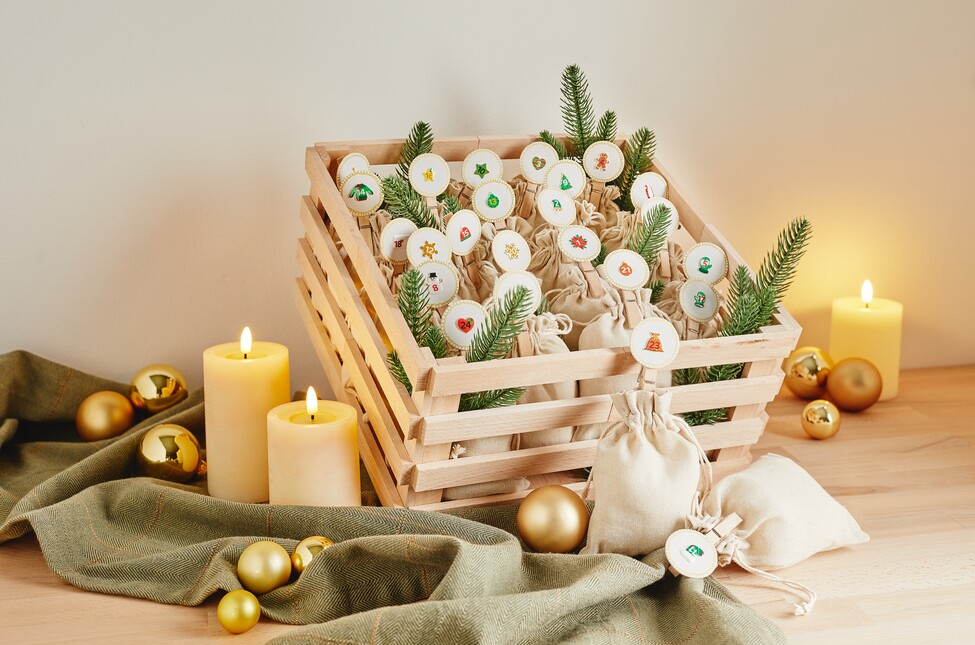
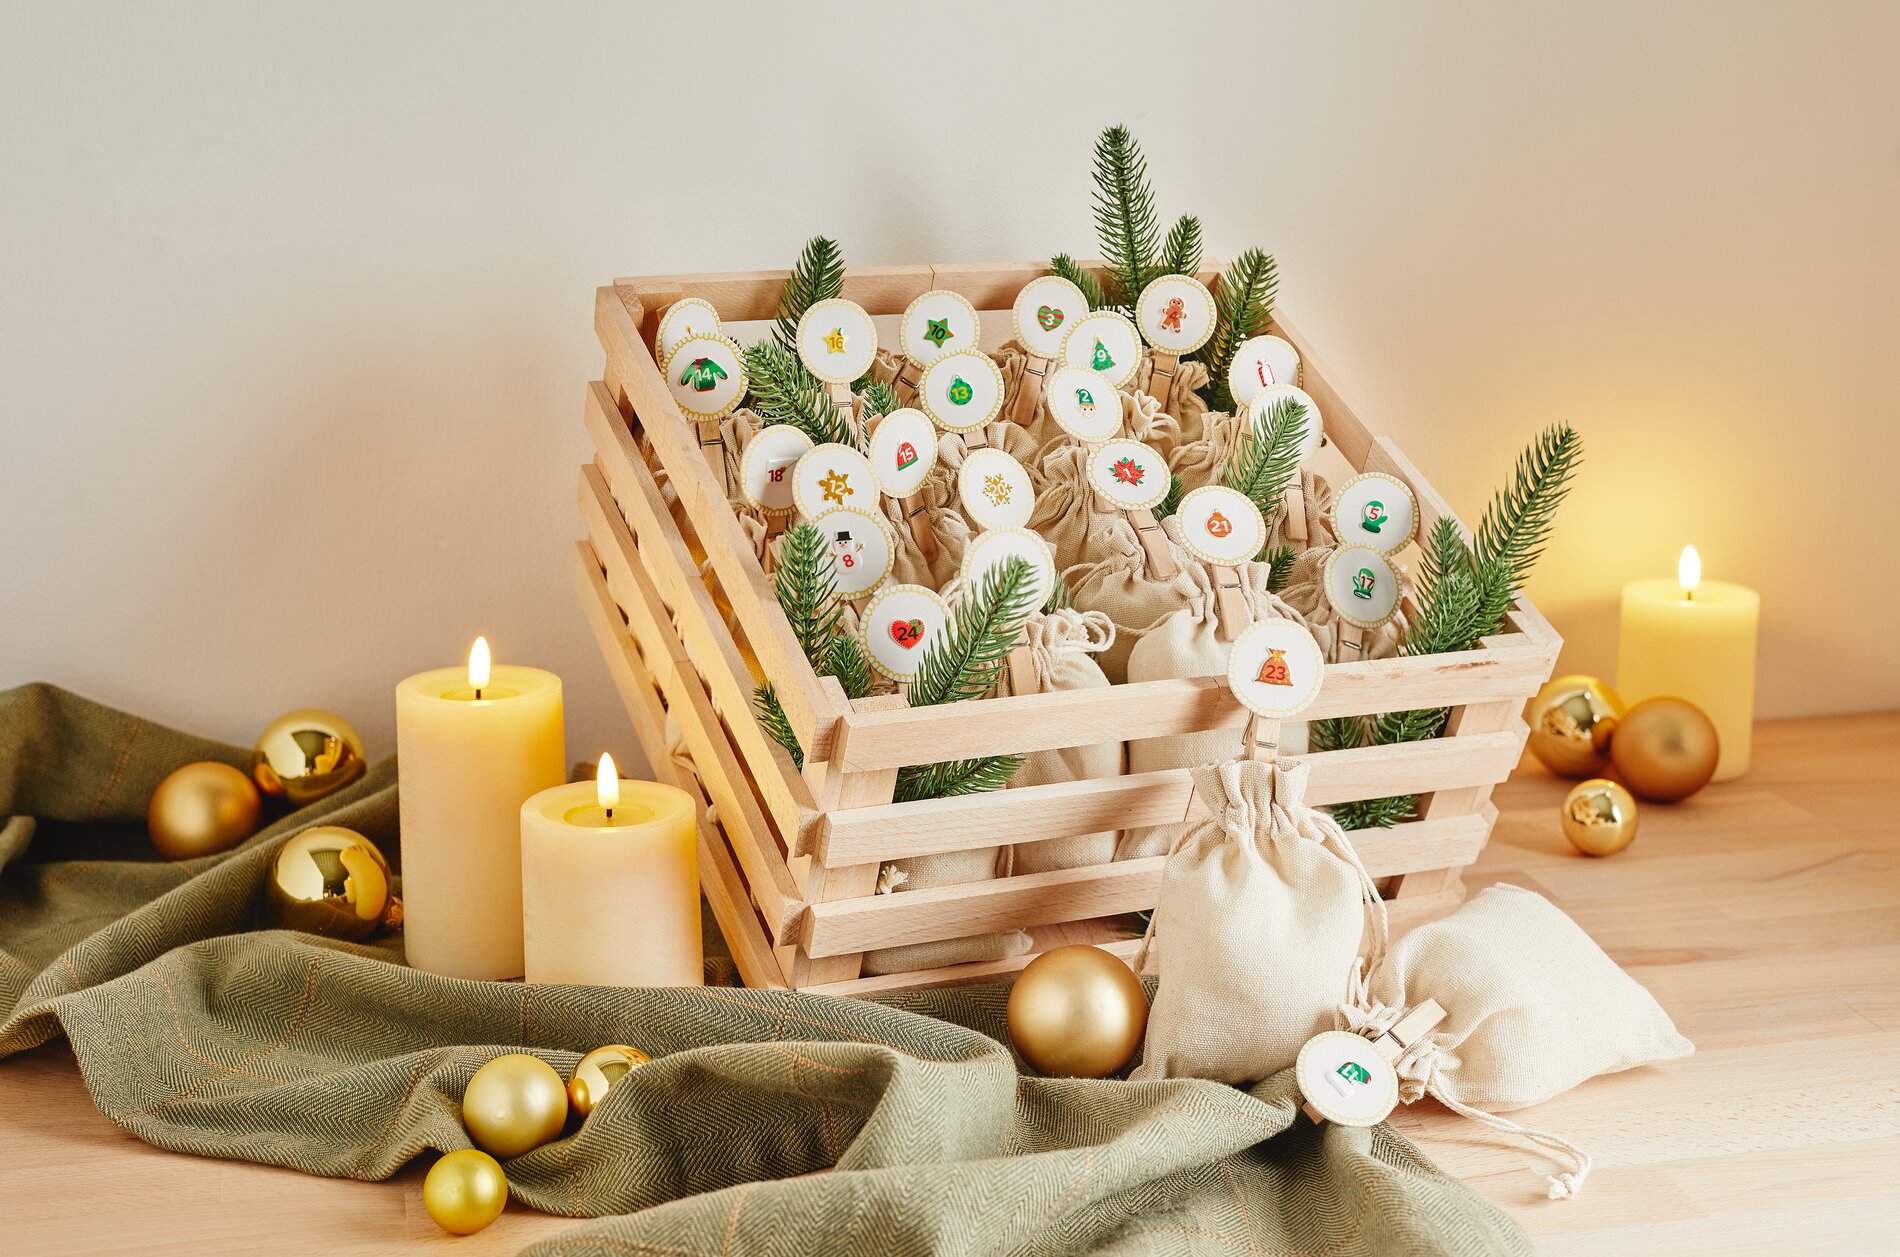
advent calendar Crafting with Jute Bags in a Block Box First, briefly plan how you want your “ advent calendar ” to look: natural, simple, and warm. The combination of small jute bags and a homemade box made from craft blocks fits perfectly with the Advent season and can also be reused every year as a sustainable “ gift wrapping .”
Step 1: Build a box out of craft blocks Arrange the craft blocks to form a sturdy box shape: a bottom, four sides, and, if needed, a second layer for extra height. Glue the blocks together one by one, taking your time to ensure the edges align neatly. This step ensures that your “ advent calendar ” will stand upright later and that the little bags can be displayed beautifully.
Step 2: Decorate the Wooden Clips Paint the wooden clips with “ handicraft paint .” The paint turns simple clips into real eye-catchers and helps you place the “ advent numbers ” where they’re clearly visible. Let everything dry completely so nothing smudges as you continue crafting and the clips will hold the bags securely later on.
Step 3: Attach the “ advent numbers ” and Add Details Next, glue the “ advent numbers ” onto the dried clothespins. Make sure the numbers are centered so the calendar looks balanced later on. If you’d like, you can also decorate the clips with a pen—for example, with dots, fine lines, or small stars. This makes each number unique without making the overall look too busy.
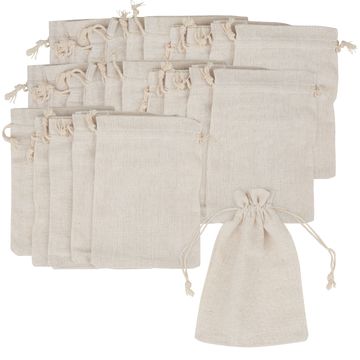
Step 4: Fill and number the jute bags Fill the small jute bags with your Advent surprises. Tie the “ cord ” shut so everything is securely packed, then attach the corresponding wooden clip with the Advent number to the top edge. The clip makes the number easy to see, and you can rearrange the bags later if needed.
Step 5: Arrange everything in the box Place the filled, numbered jute bags into the wooden block box. Arrange them so that the numbers are clearly legible and create a beautiful, even surface. This step is important for the overall impression: A neat arrangement immediately makes the DIY-advent calendar look high-quality.
Step 6: Add a Festive Touch with “ fir ” and Decorations Finally, decorate the box as you like with pine branches or other Advent decorations. Place the green accents mostly along the edges and between the bags so that the numbers remain visible and the little bags are easy to grab. This gives your advent calendar a festive look without appearing cluttered.
Finishing Touches: Your “ advent calendar ” with jute bags is now complete and ready for 24 little moments in December. If you’re looking for even more ideas and craft supplies for Advent, “ jute, ” wood, and “ gift wrapping ,” stop by our online store and put together your next project right away.