- Secure order
- Easy return shipment
- Service-Hotline 01 662 20 20
Instructions No. 4013
Difficulty: Beginner
Working time: 45 Minutes
kandelaar Build with craft blocks (Advent)
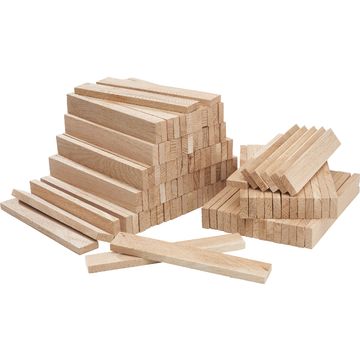
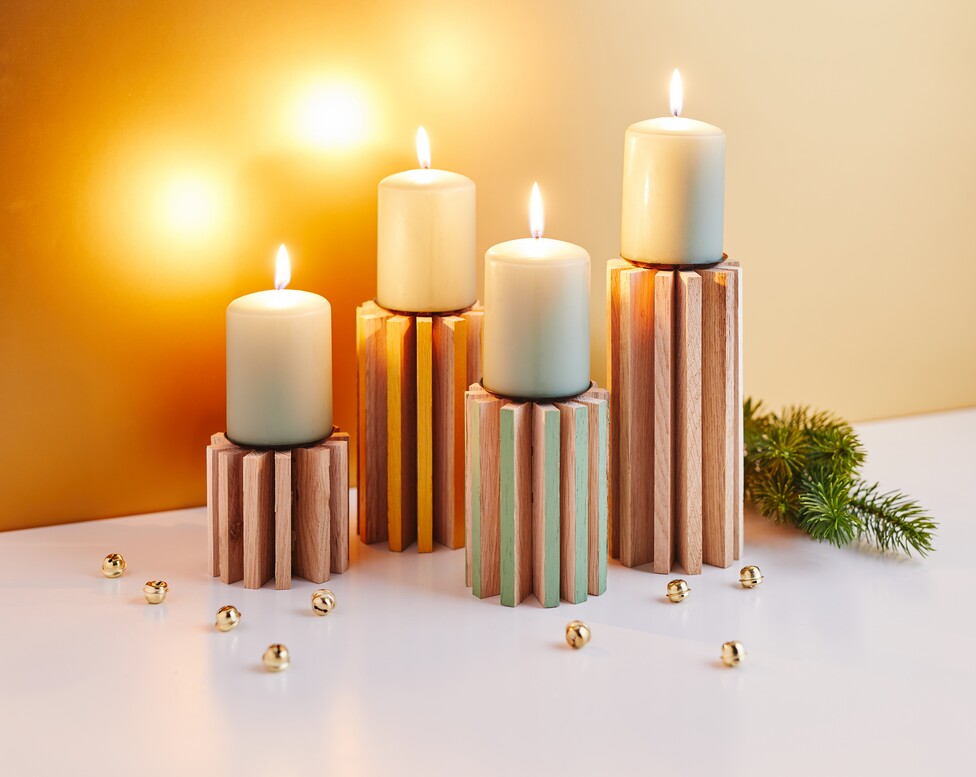
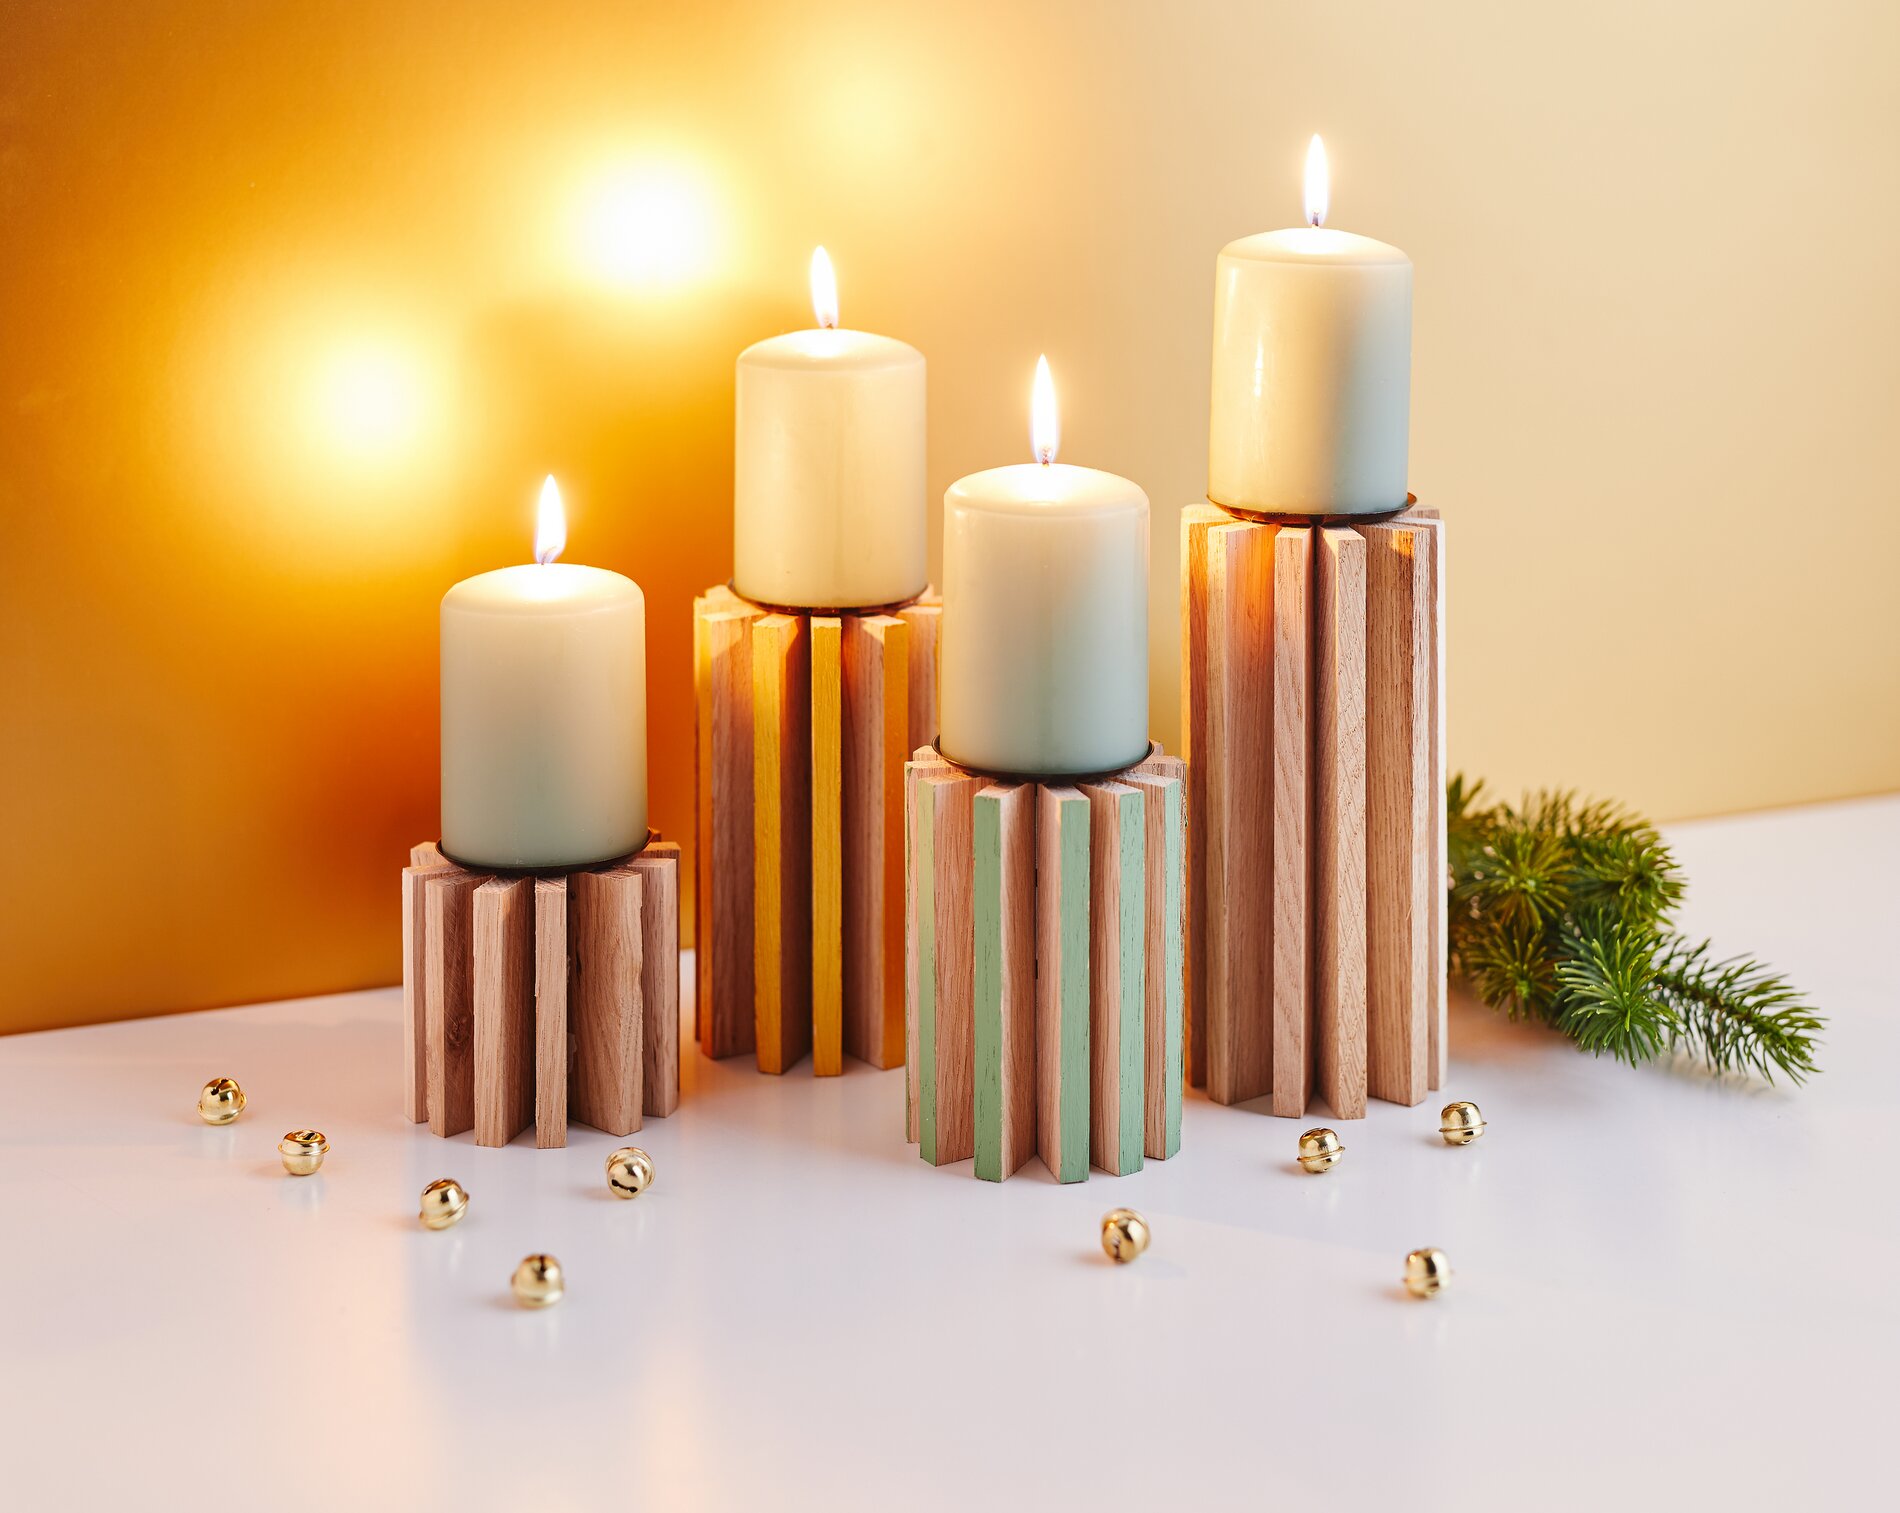
To make a “ kandelaar ,” you’ll need 12 oak craft blocks. Their uniform shape makes this DIY ideal for beginners and creates a modern, clean look—perfect as an Advent decoration on a table, sideboard, or windowsill.
Step 1: Align and secure the blocks
Stand the 12 blocks upright and place them close together so that a stable ring forms later. Tape them together at the top and bottom with masking tape-adhesive tape . Let the adhesive tape extend slightly on one side—this “tab” will help you close the circle later.
Step 2: Form the ring—this creates the holder shape
Place the taped-together row upright and carefully shape it into a circle. Now use the protruding end of the crepe paper-adhesive tape, to connect these blocks to the next ones. Press the edges firmly together so that the wooden ring closes neatly and doesn’t shift while drying.
Step 3: Glue in the wooden ball (for stability and to hold the candle)
Apply handicraft glue to a wooden ball and place it in the center of the ring. Make sure the hole is facing up—that’s where the candle insert will be placed later. Let the glue dry for about 15 minutes. It’s important to let it dry so that nothing shifts when you turn it over.
Step 4: Insert the second wooden ball and let it dry completely
Do not flip the kandelaar over until the glue has set. Then glue a wooden ball into the second opening as well. Let the kandelaar dry completely for about 12 hours. This will make the structure sturdy and ensure it retains its shape permanently.
Step 5: Securely Insert the Candle
Once completely dry, insert the candle holder into the hole in the wooden ball and place the candle on top. Make sure everything is straight so that the candle stands steady and your wooden kandelaar can be used safely.
Variation: Create kandelaar in Different Heights
A small set of several candle holders looks particularly elegant. You can leave one holder at the full block length and saw additional blocks to shorter lengths to create different heights. This results in a modern Advent decoration with rhythm and depth that looks great even without additional decorations.
Finish: Painting the Edges
For a stylish accent, paint the edges of the craft blocks with craft paints and/or metallic-acrylic paints. This highlights the clean lines of the wooden blocks and gives the kandelaar a festive touch. Let the paint dry thoroughly before placing the candle in its final spot—this keeps everything clean and gives it a high-quality look.
Your next step:
If you’re looking for more craft blocks, wooden balls, paints, and matching candle accessories for your Advent projects, check out the online shop and put together your supplies for more kandelaar-ideas right away.