- Secure order
- Easy return shipment
- Service-Hotline 01 662 20 20
Instructions No. 3444
Difficulty: Beginner
Working time: 2 Hours
Preparation: Get the materials ready and fix stencil
stencil prepare Grab your stencil and a can of spray adhesive. Spray one side of the stencil evenly with the spray adhesive. The adhesive ensures that the stencil stays securely in place on the stretched canvas during paint application and prevents it from slipping unintentionally.Applying paint: Bringing creativity to life
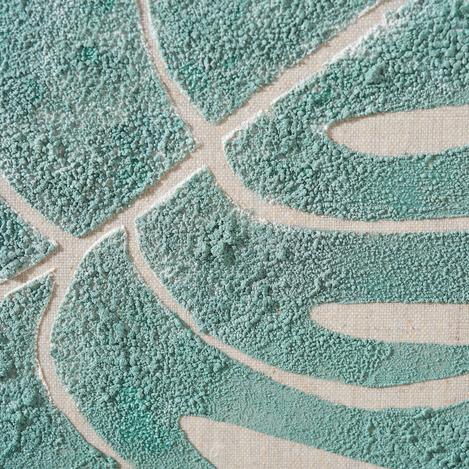
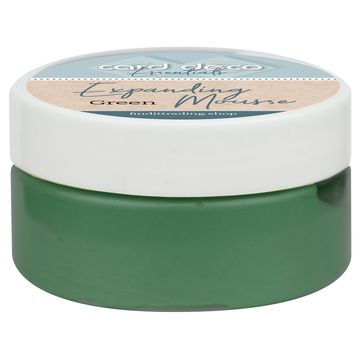
Apply paint Now the creative part begins! You can choose between a spatula or a stippling brush to apply the paint to the stretched canvas . A spatula helps you to apply an even layer of paint, while a stippling brush ensures smooth color gradients. Experiment with both techniques to achieve the desired effect.Finishing touches: perfecting the finish
stencil remove and clean Once you are happy with the paint application, carefully remove the stencil . Be careful not to smudge the fresh paint. Clean the stencil immediately with clear water to keep it ready for future projects.
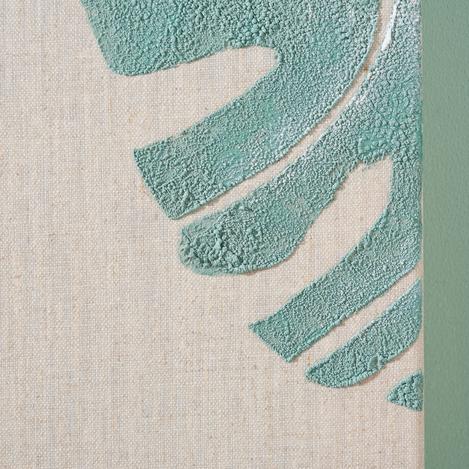
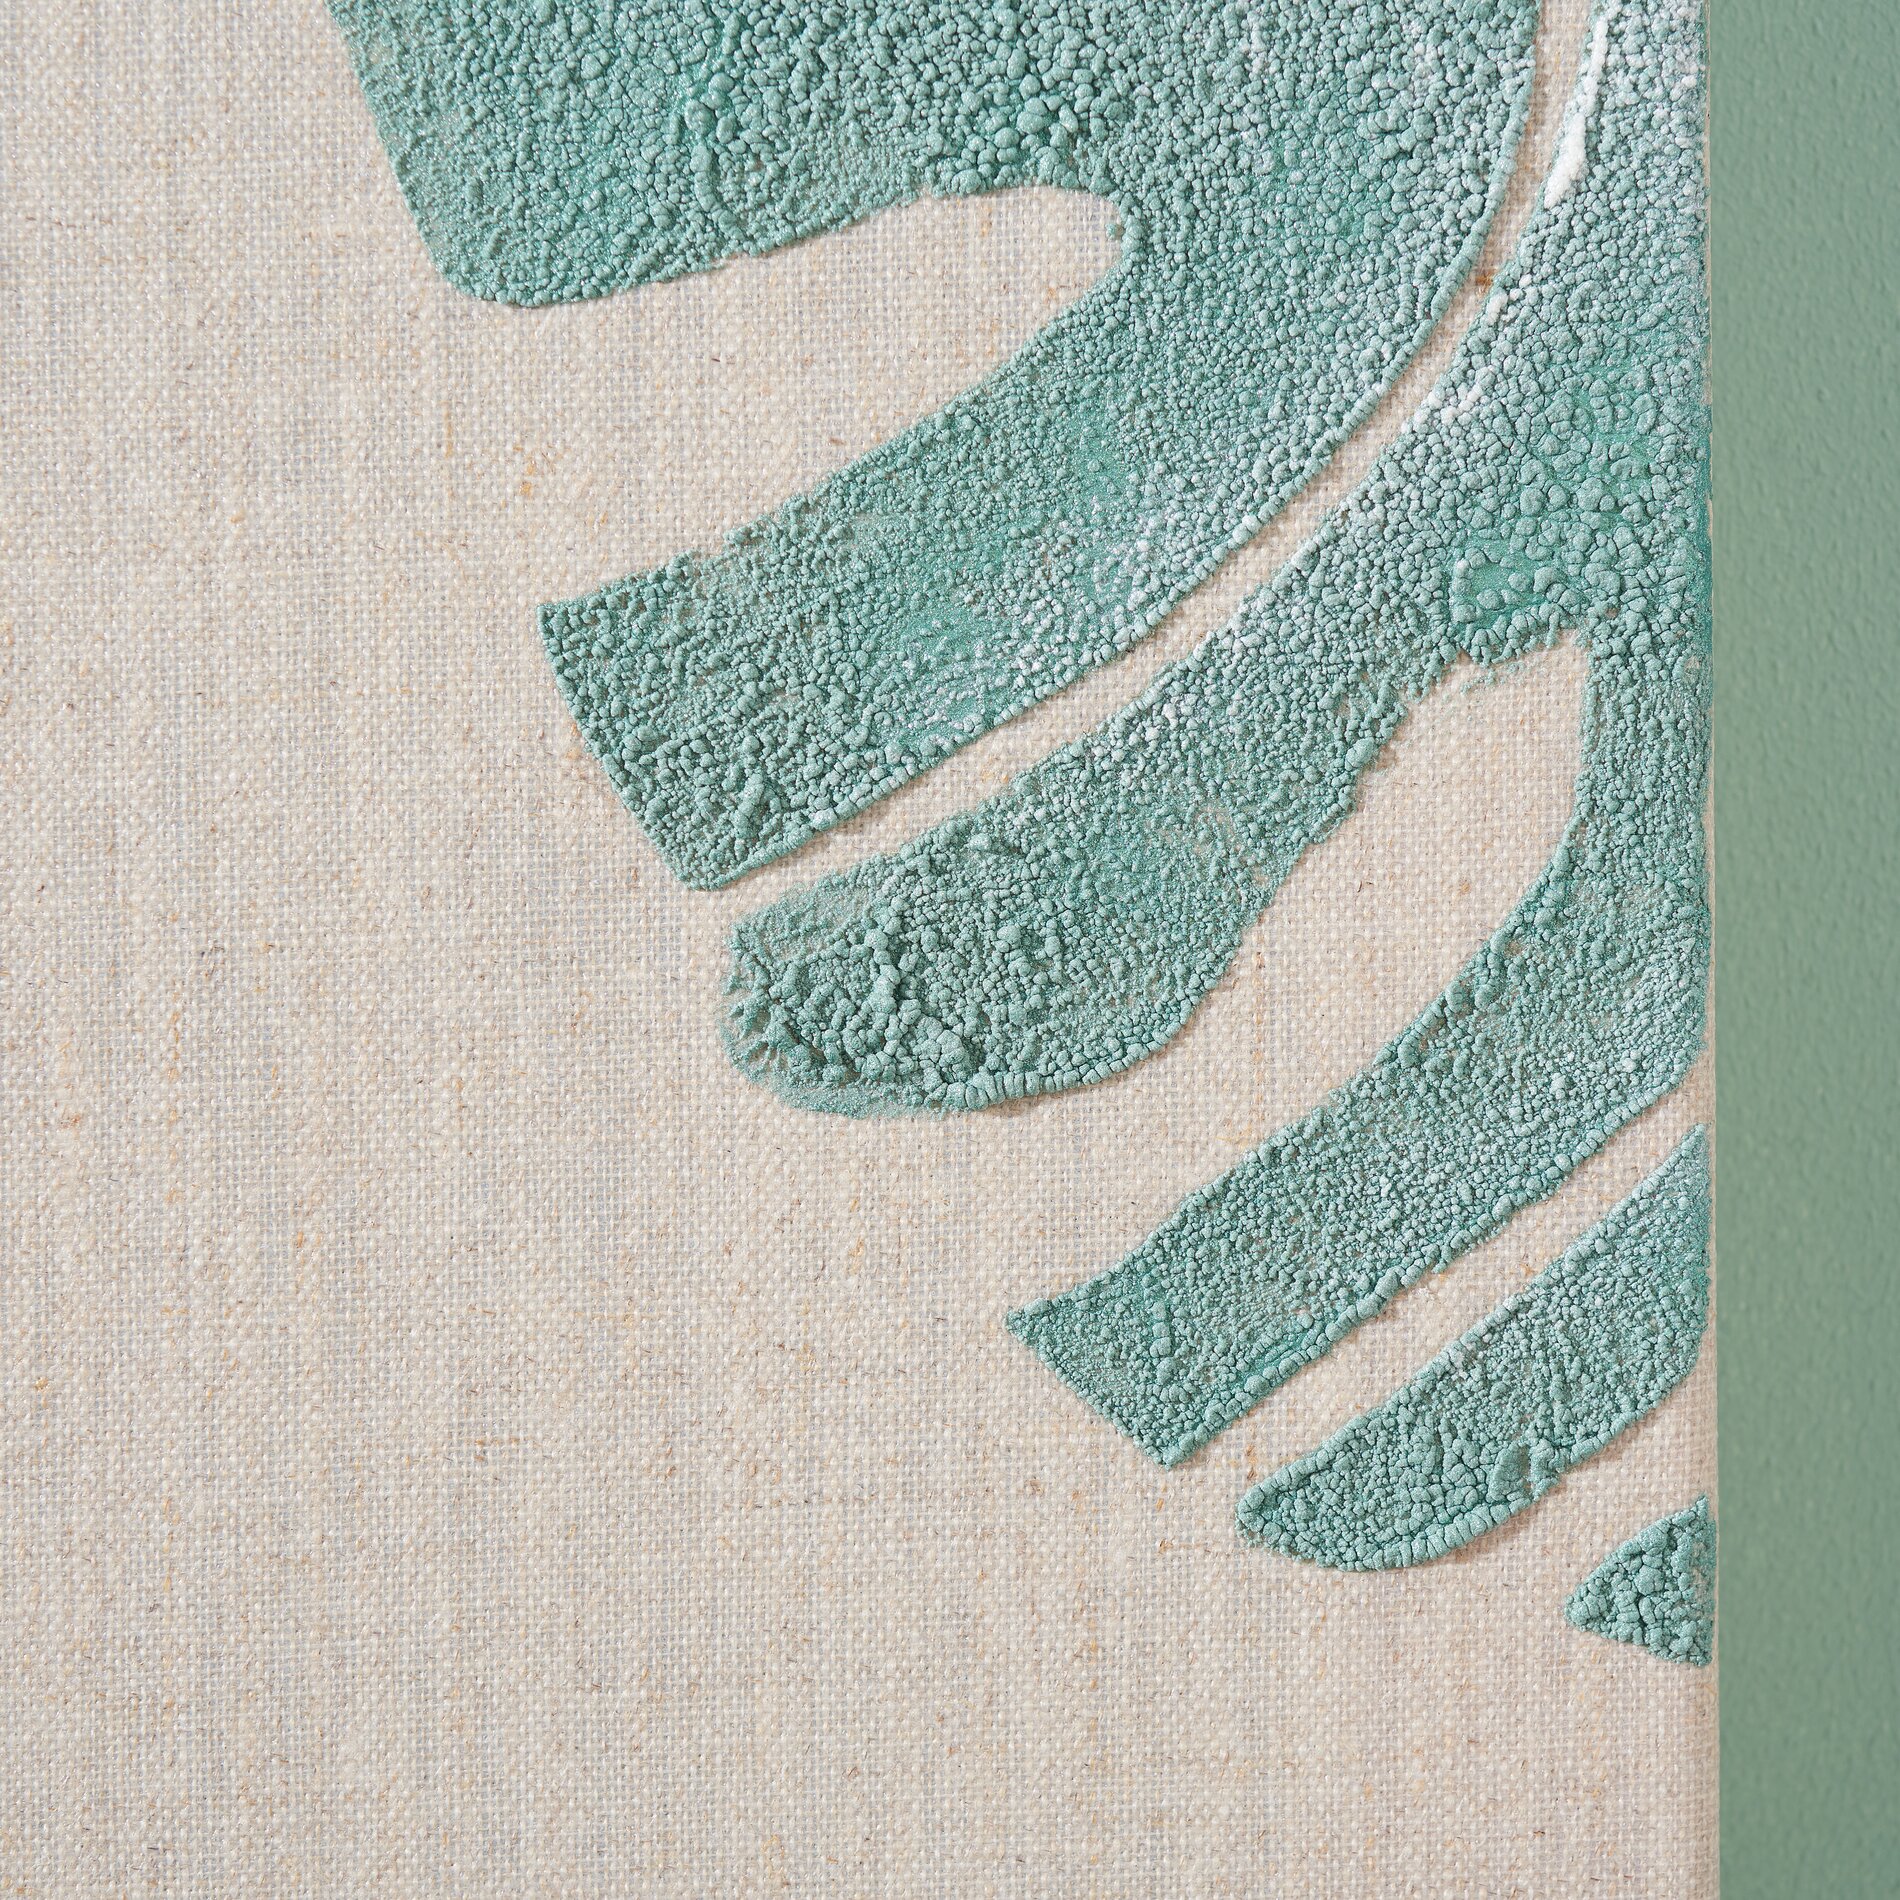
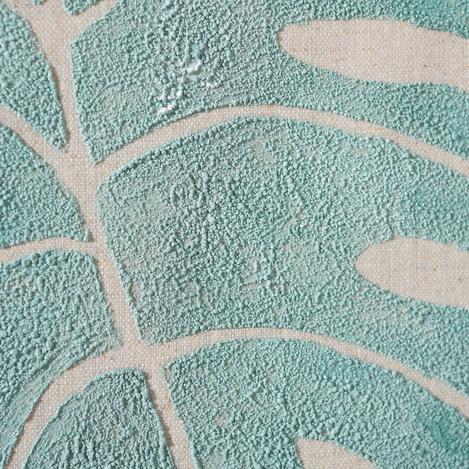
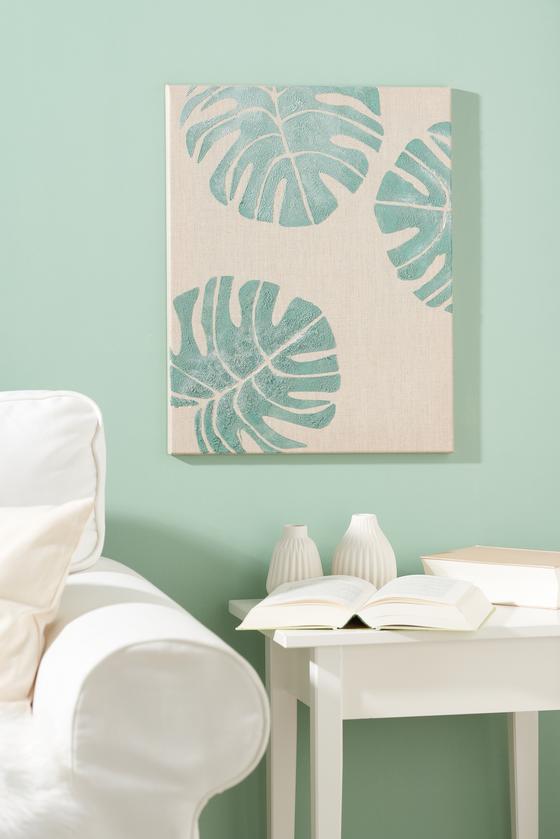
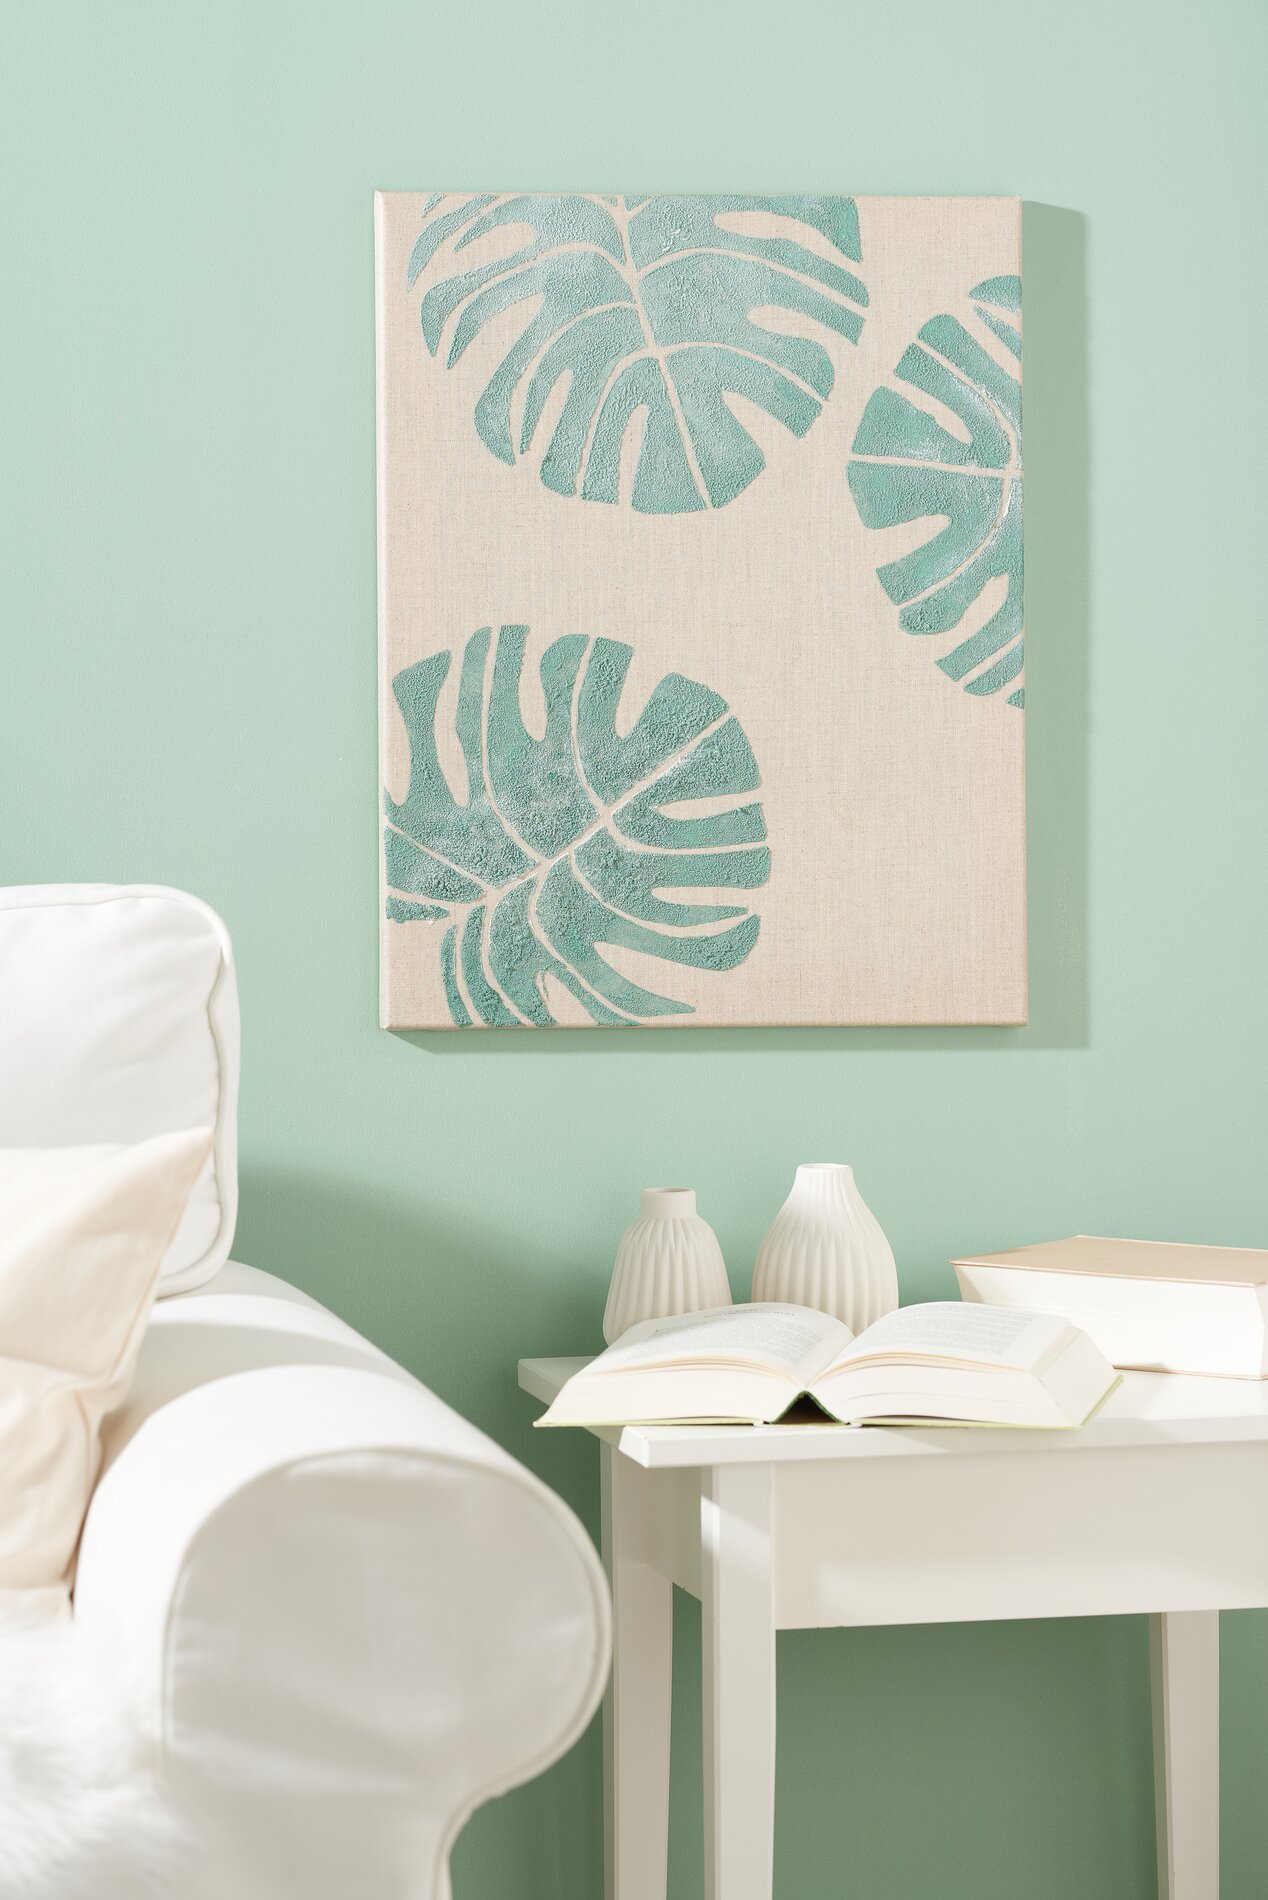
Dry the paint and create texture Now it's time to let the magic happen! Use an embossing dryer to go over the applied paint. Watch as the paint puffs up into fascinating puffs. The thicker you apply the paint, the more striking the effect will be.
Perfect your technique: combine colors creatively
Don't forget that you can try different color variations and combinations to make your artwork vibrant and unique. With each combination, you can achieve a different look that gives your room a personal and artistic touch.
Get your materials and start your creative adventure!
Now that you know all the steps, you're ready to design your stretched canvas with a stencilled motif. Visit our online store to find all the materials you need, such as stencils, spray adhesive, paints and brushes. Get started today and let your creativity run wild!