Pour and decorate tiles yourself: Creative instructions for DIY-Tiles are more than just only practical decoration! They combine functionality and aesthetics and open up countless creative design options. In these instructions, you will learn how to cast tiles yourself and decorate them using various techniques. Let your creativity run wild and design unique tiles that give every room that certain something. Whether as an unusual decoration or an individual gift - your home-made tiles are guaranteed to be an eye-catcher!
Step 1: Casting simple tiles
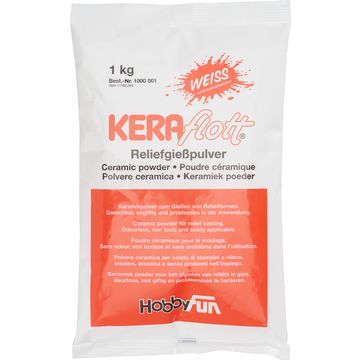
You can use various casting compounds to make the tiles. In this example, we are using the Keraflott casting slip, but concrete is also a possible option. However, make sure that you brush the molds with oil beforehand if you are using concrete to ensure better release.
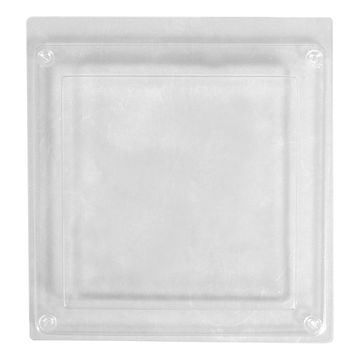
Depending on the casting compound, mix it according to the package instructions. For Keraflott tiles, mix 9 tablespoons of powder with 3 tablespoons of water and stir until a homogeneous mixture without lumps is formed. Pour the mixture into the casting mold from the middle. Tap the mold lightly on the table surface to allow air bubbles to escape and then leave it to dry on a flat surface. The drying time may vary depending on the thickness of the tile.

Once the tile is dry, carefully remove it from the mold. To do this, tap it gently on a soft surface such as a carpet or towel to avoid breakage. The edges may need to be reworked with sandpaper .
Step 2: Casting tiles with relief inlays
For tiles with a relief pattern, insert the desired relief inlays before filling the mold and fix them in place with double-sided adhesive tape. Make sure that the design is inserted mirror-inverted, as the view will be reversed after casting.
Once the relief inlay has been placed, proceed as for simple tile casting. For very intricate patterns, coat them with casting compound beforehand to minimize air bubbles.

If the relief inlay sticks to the mold when you remove it, carefully remove it with a suitable tool. Smooth out any edges with sandpaper.
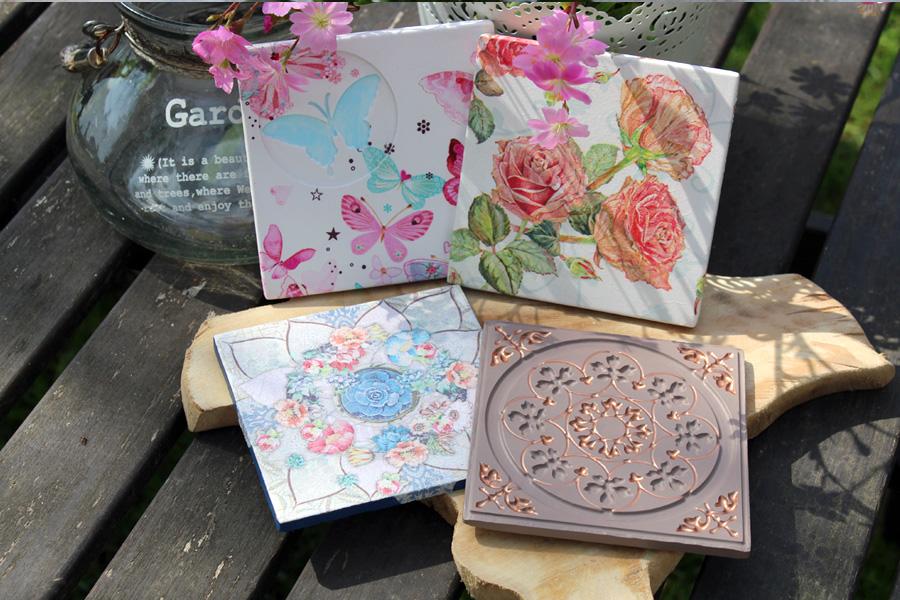
Step 3: Decorate the tiles
You can use paints and napkin technique to decorate the tiles. Gluing or protective coatings offer additional design options. Combine different techniques for an individual look!
With napkin technique
Remove the unprinted layers of napkin and cut them to size if necessary. Place the napkin or parts of it on the tile and apply napkin varnish from the inside out. you can carefully tear off any excess. Paint the edges again and allow everything to dry well.
<img src="/tn.php?id=318597&width=600&height=450&templang=en" alt="Pouring and designing tiles yourself with<protected> napkin technique" title="Pouring tiles: napkin technique" width="600" height="450" style="float: left;">
Using color
First prime the tile with a base color and add accents with another color. If you do not want a primer, paint the individual elements directly. Several coats of paint may be necessary if the surface structure is smooth.
<img src="/tn.php?id=318599&width=600&height=450&templang=en" alt="Pouring and designing tiles with<protected> metallic-</protected> effect" title="Pouring tiles:<protected> metallic" width="600" height="450" style="float: left;">
Combined: napkin technique and paint
It doesn't matter whether you paint first or start with napkin technique . However, it is important that the first step is well dried. This allows you to add various accents, from border designs to motifs that match napkin pictures.
Remember: If the tiles are to be used outdoors, use weatherproof paints and impact-resistant materials. There are no limits to your creativity! Have fun casting tiles!
Are you still missing materials?
You'll find everything you need for your next craft project in our online store! Start now and design your own individual tiles - there are no limits to your creativity!