- Secure order
- Easy return shipment
- Service-Hotline 01 662 20 20
Instructions No. 3650
Difficulty: Beginner
Working time: 3 Hours
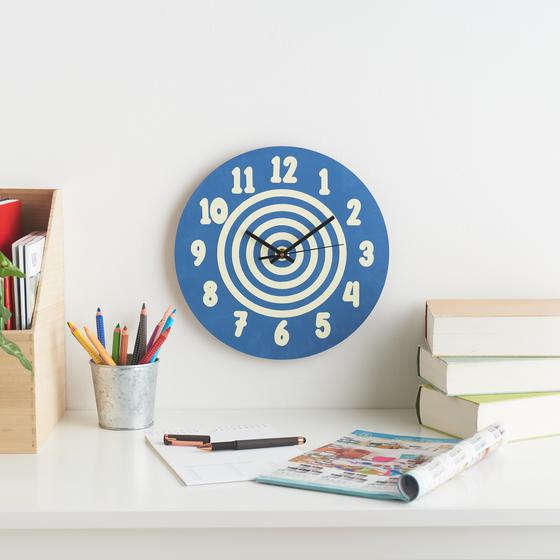
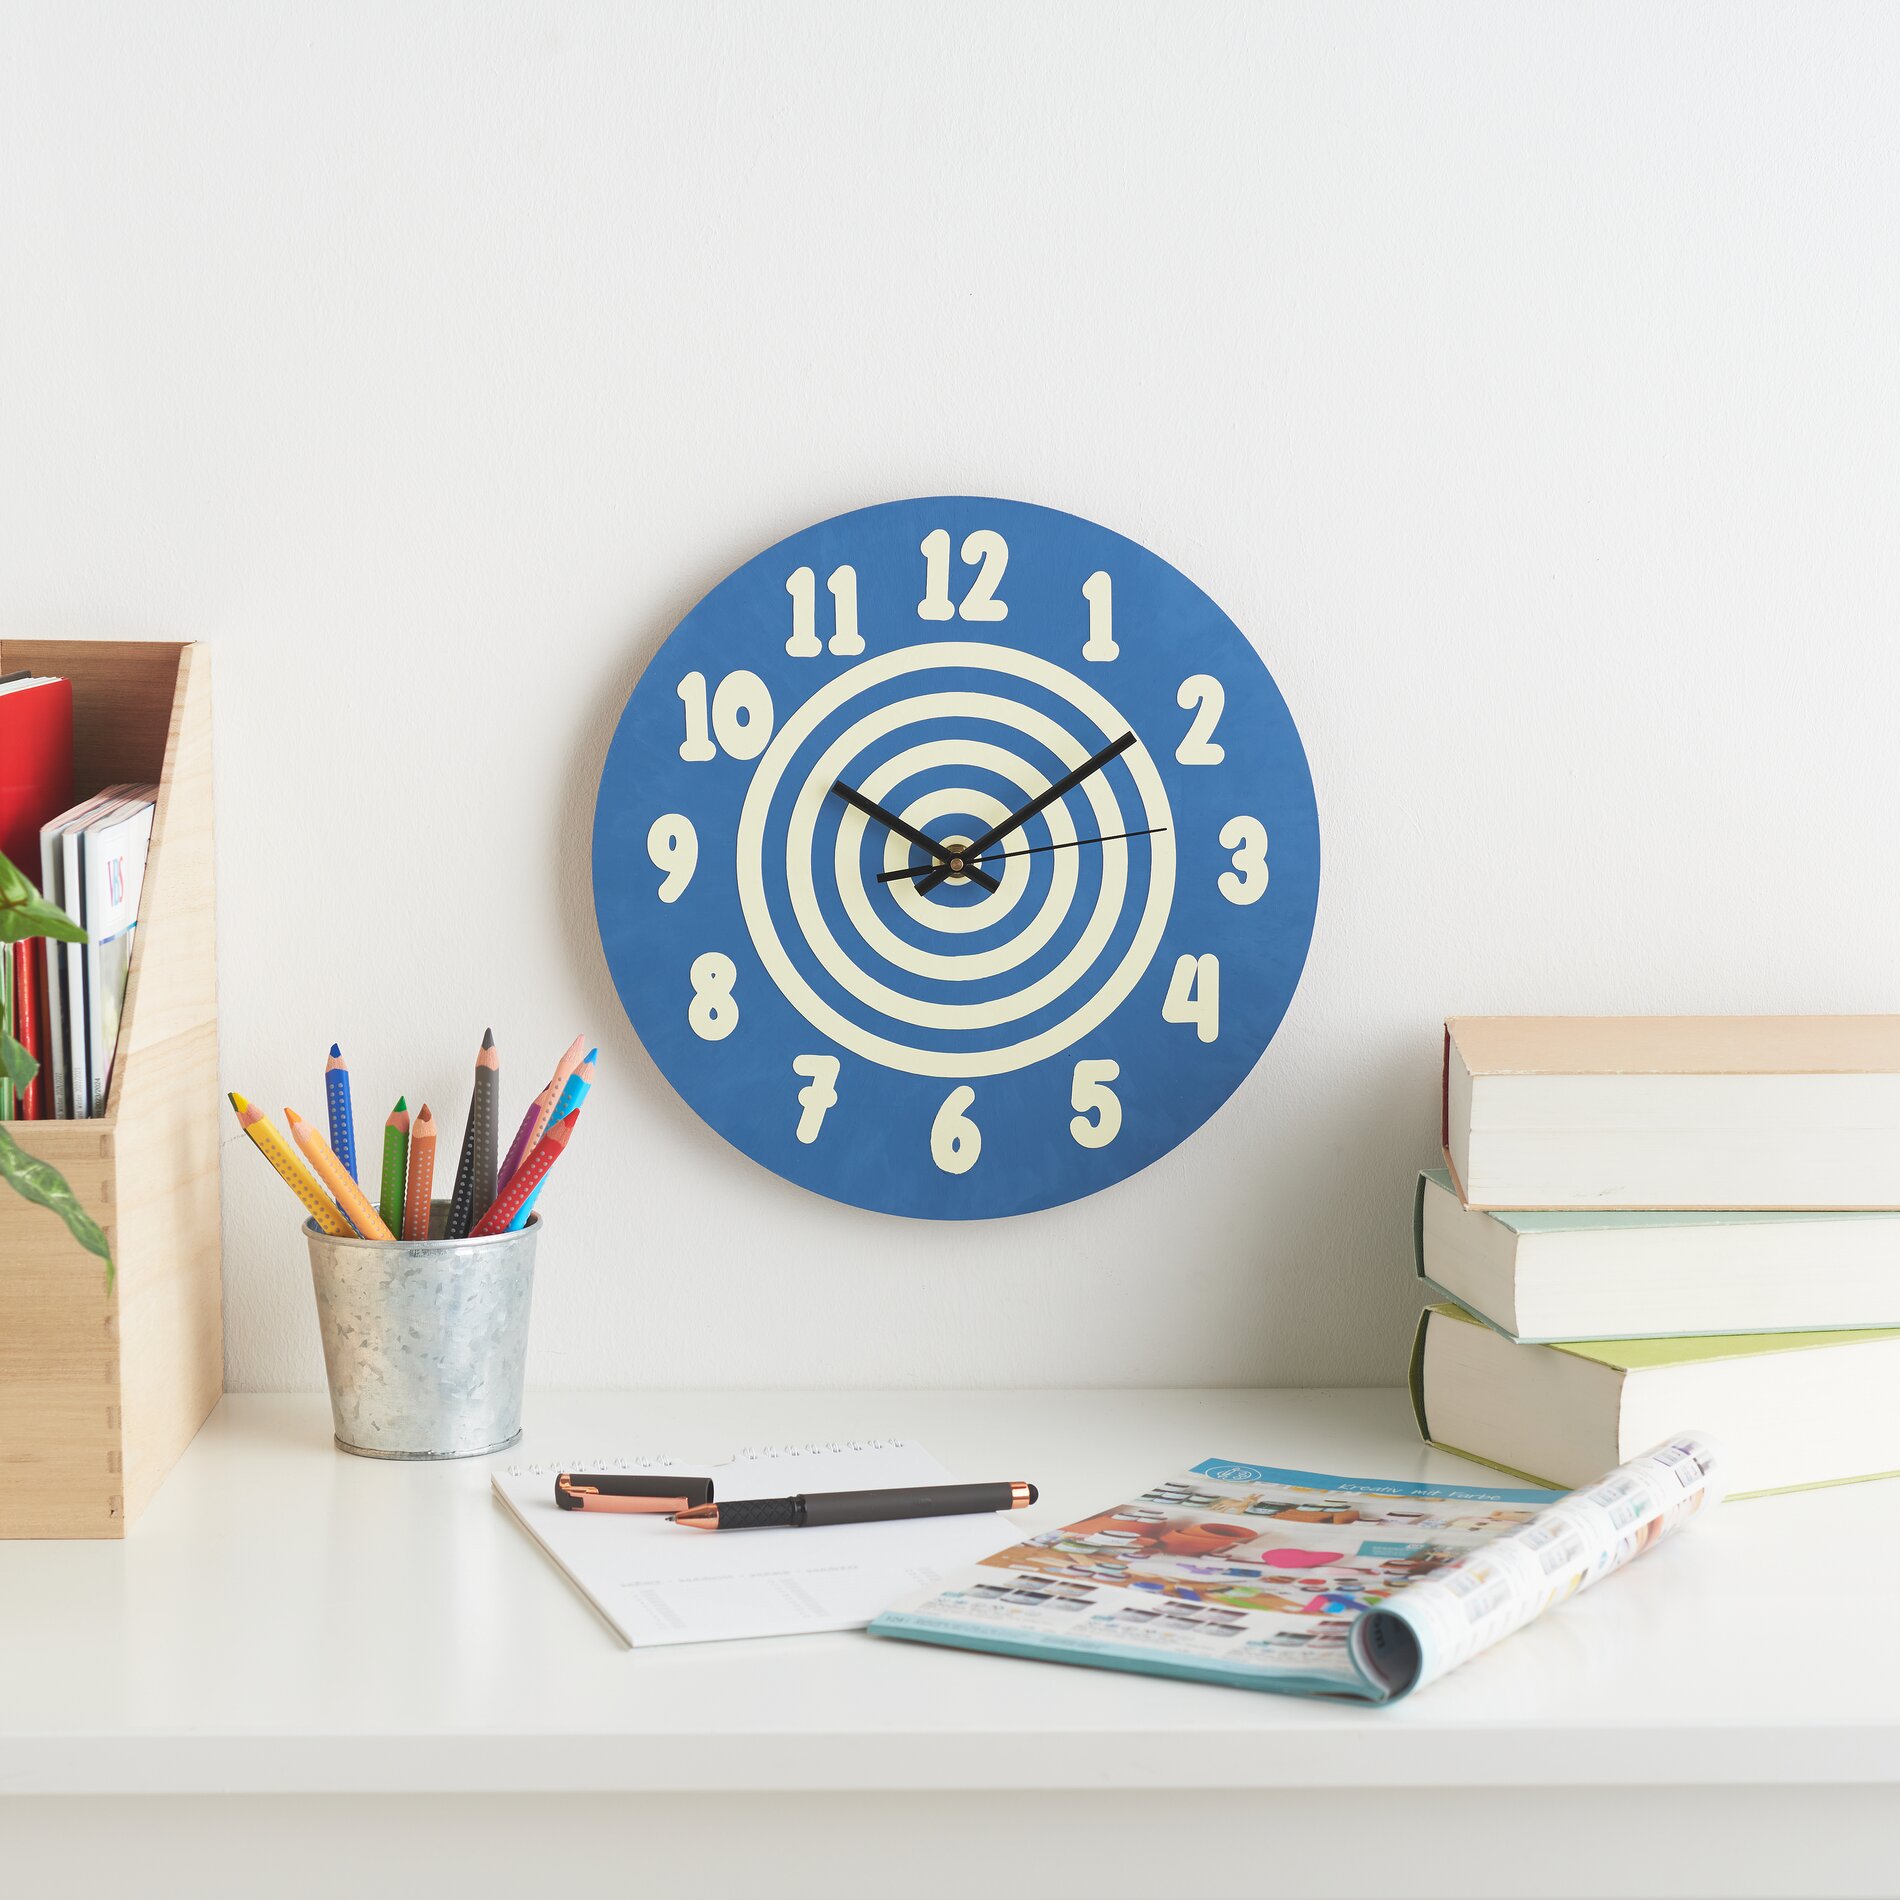
First paint the "Wall clock" MDF board with our VBS Chalky Color. This paint gives the panel a stylish, matt look. Allow the paint to dry completely before continuing with the next step. During this time, you can prepare the next steps.
Plotting motifs for the clockWhile the paint dries, your plotting adventure begins. Download the special SVG file to your PC. This file contains all the designs that will decorate your clock in a special way. open the Cricut Design Space program and import the SVG file using the "Upload" button. Once all the designs are visible, separate them under "Layer" using the "Split" function. This gives you the freedom to enlarge, reduce and rearrange the motifs individually until you are satisfied with the result.
Preparations: to plotClick on "Create" to check the arrangement of the motifs again. Check carefully and at least make sure that the motifs need to be mirrored. Select the correct material in the program so that the plotting process runs smoothly. Stick the film onto the cutting mat with the adhesive side facing upwards so that the transparent backing film is at the bottom. Make sure that the transparent backing film is not cut. After plotting, remove the excess film - this is called "weeding" - so that the plotted motifs remain on the backing film.
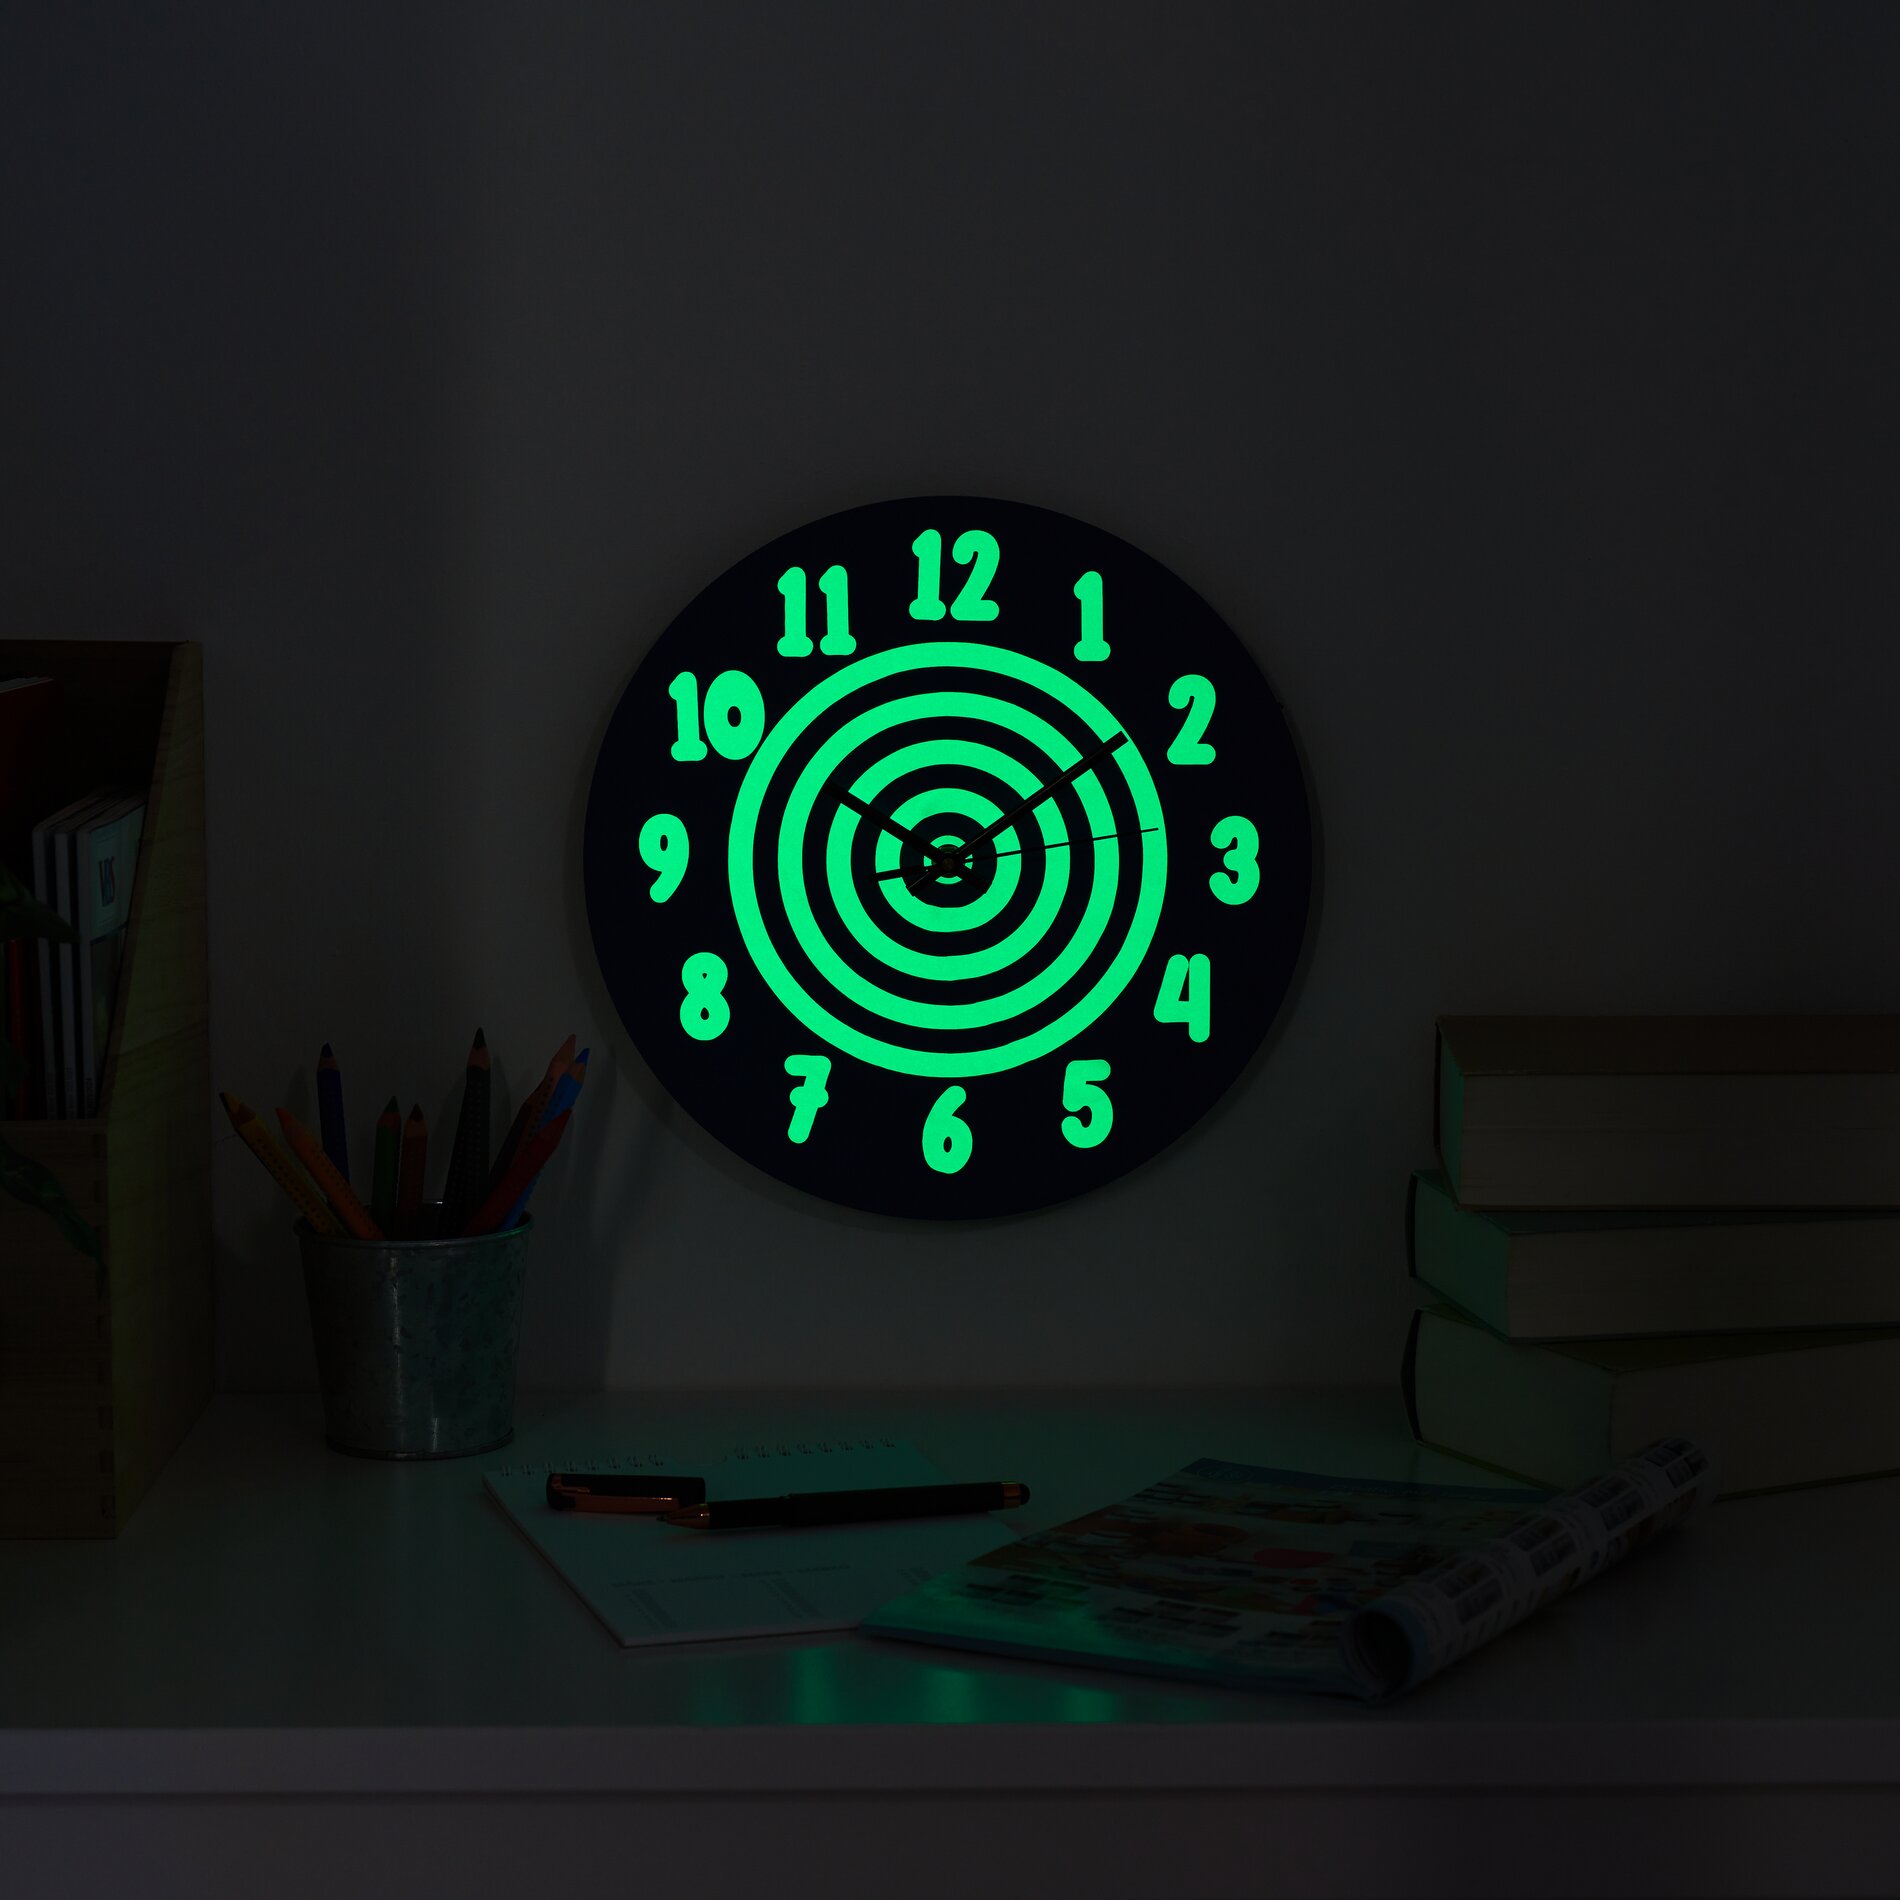
Pressing on the motifsPrepare your mini iron. For the Premium Flex IMAGE Luminous A4, we recommend: 160 °C, 15 seconds, at around 3.5 bar. Once the iron has reached the desired temperature, place the motifs in their intended positions on the MDF board and press them on with the iron. After a short cooling time, carefully remove the backing film. Now cover the pressed motifs with baking paper and press them again. This will ensure that they adhere permanently.
Attaching the clockworkTo attach the clockwork, place the black rubber ring and the decorated clock face with the 8 mm hole over the clockwork. Then add the metal ring and secure everything with the nut. Screw it down securely. Then place the clock hands one after the other step by step: first the hour hand, then the minute hand and finally the second hand. Use an AA battery to power the watch.
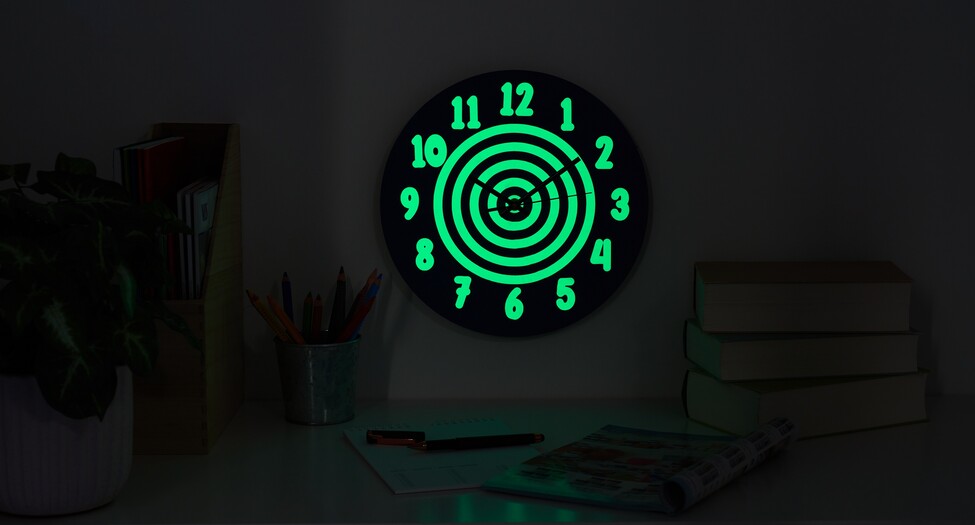
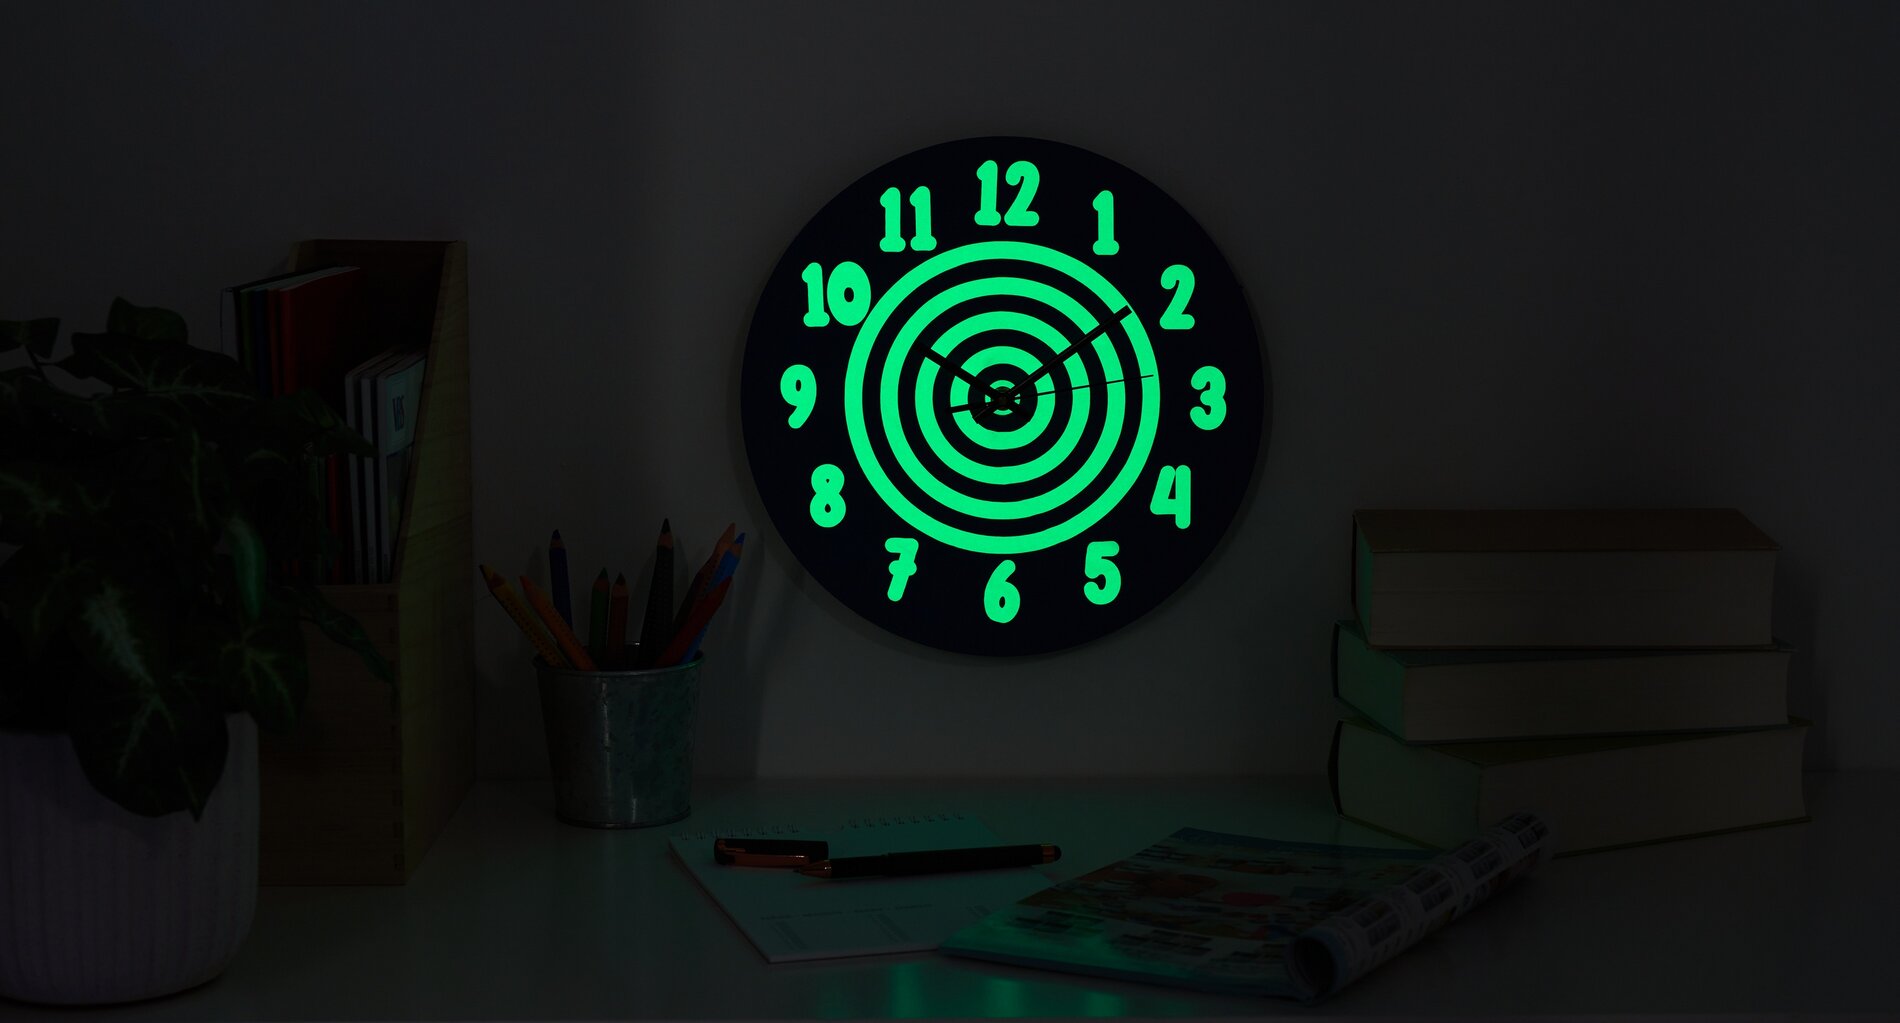
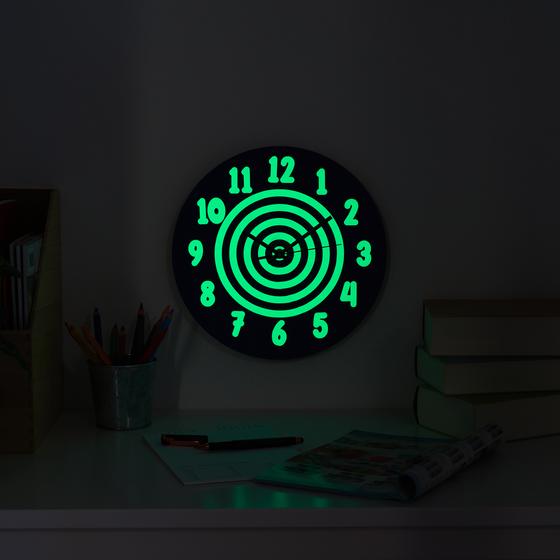
Now your unique, noctilucent wall clock is ready! Get the materials you need from our online store and bring creativity and light into your home. Let your imagination run wild and create your unique wall clock today!