Making your own
earrings from
shrink film is not only a creative hobby, but also a wonderful way to design personal and unique pieces of jewelry. Shrink film, a plastic material that becomes smaller when heated and has a fascinating surface, opens up countless design possibilities. Whether colorfully printed, transparent or plain - with a little creativity and the right tools, you can express your very own style. In this short introduction, we will look at the materials and basic steps to help you get started in the world of jewelry making DIY-Jewelry making easier. Let's discover together how simple ideas can be turned into beautiful earrings!
Also a great option for your loved ones as a gift. Jewelry is a timeless
gift for Christmas that guarantees joy. So why not give homemade jewelry that has a unique "bling bling" character?
Step 1: Paint on your design
The shrink film is different on both sides - a smooth and a rough side. You should place the rough side on top, as this will be painted. Use the POSCA marker at black to draw the shape of a diamond on the film. You can either design the motif freehand or print out the template, place it underneath and trace it. You will need the motif twice for earrings. Use a ruler for precision or leave it as a hand-drawn charm.


Step 2: Cut out
Now cut out the motif from the shrink film. Make sure you cut just next to the drawn line so that it remains clearly visible after shrinking. The shrink film can easily be cut with scissors, but you can also use a scalpel or motif punch if you prefer.

Step 3: Shrinking
Preheat the oven to 120°C and use top/bottom heat. Place the cut diamonds with the rough, painted side facing up on a baking tray with baking paper. The shrinking process takes about two minutes. Don't worry if the foil bulges - this is normal. As soon as it lies flat, you can take the finished pieces out of the oven. They will then be about half the size, with more intense lines and much more stable.


Step 4: Gluing
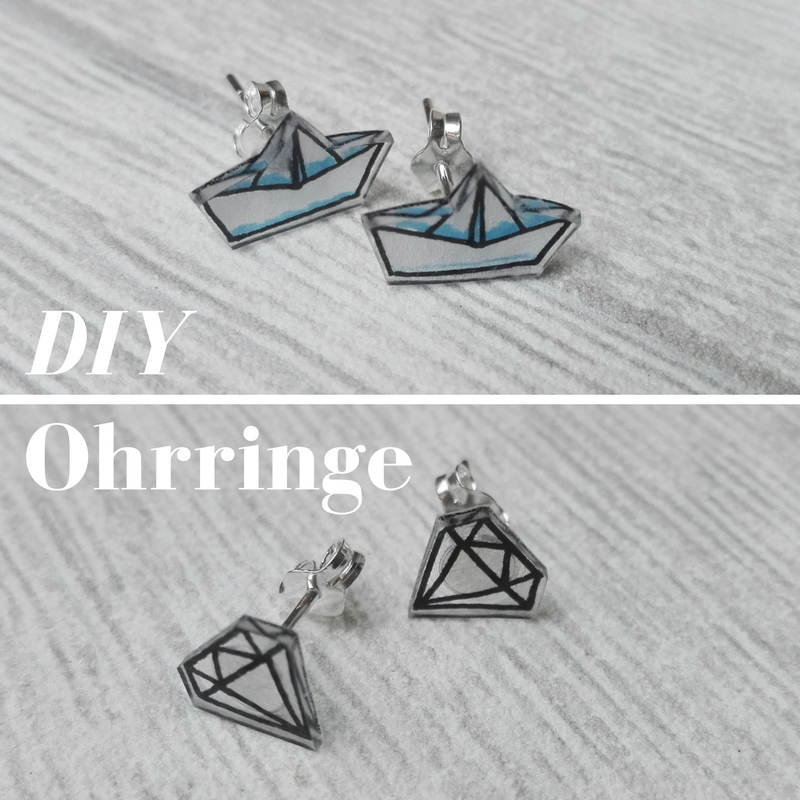
Now comes the final step: glue the shrunken diamonds onto the sterling earrings silver. A special jewellery glue is best suited for this. Make sure that you allow the glued areas to dry thoroughly. Your handmade earrings are finished! They are perfect as a gift for friends and family or as a pretty accessory for yourself.


Be creative with your shrink foil and let your imagination run wild! Try out other designs like these cute paper boats. They have also been colored in with white and light blue POSCA markers.


Have fun being creative!
Visit our online store to buy everything you need for your project!