- Secure order
- Easy return shipment
- Service-Hotline 01 662 20 20
Instructions No. 3408
Difficulty: Beginner
Working time: 2 Hours
Design your own Christmas placemats from felt
Christmas time is glitter time! Decorations and lights give your home a festive atmosphere. Why not make your dining table a real eye-catcher too? With individual place mats made from felt , you don't just only protect the table surface, you also give every meal a unique, glamorous setting. In this step-by-step guide, I'll show you how to create your own Christmas placemats.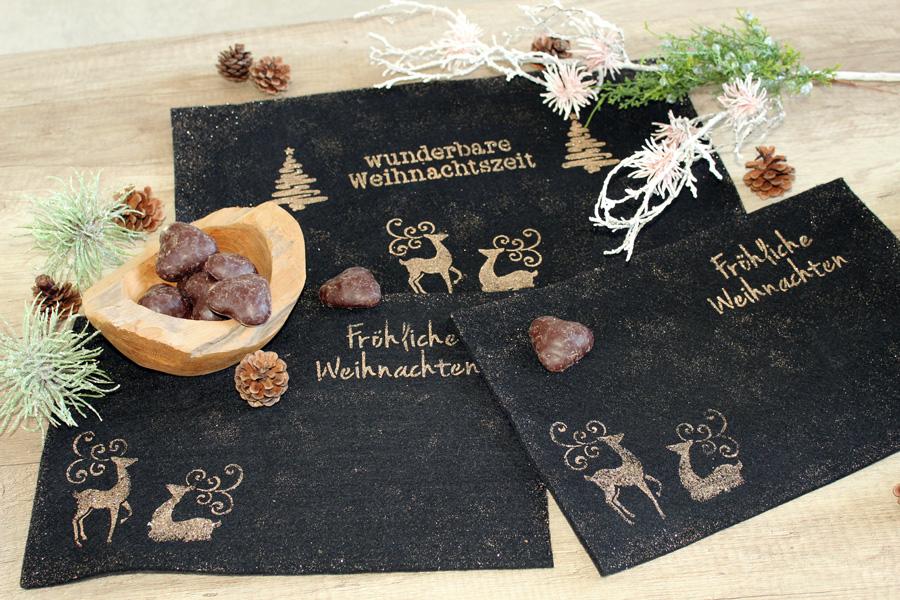
Step 1: Cut felt to size
First, take the felt and cut a 30 x 45 cm piece for each placemat.

Step 2: Decorate felt
Think about how you would like to decorate your placemats and position the stencil on the felt. to ensure that it sticks to the desired position during stencilling Position stick to the desired position during stencilling, fix it in place with masking tape.
Use a dry sponge dabbing brush to apply golden paint and carefully dab the stencil motif onto the placemat felt.
felt has a rough surface. Therefore, your first coat of paint may not be opaque - don't worry, just let the paint dry slightly before applying the next coat.
You are welcome to sprinkle some additional mica into the wet paint at the end. To make sure that you only glitter the desired motifs, cover the rest of the placemat with a piece of Paper .
If you also want to decorate the placemat with only a little glitter, put some Glitter Flaky Glue on a dabbing brush and carefully dab this glue mixed with glitter onto the edges and surfaces of the placemat.

Have fun crafting and decorating! Get creative and bring the Christmas sparkle to your table. Don't forget to get all the materials you need from our online store. Click below to discover the products!