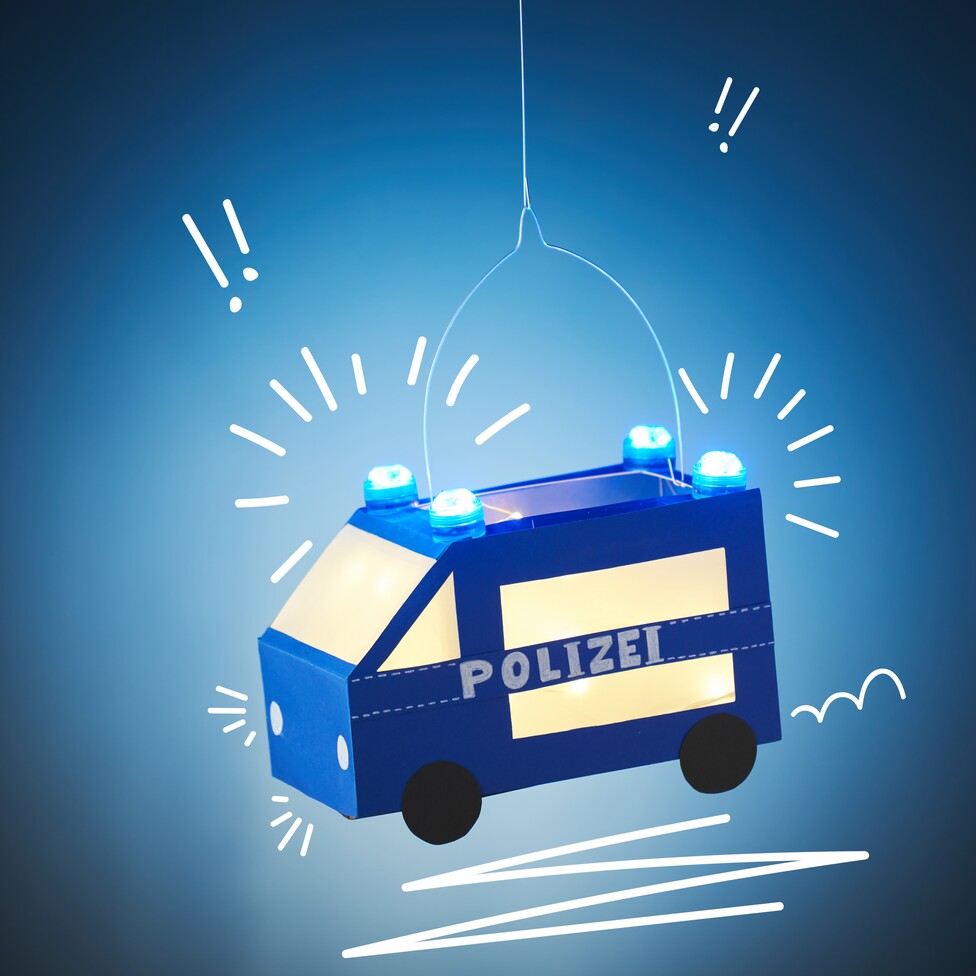
Make a police car lantern - your creative highlight for every lantern parade
1. Prepare the basic structure
Firstly, print out the police car template. Carefully cut out the side walls, including the windows. Make sure you follow the lines exactly to achieve a clean result.
2. Transfer and cut out the side panels
Place the cut-out template on the dark blue coloured paper and trace the shapes. The exact outline will ensure a perfect fit later on. Repeat this step so that you have two identical side pieces.
3. Create the front section and side strips
Proceed in the same way with the front part of the car and the stripes that will run along the side of the police car. These details give the model the characteristic look of a police car.
4. Finishing the tyres
Take the black cardboard and draw the outlines of the tyres. You will need a total of four tyres. These small circles are essential to give your police car its typical look.
5. Decorate the windows with tracing paper
Cut out suitable pieces of tracing paper and stick them behind the cut-out windows on the side panels. This will create a nice lighting effect when the lantern is in operation.
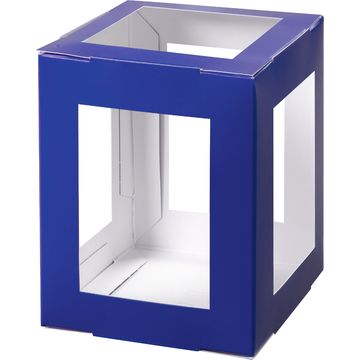
6. Assembling the craft blank
Now glue the cut-out side sections to the craft blank. Fold the larger rectangle of the same coloured paper at the marked points and stick it between the side pieces at the front. Repeat this step with the smaller rectangle for the upper windscreen and insert a transparent paper as a windscreen.
7. Attach the lettering
Use a Posca marker to write the word "police" on the strips provided. Repeat this step to create a total of two pieces of lettering, which you then stick to the sides of the police car.
8. Attach the floor and tyres
Place the finished blank on black cardboard, circle it with a pencil and cut out the shape. Glue this part underneath your police car as the floor and then attach the four car tyres to the sides.
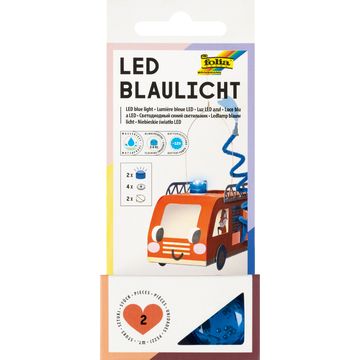
9. Blue lights and magnetic mechanism
Finally, attach four magnets to the underside of the car roof and four more to the blue lights. This allows you to handle the detachable blue lights flexibly.
10. Attach the lantern bracket
Use an awl to drill two small holes in the top of the car lantern to attach the lantern bracket. This makes your lantern portable and ready for a night-time stroll.
Now you're ready to head out into the night with your unique police car. Be amazed by the magic when the lights shine through the transparent paper windows.