- Secure order
- Easy return shipment
- Service-Hotline 01 662 20 20
Instructions No. 3553
Difficulty: Beginner
Working time: 2 Hours

Step 1: Preparing the watercolor paper
First download the free template. Then transfer the boxes to the watercolour paper and cut them out carefully. The watercolour paper gives your box a robust structure and ensures that the colors come to life.
Step 2: Form the base of the box
Fold the marked areas to create a stable base for your box with lid. By folding the lines neatly, you can achieve an even result.
Step 3: Gluing the box together
Now apply a few drops of handicraft glue to the marked areas of the lid and glue the parts together. The glue ensures a firm hold and a long-lasting result. Make sure that the glue dries well before continuing with the next steps.
Step 4: Transfer and prepare the motifs
Use graphite paper to transfer the desired motifs to the box or draw them freehand. Once you have done this, carefully erase over the motifs so that they are only slightly recognizable - this will serve as a delicate template for your watercolour painting.
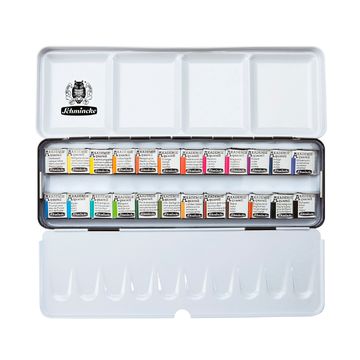
Step 5: Activate and test the colors
Add a few drops of water to the color pots you want to use to activate the watercolors. Before you apply the colors to the box, test them on a piece of scrap paper. Experiment with different amounts of water and different brush thicknesses to get the results you want.
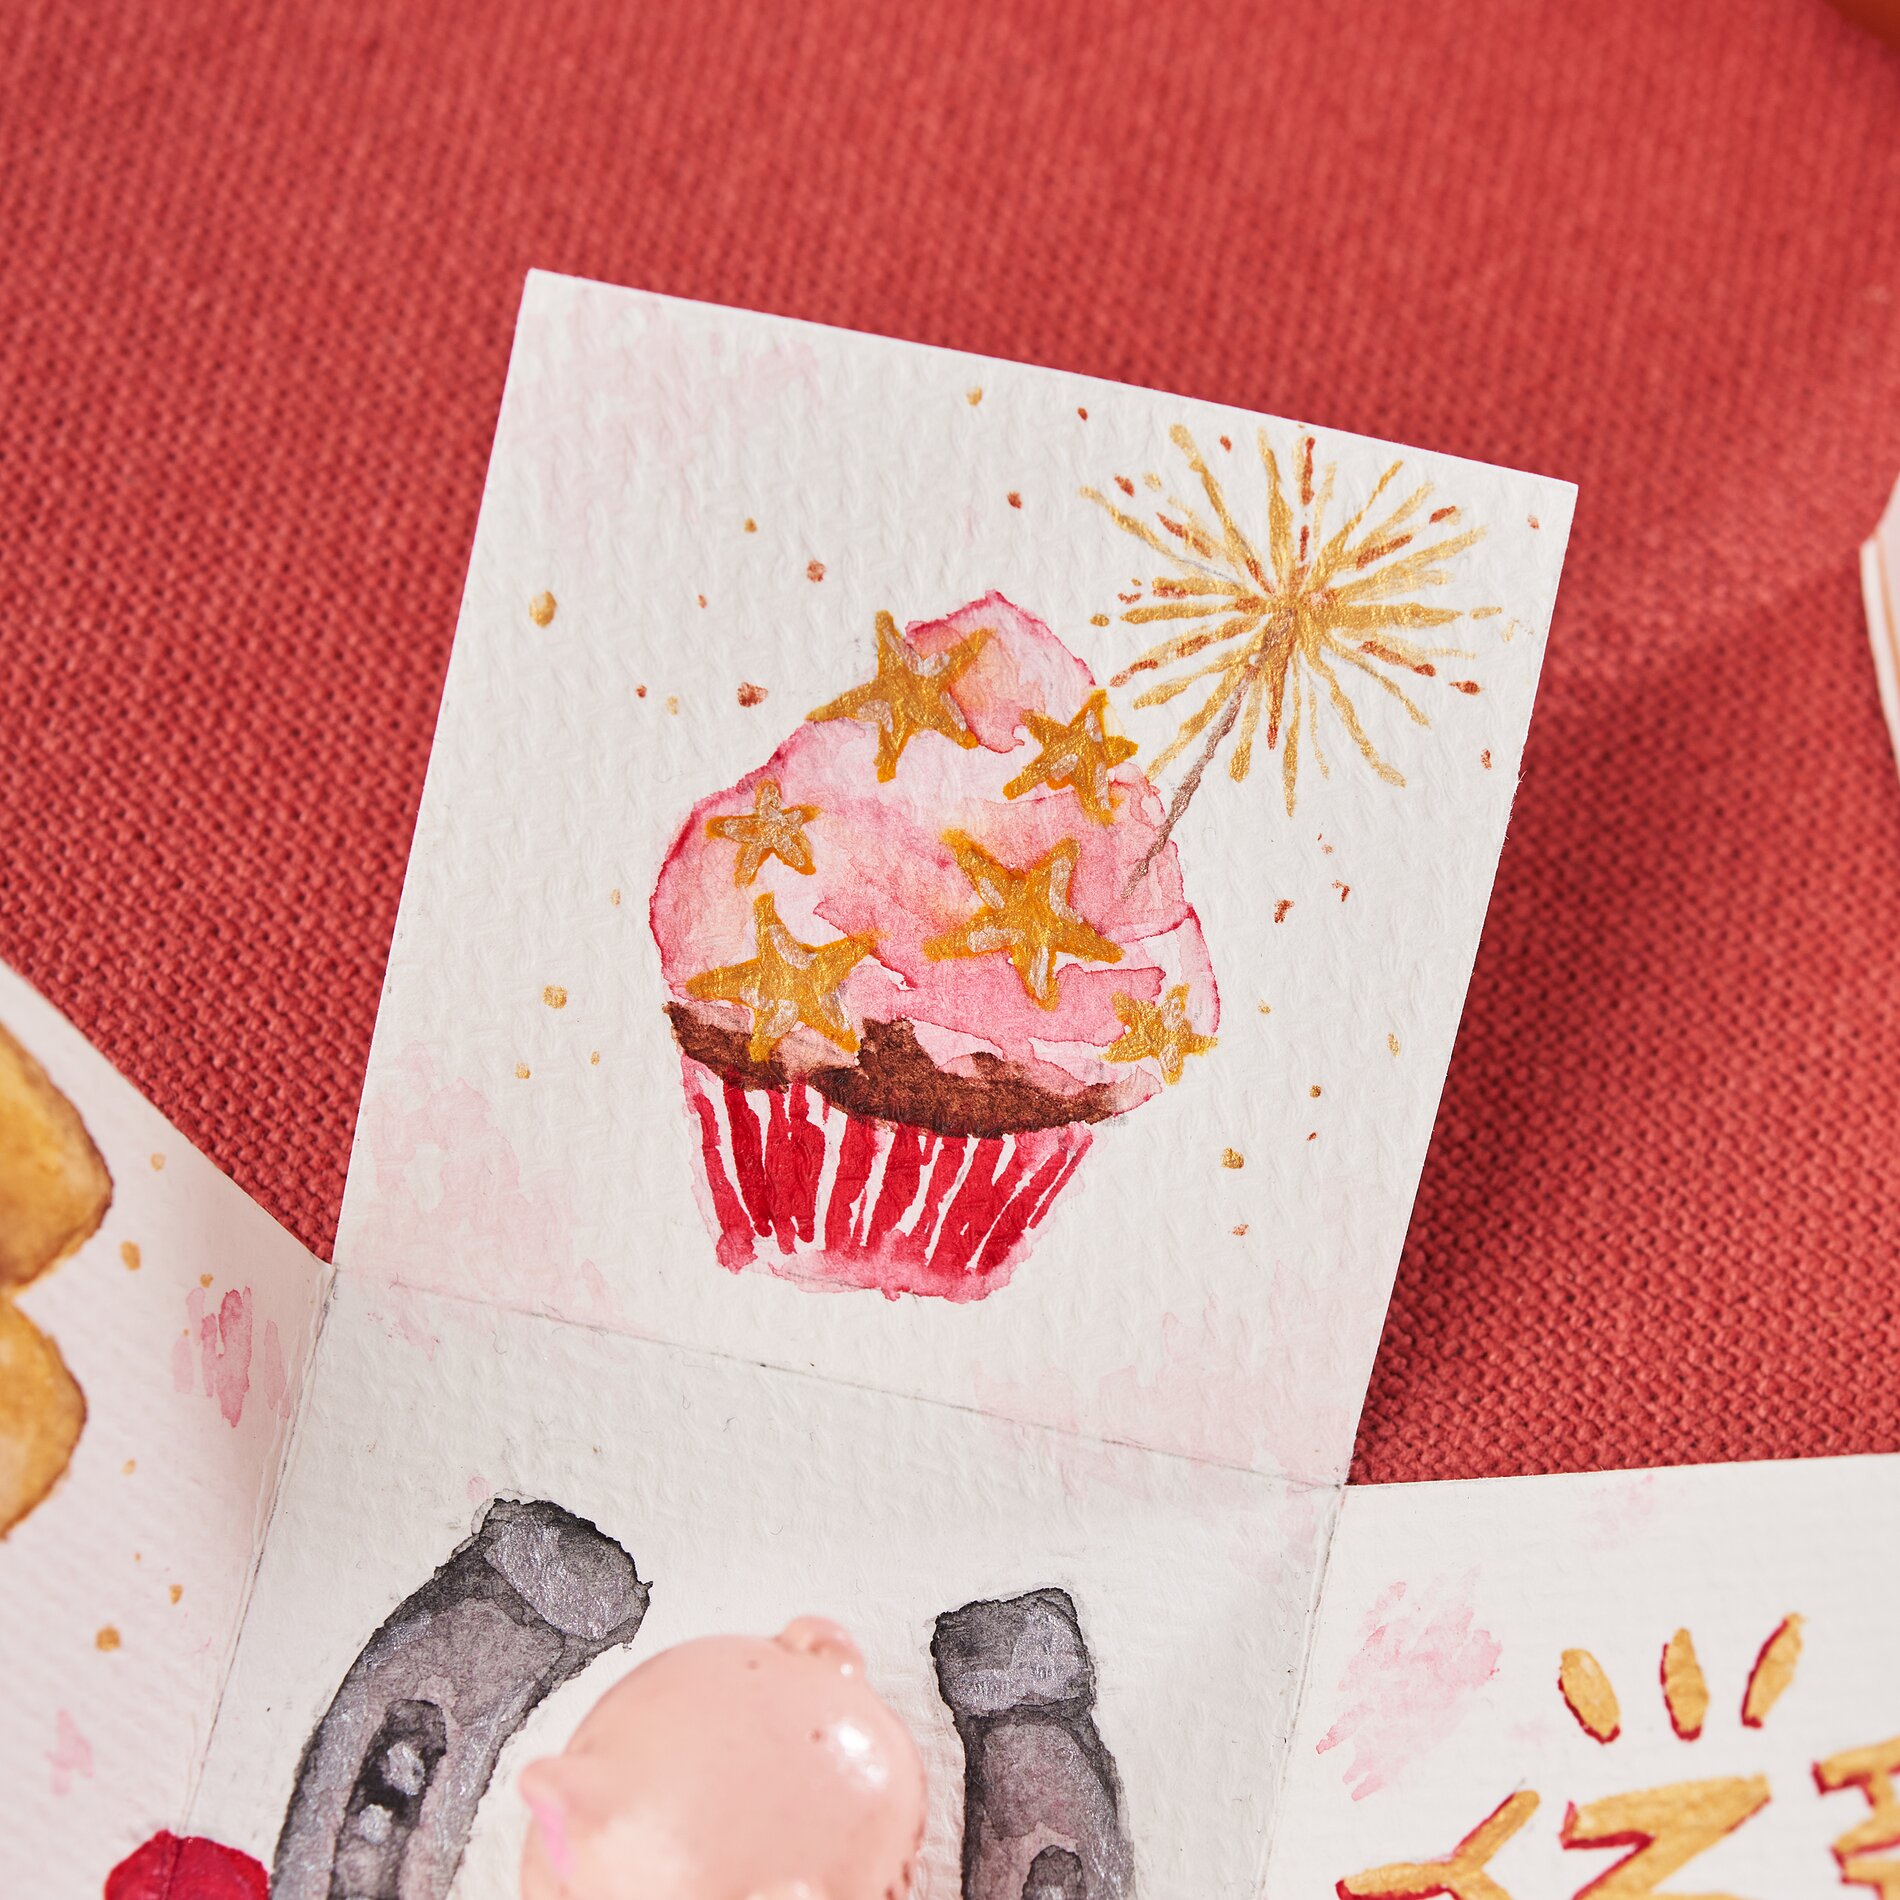
Step 6: Coloring in the motifs
Now start coloring in the motifs. Use a metallic paint box to add glittery accents and make your art shine. The thin lace of the VBS round brushes "BASIC", set of 6, are ideal for fine, precise lines. A steady hand and minimal pressure lead to delicate results.
Step 7: Finalizing the painting
When the paint is completely dry, carefully erase over the motifs again to remove any pencil residue. This step should never be carried out beforehand, as the result could otherwise smudge easily.
Step 8: Exterior design
Paint the outside of the box with small, creative motifs. This gives your work of art the finishing touch and creates a harmonious overall impression.
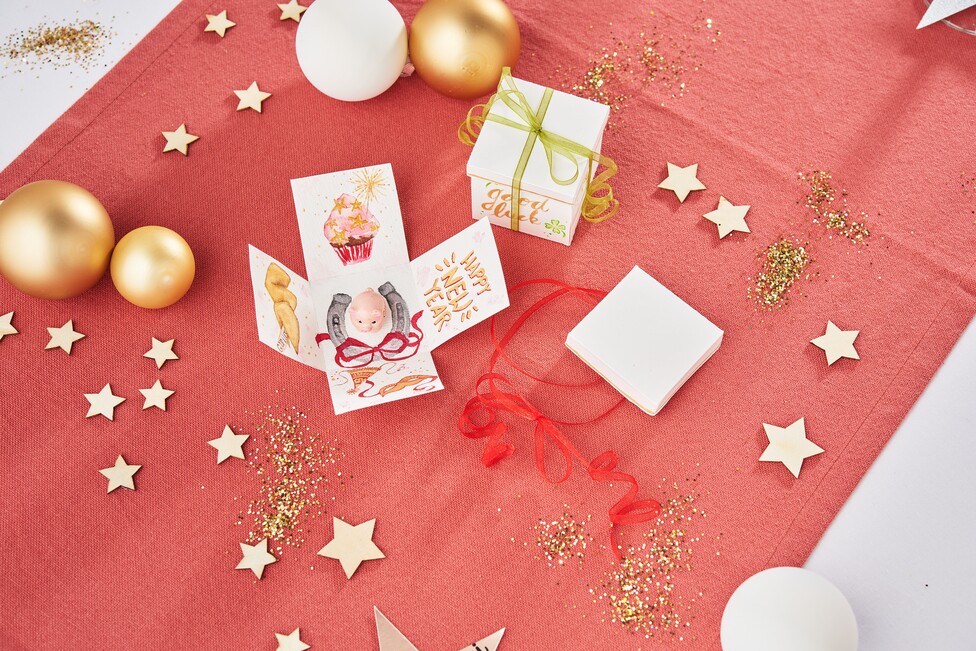
Step 9: Assemble and decorate
Finally, place the pig or another decorative element in the box, put on the lid and secure it with a decorative bow. To curl the ribbon, you can simply pull it along with your thumb and a pair of scissors.
Now you are ready to present your self-designed box or give it as a special gift. And if you're looking for new creative ideas and high-quality materials, be sure to visit our online store, where you'll find everything your crafting heart desires!