- Secure order
- Easy return shipment
- Service-Hotline 01 662 20 20
Instructions No. 3361
Difficulty: Advanced
Working time: 3 Hours
Discover hygge with your DIY clay coffee mug
When it gets cold outside, we like to make ourselves comfortable at home. The Danish lifestyle of hygge stands for coziness, joie de vivre and a feeling of security. It's about enjoying the little things and treating yourself or others to some time out. What could be better than a steaming cup of coffee or tea in a homemade clay coffee mug?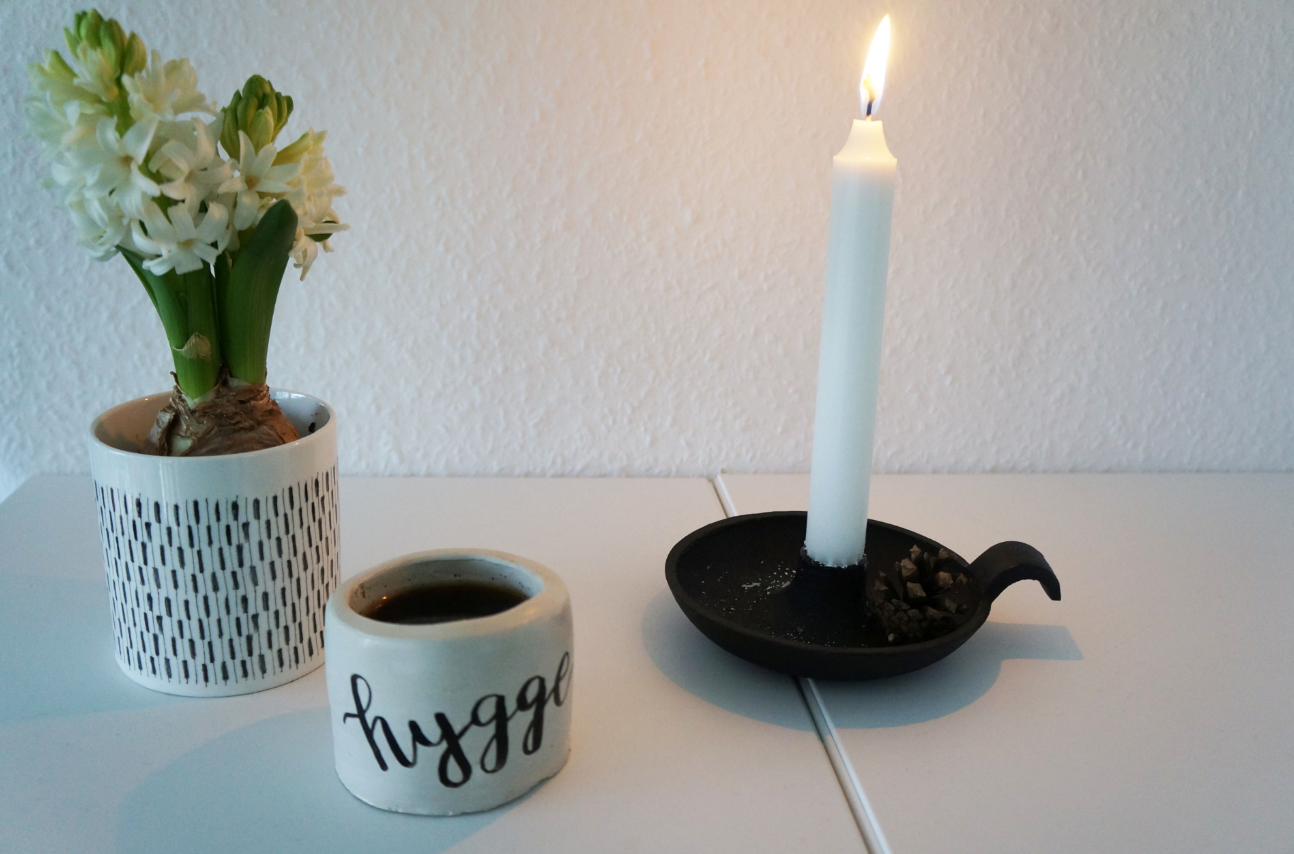
DIY Instructions: Hygge coffee mug made from clay
Step 1: Shapethecoffee mug
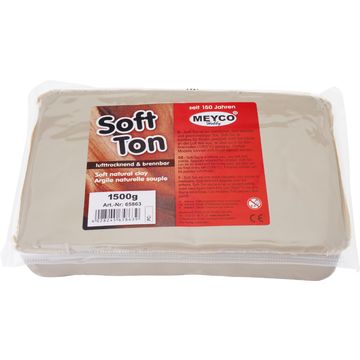
Let your imagination run wild! Shape your individual coffee mug from the soft clay. Knead the clay thoroughly and moisten it with a little water. Roll a large ball and flatten it slightly on a surface. Use your thumb to form a hollow in the ball and work your way along the rim piece by piece. Make sure that the walls of the cup are not too thin.

Once you are happy with the shape, leave the cup to dry completely. Ideally, leave it to air dry for a day. Alternatively, you can also bake it in the kiln at 1000 degrees.
Step 2: Protect from moisture
To make your coffee mug durable and usable, seal it with a special clay sealant. Apply this generously inside and out. Repeat the process a second time for optimum protection. Leave the sealant to dry overnight.

Step 3: Apply a matt sealant
For a beautiful matt finish, you can apply a top coat. This varnish not only only gives the mug a stylish look, but also protects it. Apply it to the outside with a brush and leave it to dry for at least 4 hours. Then bake in the oven. Follow the instructions on the product.

Step 4: Personalize and enjoy
Once the last coat of paint has dried, you can personalize your mug with a porcelain brush pen. Whether it's an inspiring saying or a pretty pattern - give your creativity free rein. Simply paint your design idea onto the mug.

Now nothing stands in the way of enjoying your hygge moment
Visit our online store and discover all the materials you need for your hygge project. Leave everyday life behind you and design your own feel-good mug!