- Secure order
- Easy return shipment
- Service-Hotline 01 662 20 20
Instructions No. 3500
Difficulty: Advanced
Working time: 1 hour

1. Prepare your workplace safely
Start your project by preparing your work area thoroughly. Lay out a handicraft mat to protect the surface from possible resin stains. Remember to wear disposable gloves, as casting resin can cause irritation on contact with the skin.
2. Mix the resin and hardener
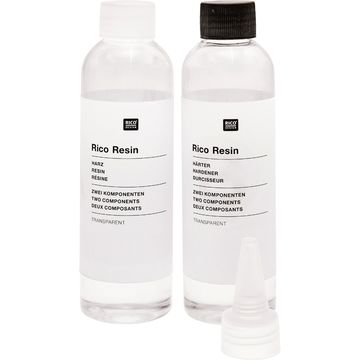
For the resin mixture, use an old plastic container, such as an empty yogurt pot, which can be disposed of after use. Only mix enough resin to fill the mold about two centimeters high. The mini cups are extremely helpful for measuring the components VBS Mini cups are extremely helpful. Pour the resin and hardener completely and thoroughly into the mixing cup. using a wooden stick. The mixing ratio should be exactly 1:1.
3. Stirring the resin mixture
After you have added both components to the cup, stir the mixture carefully until it has a uniform consistency. Slow stirring helps to avoid bubbles, which is important for the final result.
4. Pour in the first resin layers
Carefully pour the prepared resin mixture into the mold. If anything goes wrong, it can be easily removed with a special resin remover. Work quickly so as not to give the mixture time to harden before the next step.
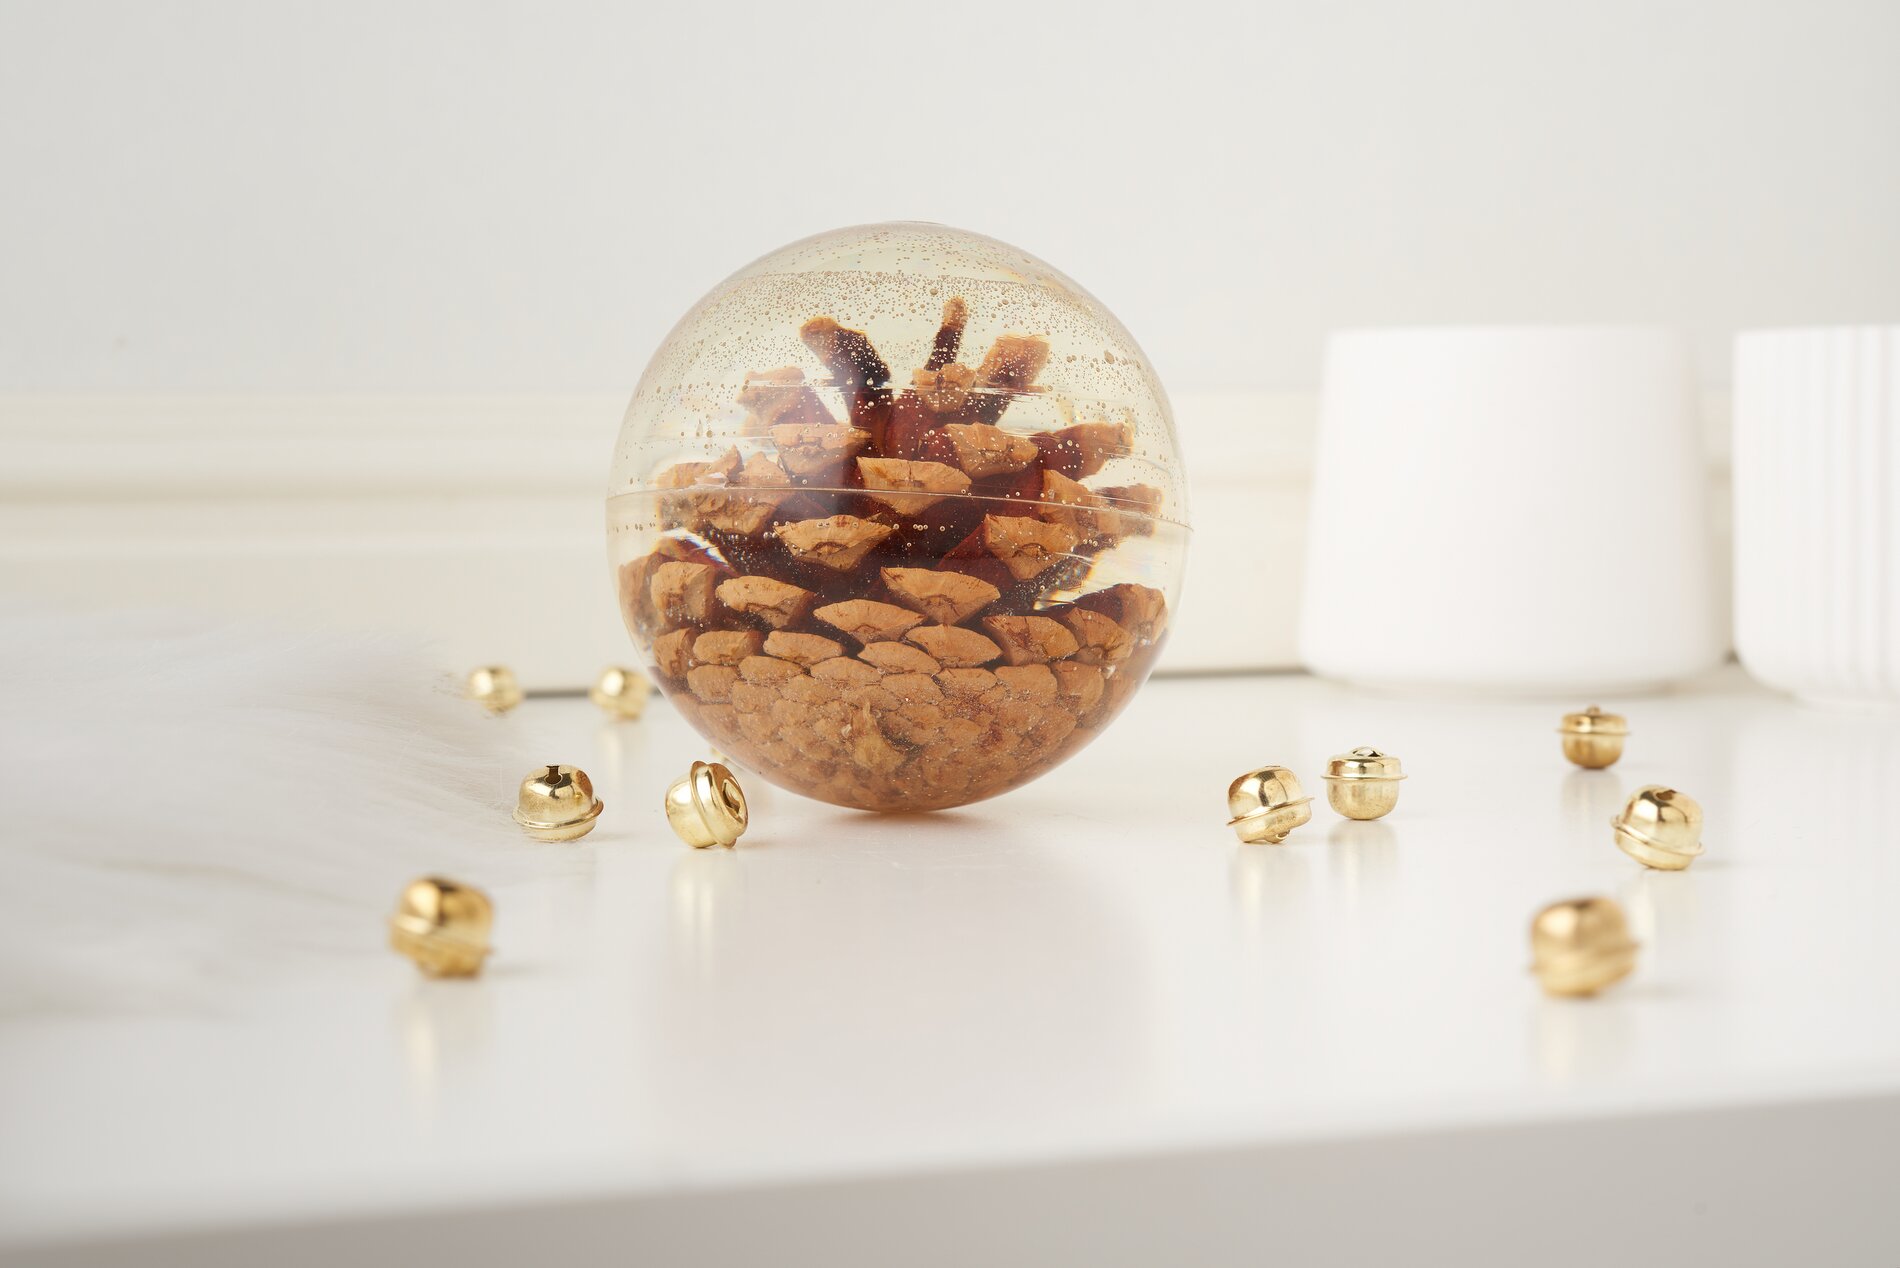
5. Embedding the pine cone
Allow the first layer of resin to set a little first. Then place the pine cone in the middle of the mold. Pour another two centimeters of resin over it. Repeat this process until the mold is completely filled with resin.
6. Allow for curing time
After casting, leave the work to harden for at least 24 hours. This is crucial for a stable and clear end result. The mold should not be moved during this time.
Are you ready to create unique cast resin balls with pine cones? Visit our online store and stock up on all the necessary materials!