- Secure order
- Easy return shipment
- Service-Hotline 01 662 20 20
Instructions No. 3598
Difficulty: Beginner
Working time: 2 Hours
Step 1: Preparation for batiking your bag
Before you start batiking, make sure that your work area is well protected. Cover the work surface thoroughly to prevent soiling and put on gloves to protect your hands from the paint. Then take your fabric bag and spray both sides evenly with water - this will make it easier to spread the paint later.
Step 2: Design using the batik technique
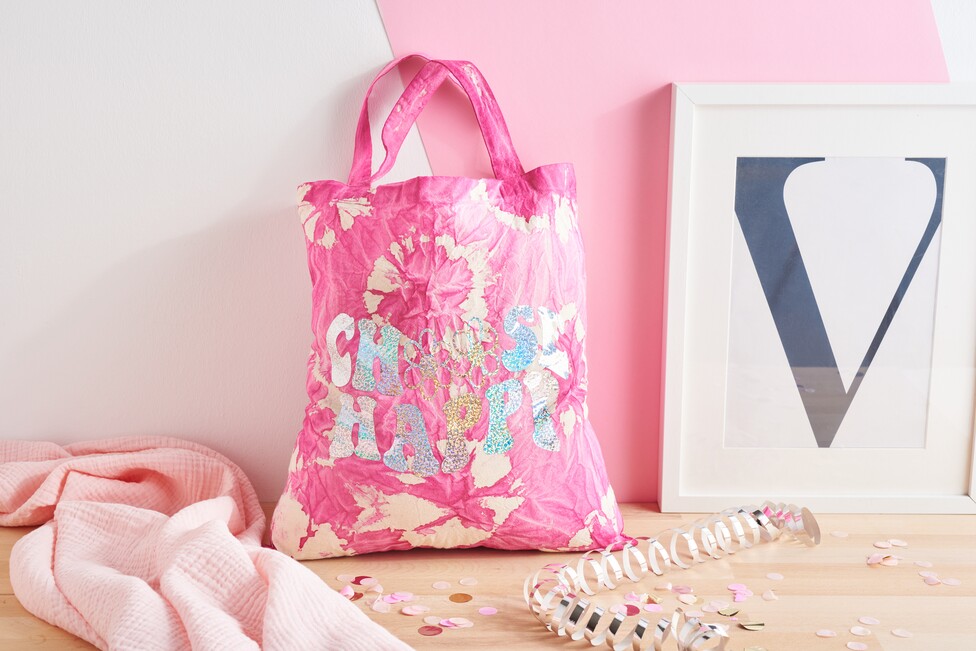
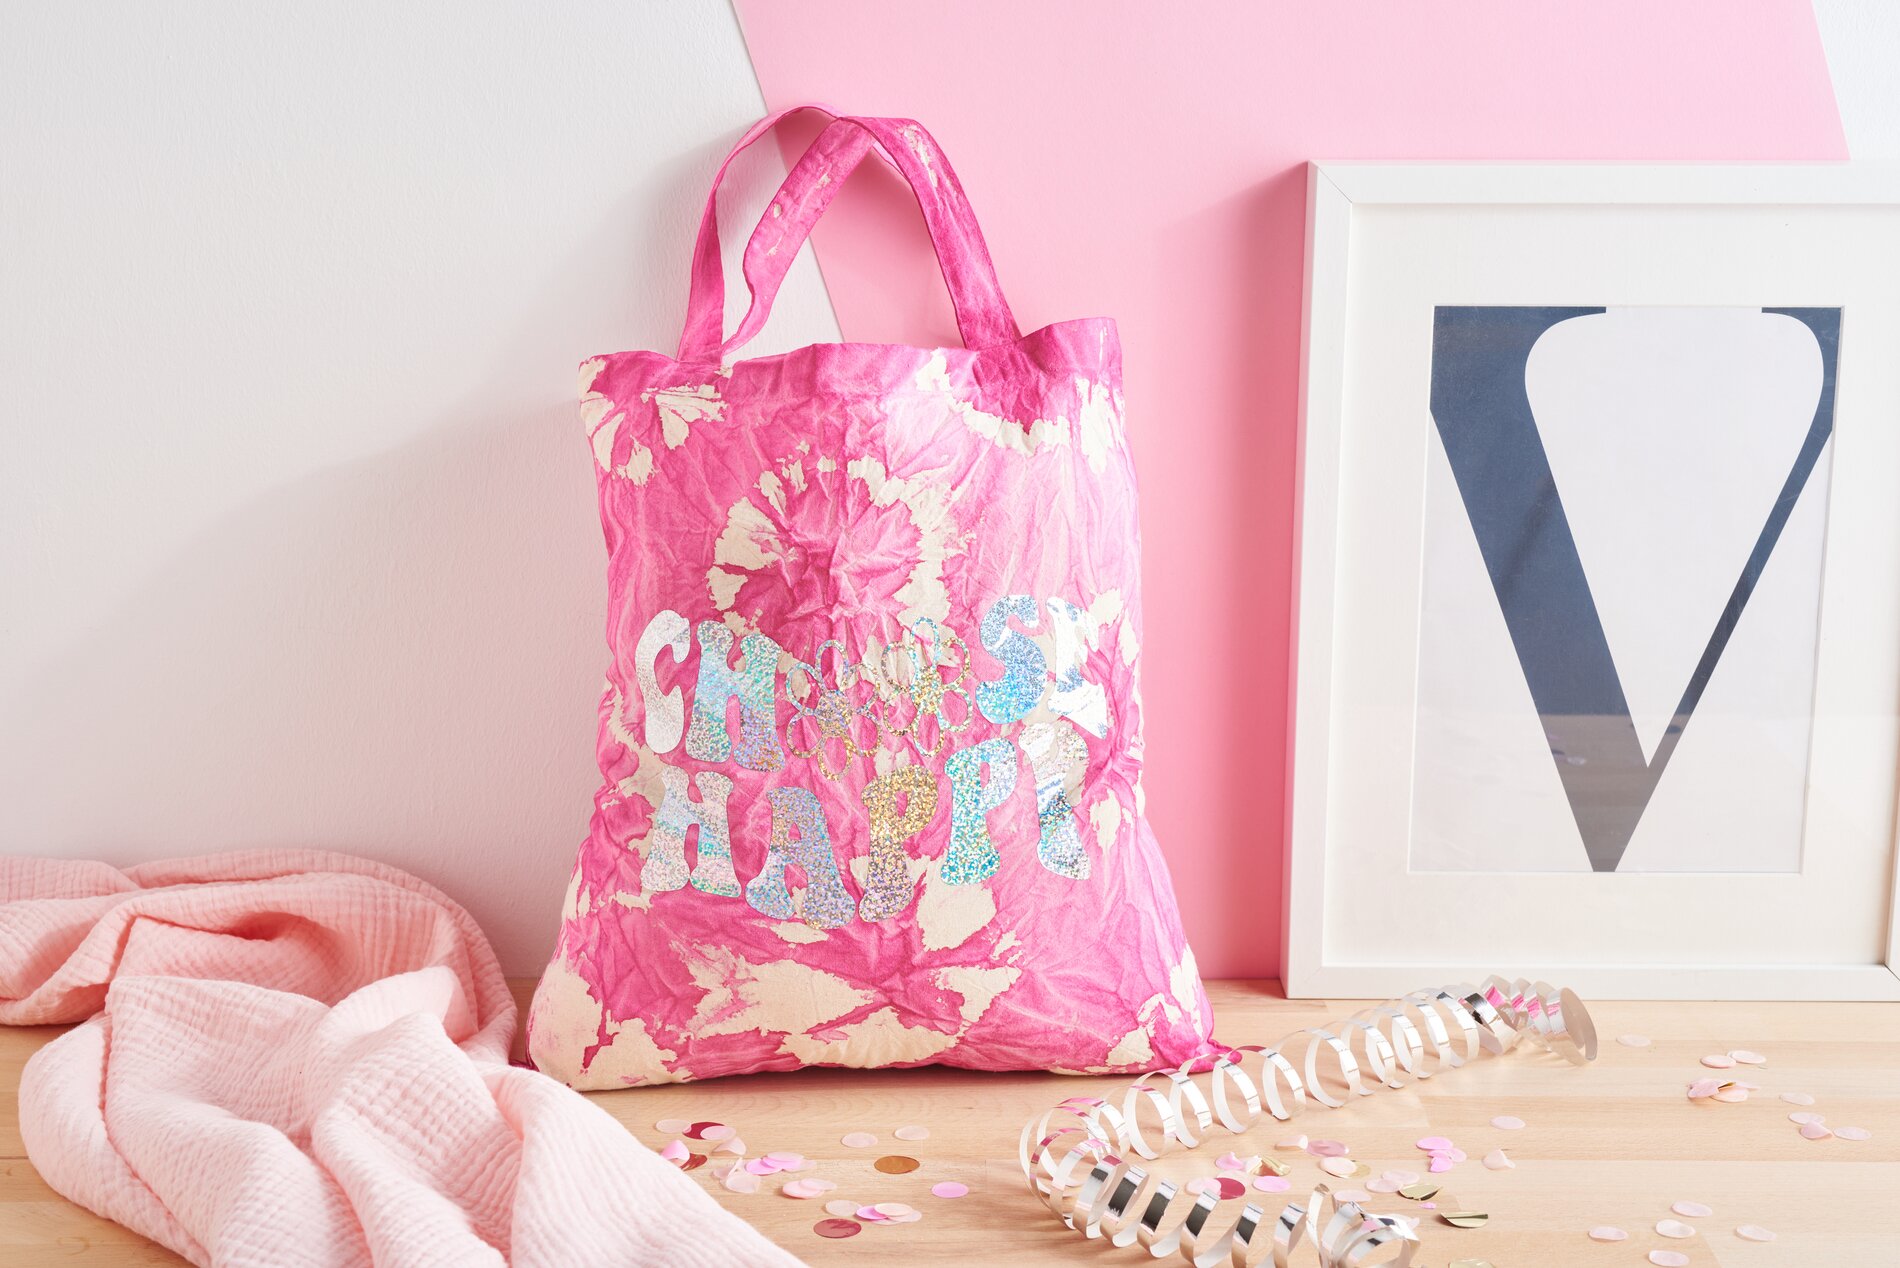
Now comes the creative part: tie off the fabric of the bag with rubber bands or cotton cord . The tying technique you choose will determine the pattern on your bag later on. Now it's time to add some color! Apply the paint from both sides and knead it thoroughly into the fabric. This will ensure that the color is evenly distributed and a beautiful pattern is created.
Step 3: Drying and fixing the paint
Once you have applied the paint, carefully remove the rubber bands and reveal the pattern by unfolding the fabric. Hang the bag up to dry - clothespins are perfect for this. Once the bag is completely dry, you need to fix the color. This can be done either in the oven at 150 °C for around 8 minutes or with an iron at cotton temperature for around 3 minutes. Be sure to place a cloth between the bag fabric and the iron when ironing.

Step 4: Preparing the plotting motif
Now it's time to customize your design with a plot motif! Download the appropriate SVG file to your PC and open the Cricut Design Space program. Click on "Upload" in the side menu and import the SVG file. All motifs in the file will be displayed in the workspace. Select them and use the "Split" function under "Layer" to separate the motifs from each other. If you want, you can customize motifs by selecting them and changing the size via "More".
Step 5: Start the plotting process
Now that everything is ready, click on "Make" in the top right-hand corner. check the arrangement of the motifs and select the right material. It is important to mirror the motif before you continue. Attach the film to the cutting mat with the adhesive side facing upwards so that the transparent backing film is at the bottom. Make sure that this is not damaged when cutting.
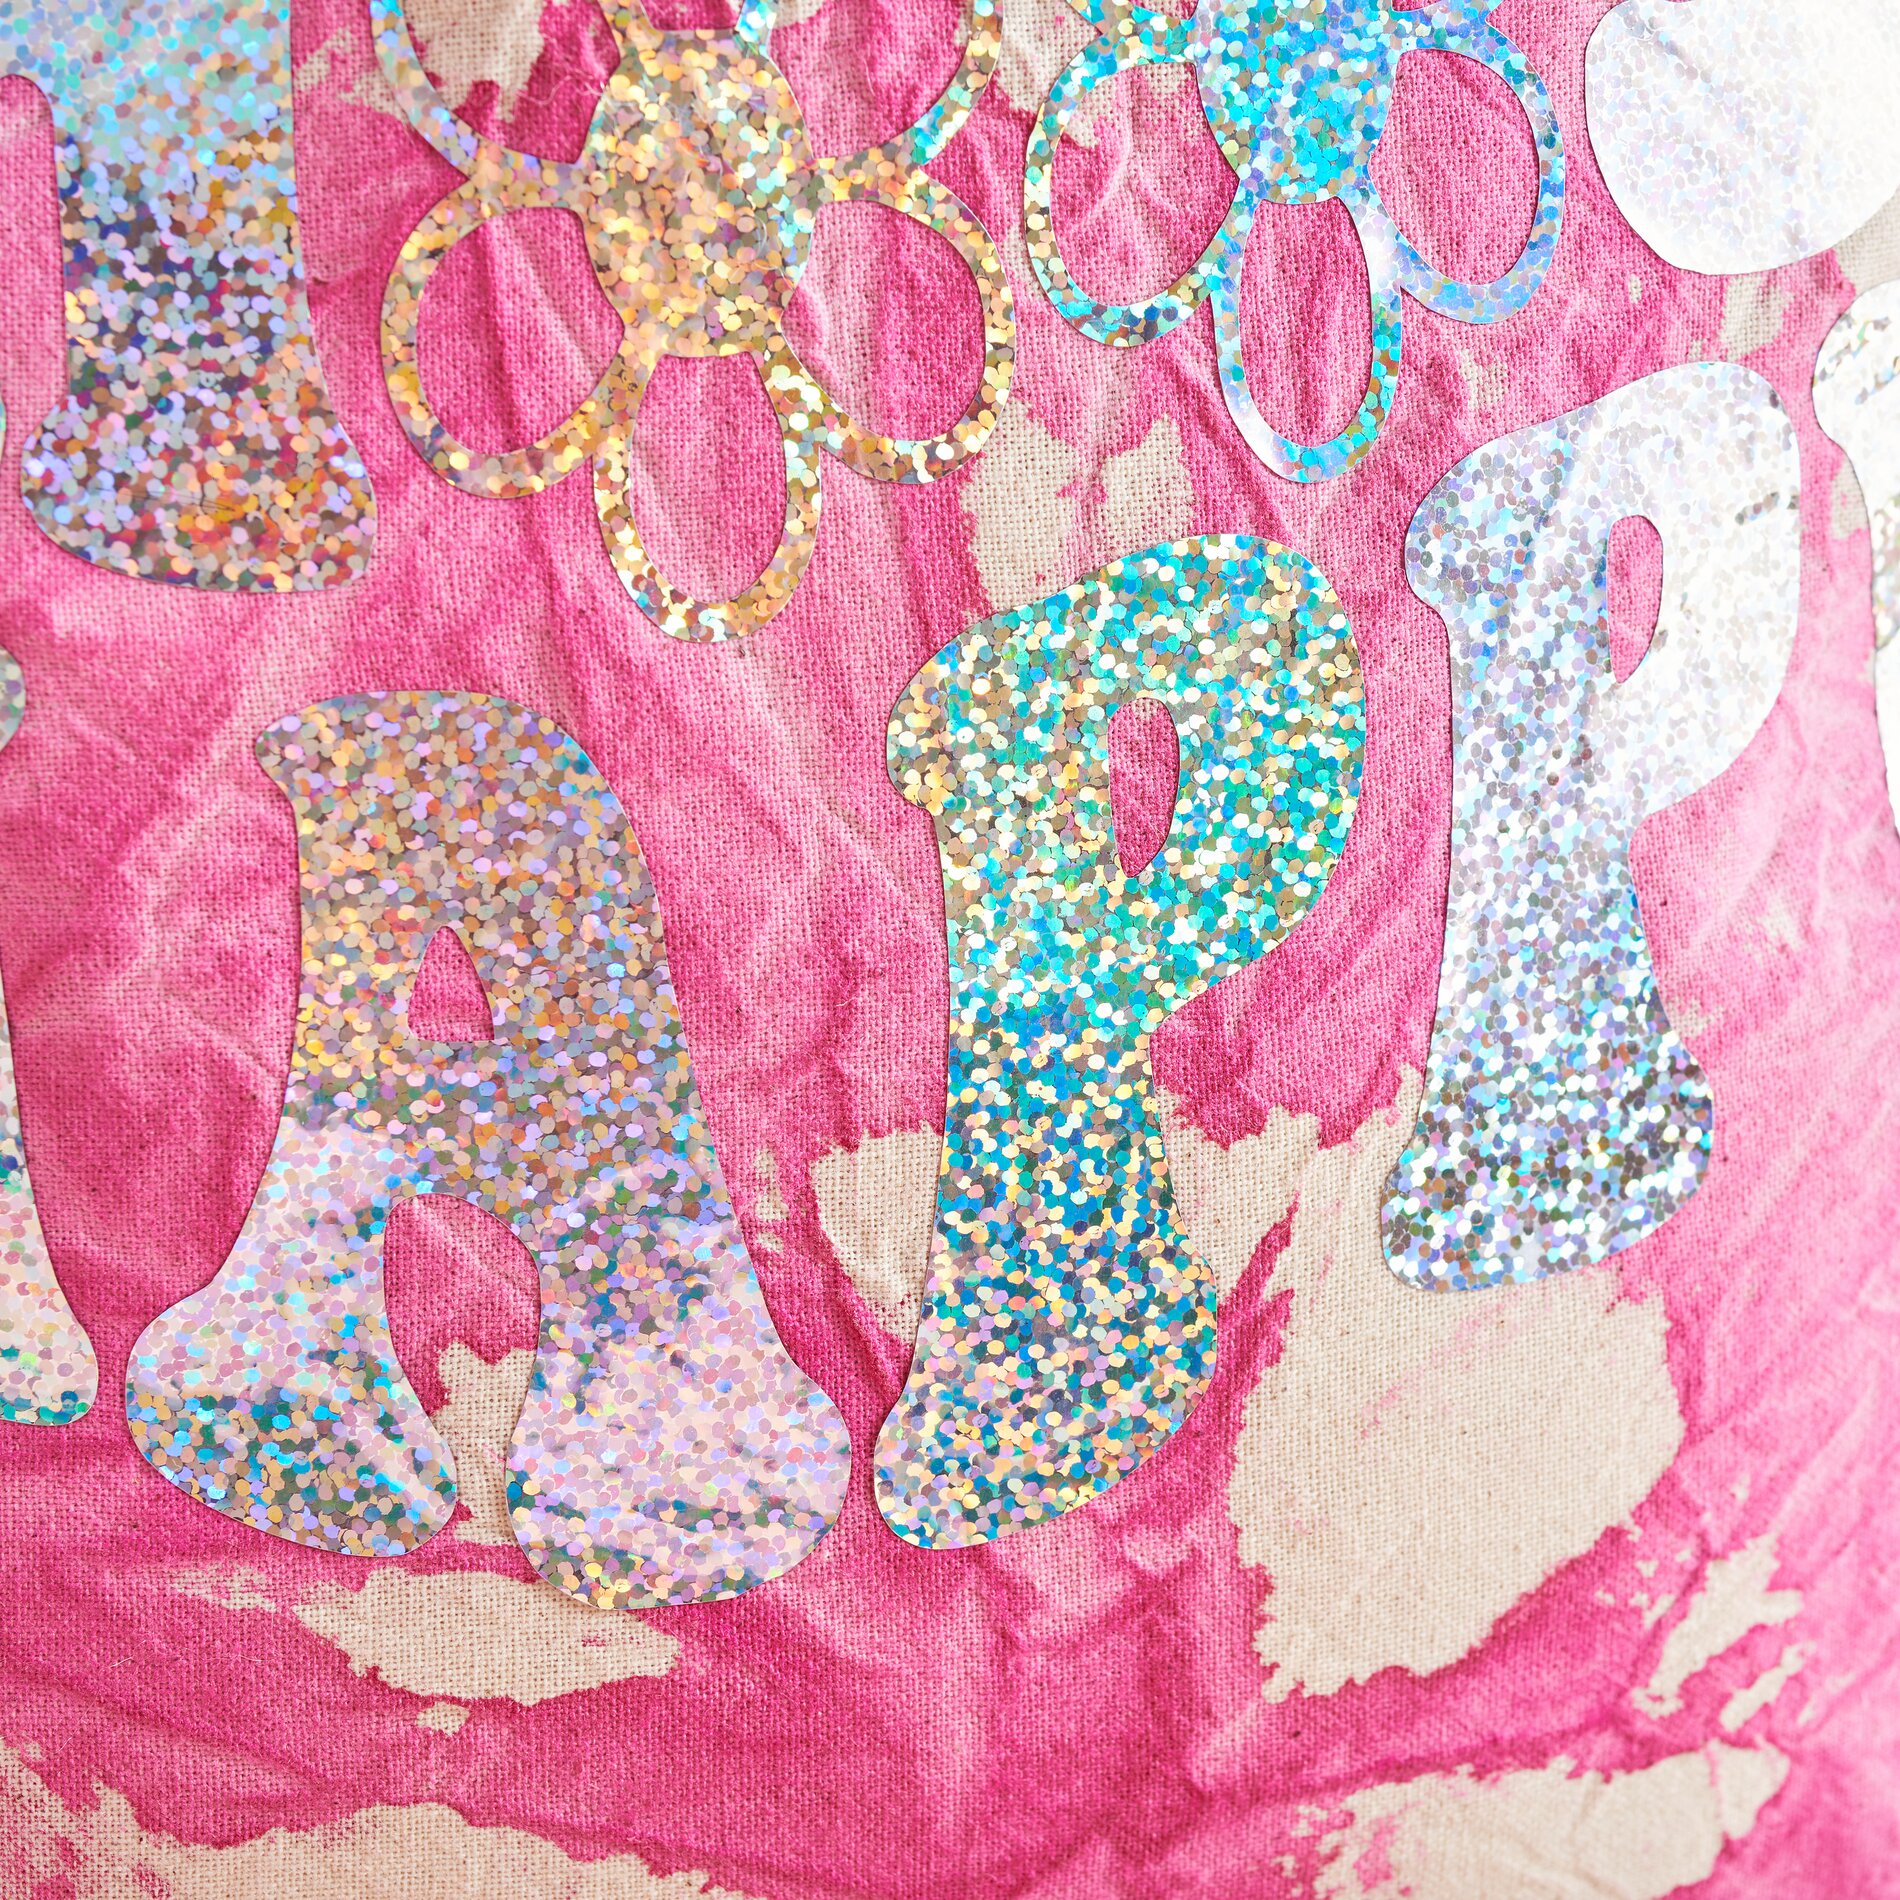
Step 6: Weeding and pressing on the motifs
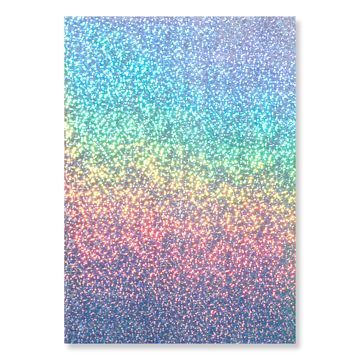
Once the plotting is complete, carefully remove the excess foil background and leave the motifs on the carrier foil. To transfer the motifs to the bag, preheat the EasyPress 3 to 160 °C. Position the motifs in the desired places on your bag and press them on with the EasyPress 3 for 15 seconds. The temperature of 160 °C ensures that the motifs bond perfectly with the fabric.
Unleash your creativity - and your bag!
Now that you know all the steps, you're ready to design your very own bag. You'll find all the materials you need for this project in our online store. Browse now and get started right away - your creativity will thank you!