- Secure order
- Easy return shipment
- Service-Hotline 01 662 20 20
Instructions No. 3337
Sprayfuzius says:
1. Have the courage to keep it simple
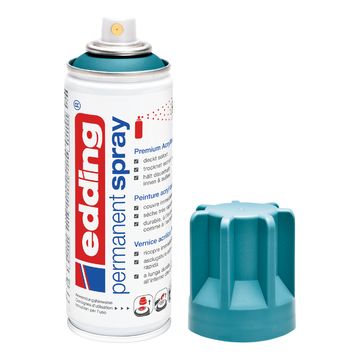
With edding Permanent Spray, you don't need anything further but the spray. No thinner, brush or stirring rod. You can start immediately. Really only spray - nothing else.
2. The right preparation
Spray cans prefer a pleasant room temperature of 15-25°C. Make sure that the can has reached its comfortable temperature before use to achieve the best possible results.
5. Fresh air ensures clarity
Make sure you work in a well-ventilated environment. Fresh air is important so that you can breathe freely. Outside or in well-ventilated basements, workshops or garages is the place where you can give free rein to your creativity.
6. Protect your surroundings
Cover everything that should not get a splash of paint. Think about the spray mist and protect everything that is dear to you. Concentrate fully on the object to be painted and carefully mask off surfaces that are not to be painted.
7. Good visibility is crucial
Make sure there is enough light so that you can check whether the surface is evenly coated with spray paint.
8. Preparing the objects correctly
Make sure that everything you want to spray is clean and dry. Remove rust and grease thoroughly. If surfaces are uneven, they should be smoothed by sanding and filling. You can use edding primers for finishing work. Avoid spraying on surfaces that have been treated with synthetic resin paint, as the paint could otherwise flake off.
9. Choose the right spray head
Loosen the safety ring from spray head. The spray head set from edding offers you different strengths:
Narrow head: For fine work (e.g. cell phone and computer housings)
Medium head: Medium-wide spray jet, ideal for corners and angles
Wide head: Paint large areas quickly
Variable head: The spray nozzle can be adjusted, particularly suitable for large surfaces.
7. Shake for an even result
Shake the spray can for about three minutes. The typical sound of the mixing ball indicates that the paint is well mixed. Repeat this process between work steps to achieve optimum results.
10. practice makes perfect
Before you start your actual project, test the paint on a piece of newspaper or the cover. This will allow you to familiarize yourself with the spraying process.
11. The right spraying technique
Proceed as follows:
1. Start spraying outside the object
2. Press the spray head firmly
3. Keep the correct distance, depending on the spray head thickness
4. Slowly move the can back and forth vertically
5. Change direction outside the object when spraying
11. Spray paths for optimum results

Performing the "criss-cross" path by first spraying from left to right, then from top to bottom and repeating vertically is a good choice for most objects.

For small objects, the spiral "cunning snail's path" from the inside out is suitable.
12. Smooth surfaces through patience
The first time you spray, the surface may not be smooth straight away. Think of it as a base and go over it again after a minute or two. Several thin coats will give a better result than one thick coat at once. If it doesn't work the first time, wait a day and then spray again to prevent the paint from lifting.
13. Refinishing protects your success
If you want to avoid scratches, signs of wear or weather influences, apply clear varnish on. This transparent layer also gives your object an elegant shine.


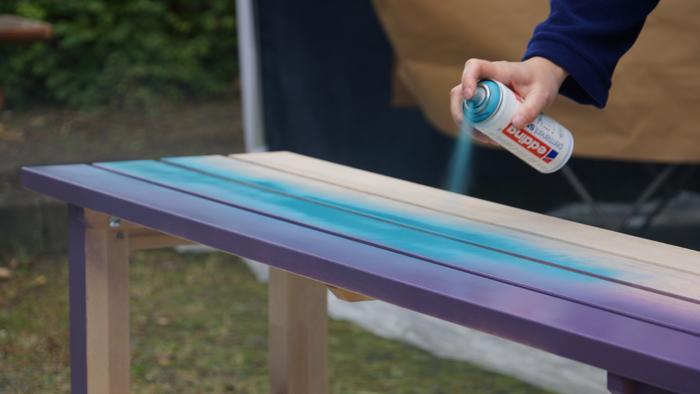
Our DIY-Projects show the versatility of edding permanent spray! From individually designed pieces of furniture to unique decorative elements - there are no limits to your creativity.
We painted the wooden bench in the VBS-Colors and immortalized the name on it with the help of stencil . The design possibilities with edding permanent spray are almost endless. Now the bench stands at the bus stop in front of the craft market here in Verden and offers a cozy spot for everyone waiting.
Do it yourself!
Now you are well equipped to start your own creative projects. Don't hesitate and equip yourself with everything you need to create your spray paint masterpiece. Visit our online store to discover the best spray paint-Article and start your crafting adventure!